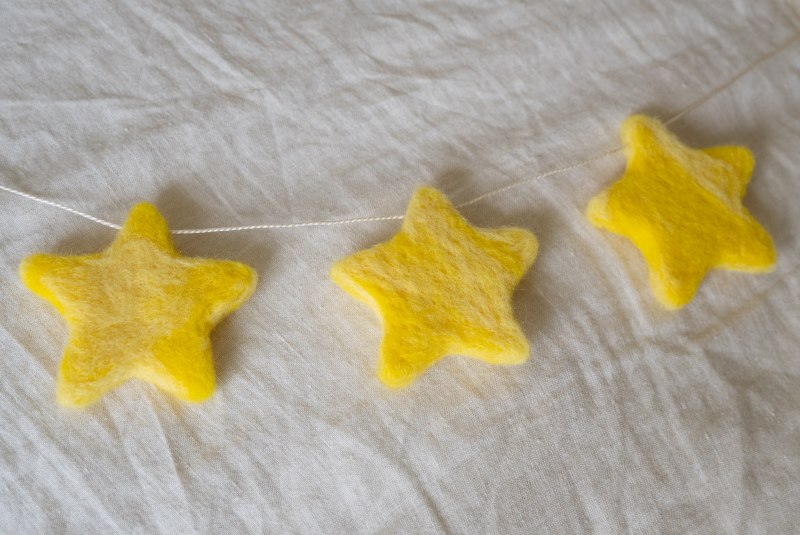
Needle Felted Stars Garland
Posted by Debbie S. on 19th Apr 2024
Our friend Jessica, from Toymaking Magic and @toymakingmagic is guest blogging for A Child's Dream today with a simple tutorial for needle felting a beautiful garland of stars using a cookie cutter as a stencil. With the same techniques shared in this DIY, you can make other themed garlands with other cookie cutters and even mix them up for fun or to suit an occasion. This is a simple felting craft perfect for beginners and children ages 10 and up.
As with all of her tutorials, Jessica has added a few helpful tips! Be sure to find out more about Jessica and her subscription options for lovely Waldorf-inspired toymaking tutorials>.
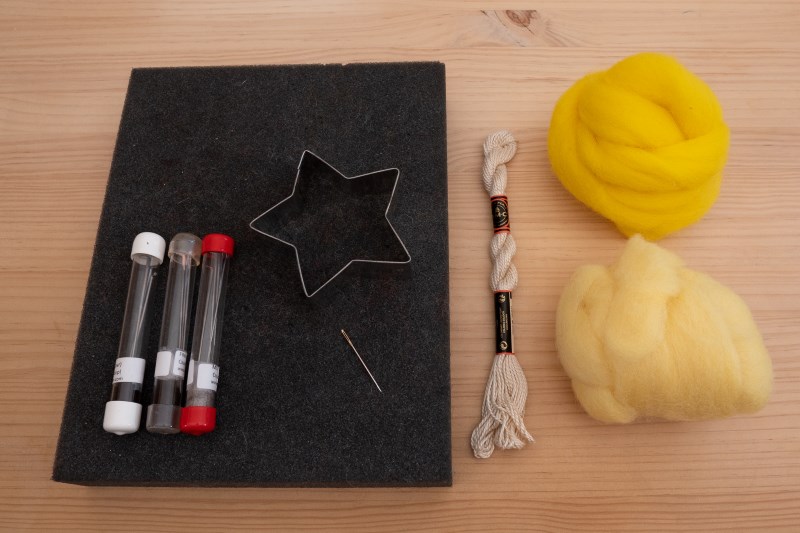
To felt this starry garland you will need:
SUPPLIES
Project set of basic supplies available here>
OR individually
Star Cookie Cutter - 3 1/2"
Ashford Corriedale Wool Roving (1 oz of Lemon and 1 oz of Yellow)
Pearl Cotton Thread Size 3 (Soft White)
Cross Stitch Needle (or other needle with a large enough eye for the Pearl Cotton)
Let's get started!
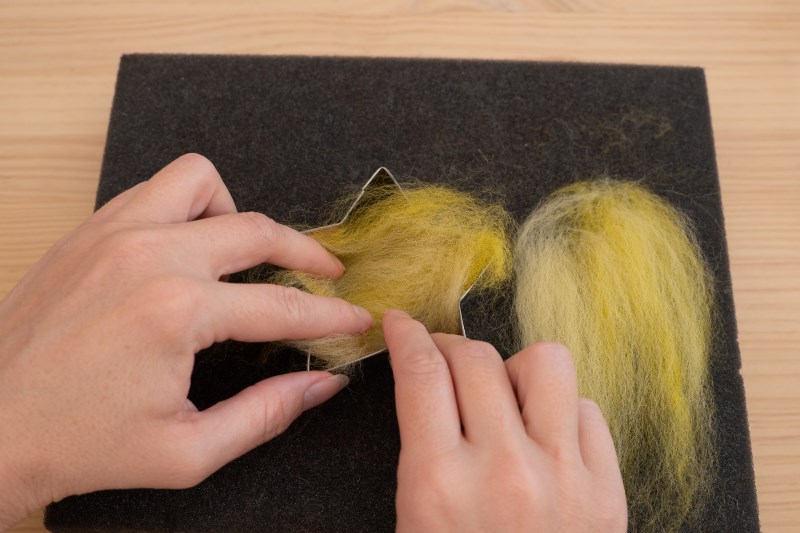
Start by pulling out thin tufts of wool roving.
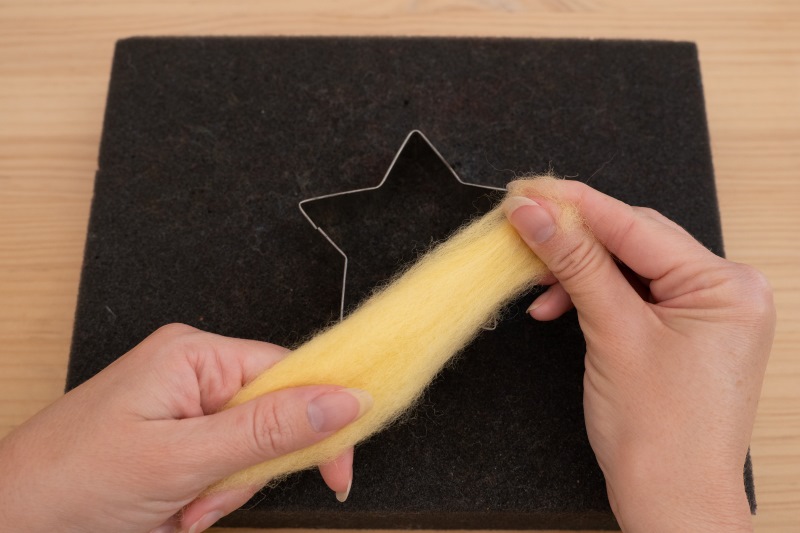
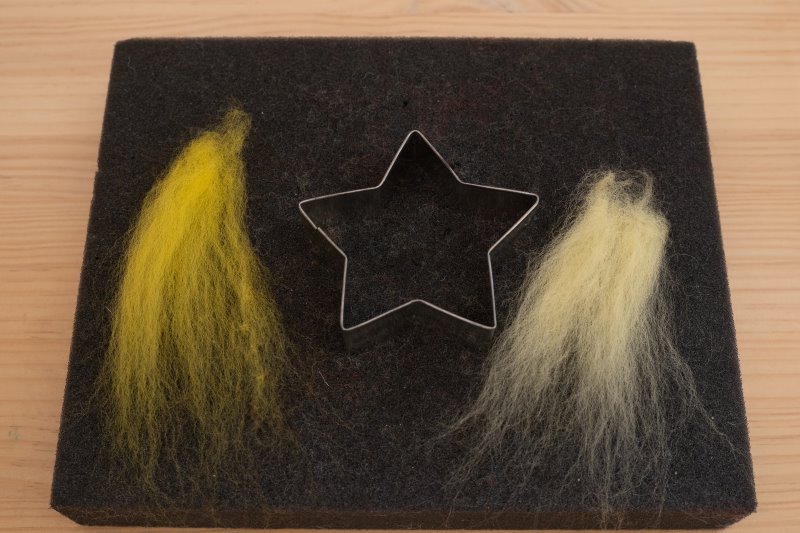
Layer them into your cookie cutter.
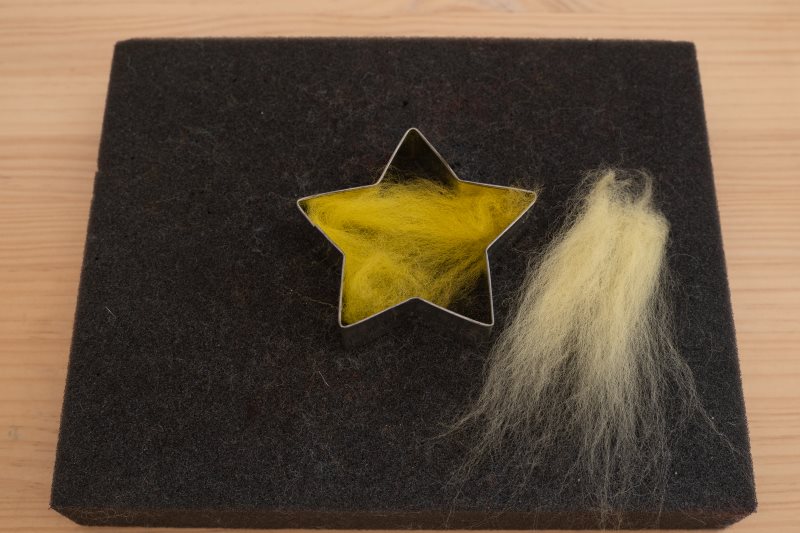
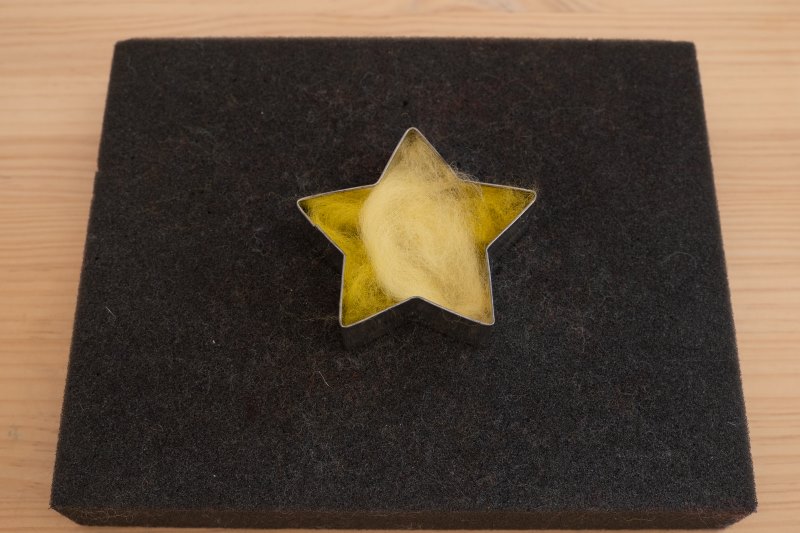
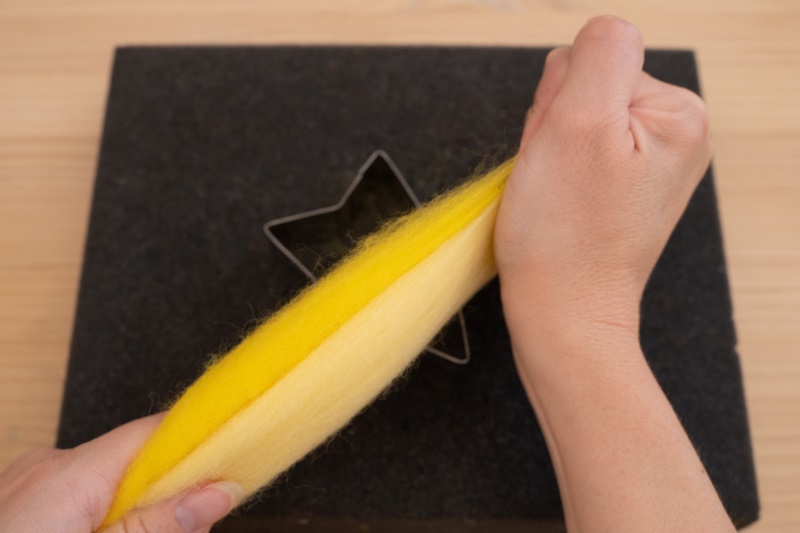
Alternatively, you can blend your colors by pulling them out together.
Fill the cookie cutter with tufts of wool until it is full.
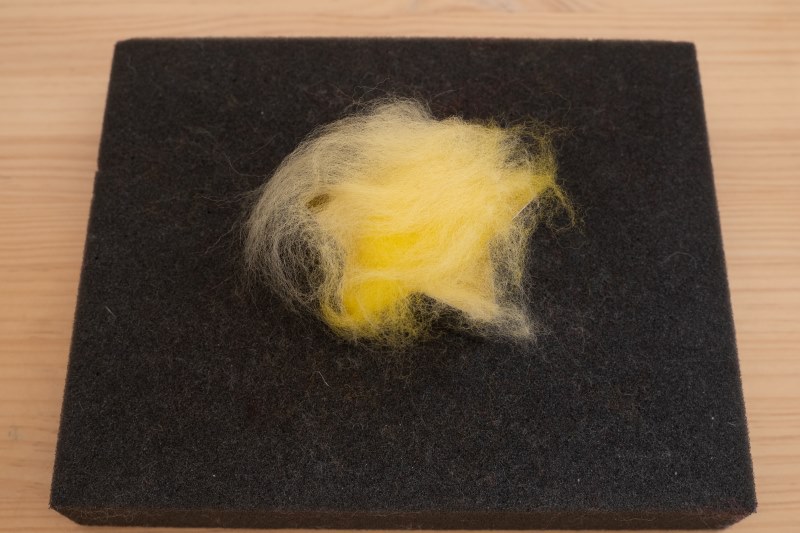
Begin to felt by poking straight down and all over with your 38 Triangle Felting Needle.
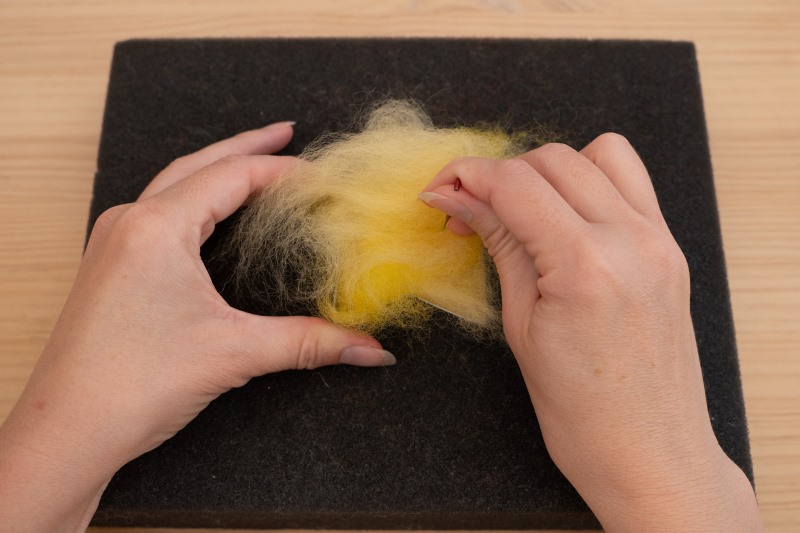
After about five minutes of felting, your star will look like this.
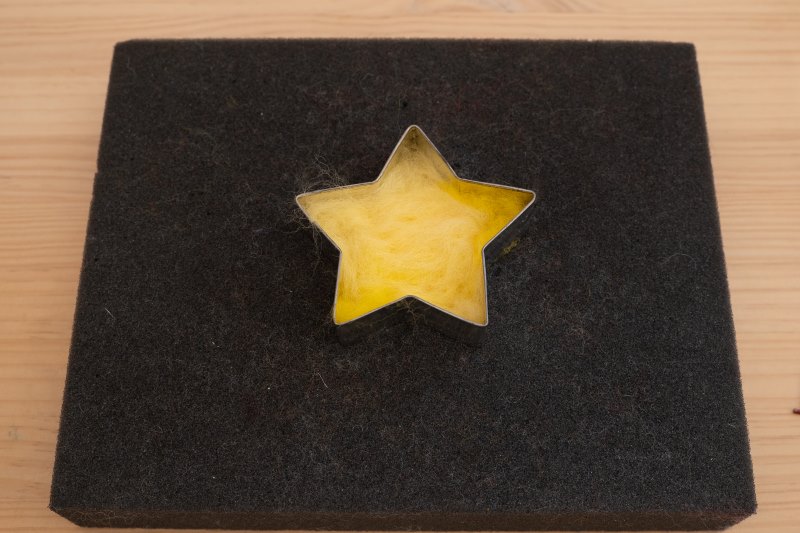
Touch the points of the star to see if they need more wool.
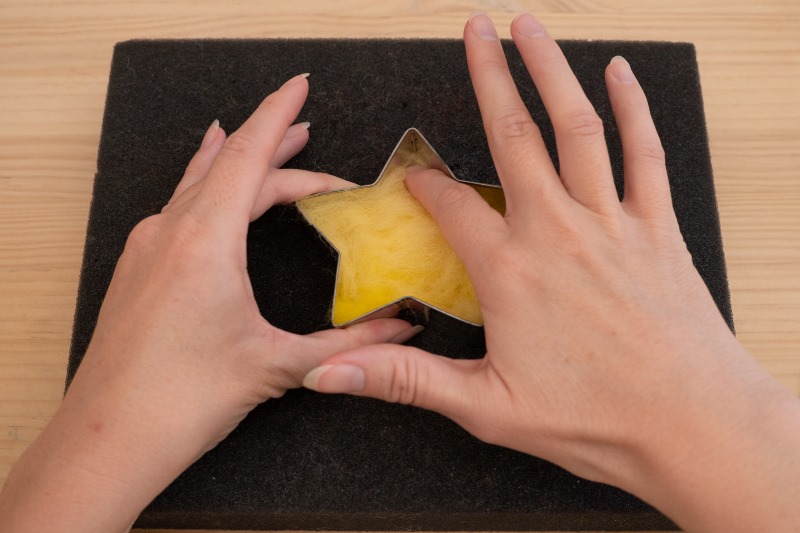
Add wool accordingly.
Continue to felt all over.
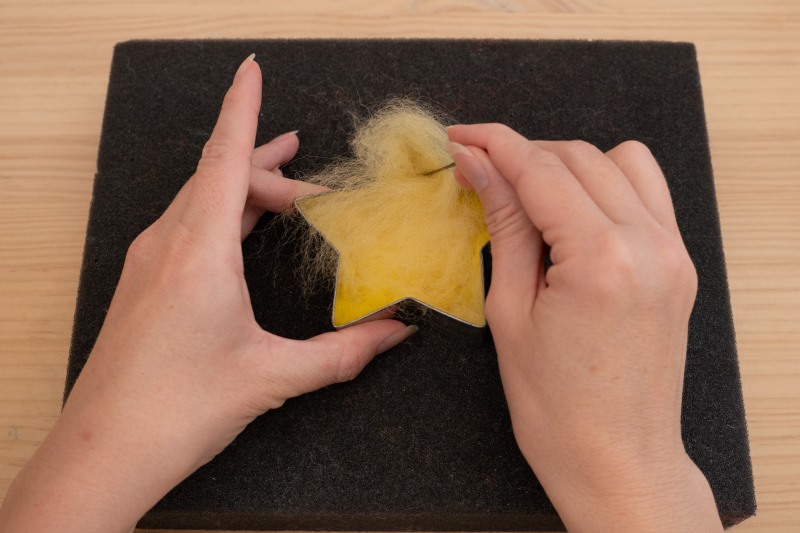
Once your star is looking more solid and felted, you can lift the cookie cutter and peel the star off of the felting pad...
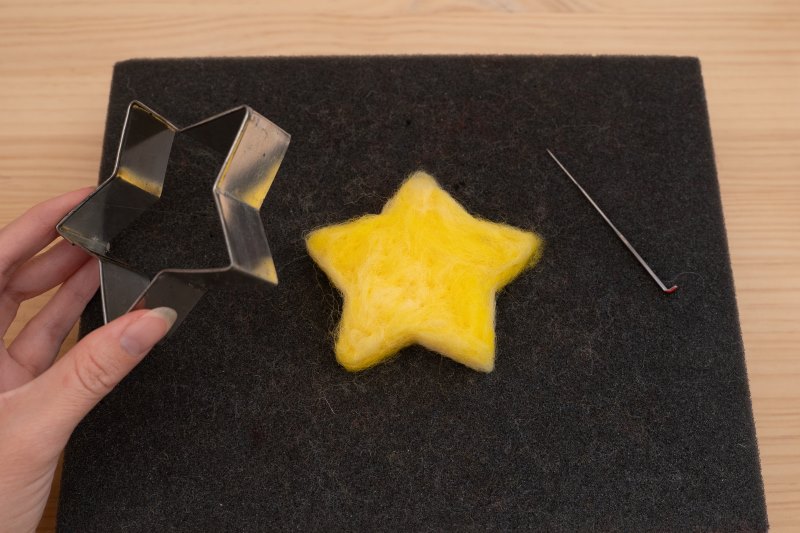
… and then flip your star over and stuff it back into the cookie cutter so that you can felt the back side.
Spend a few minutes felting the back side.
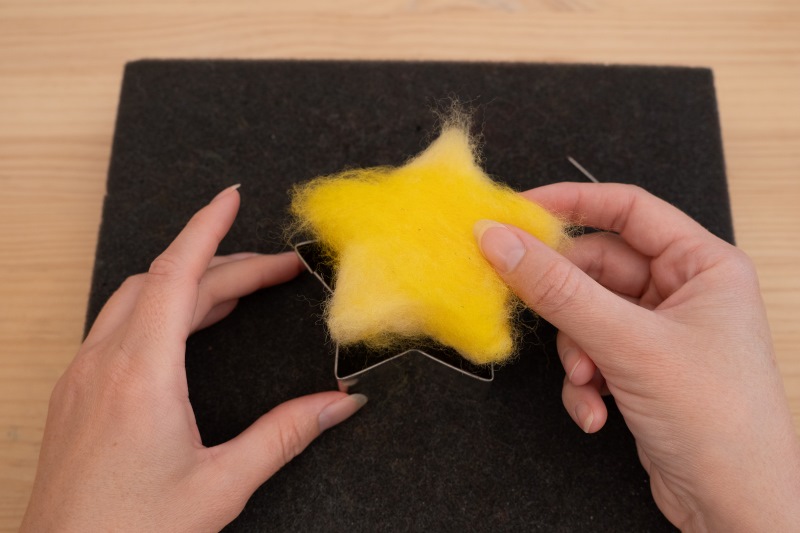
Once the back side is looking felted, you can remove the cookie cutter and begin to felt the edges of the star with the 38 Star Felting Needle.
(Be mindful of how you hold the star to avoid poking yourself!)
You can also continue to felt the front and back until you are satisfied with the look and shape of your star.
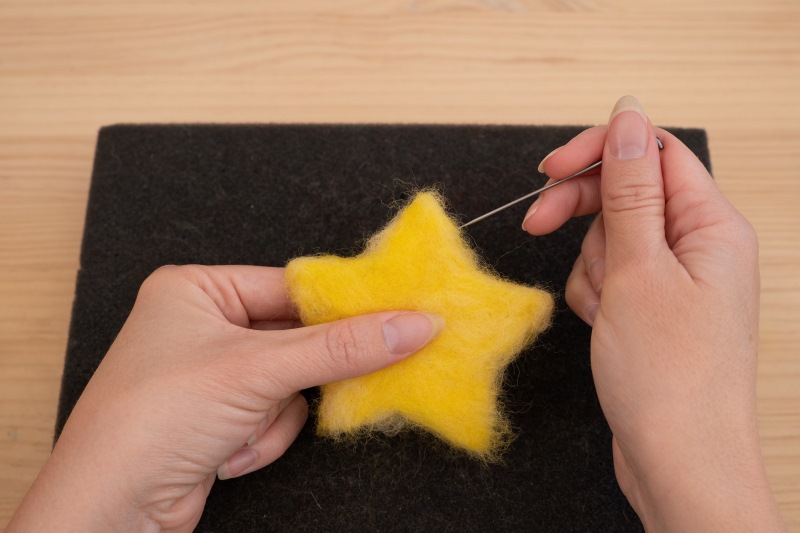
After about five minutes of felting, your star will look nicely shaped.
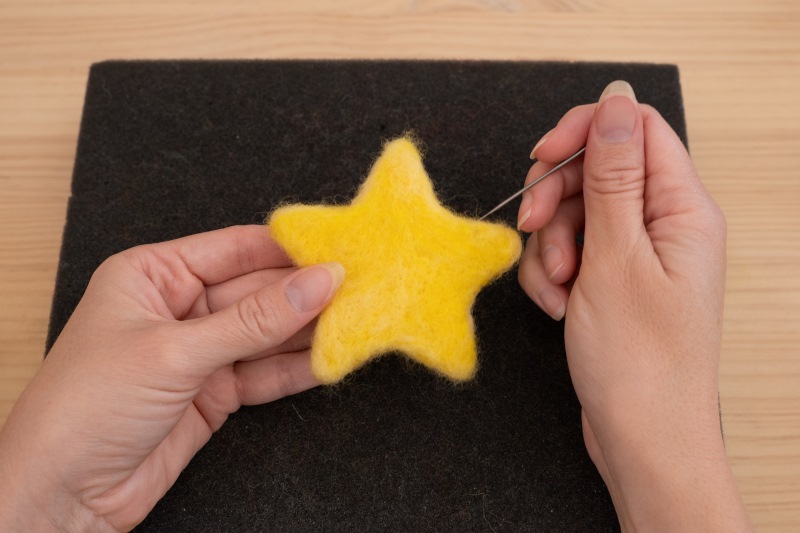
To give your star a nice smooth finish, spend five more minutes felting all over with the 40 Triangle Felting Needle.
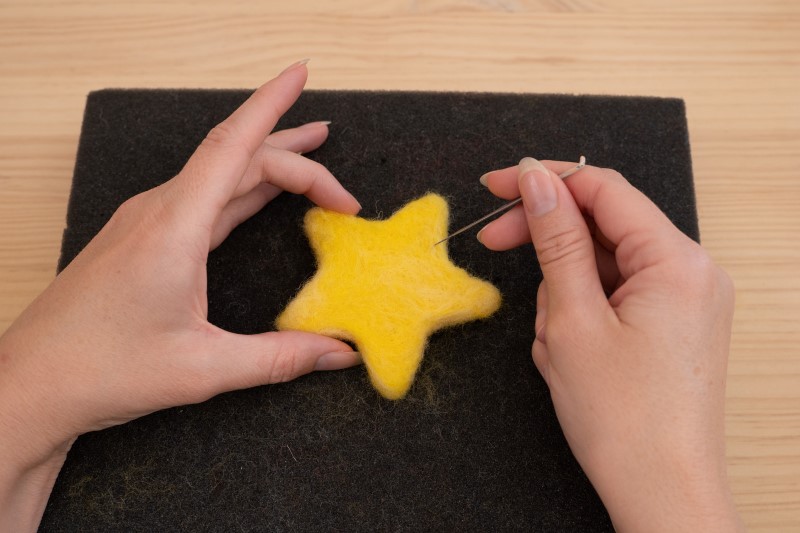
Repeat for as many more stars as you please to complete your garland!
Here's a tip:
Because a project like this can start to feel a bit tedious after you've made your first couple of stars, I like to work with a timer and give myself little goals. I do 5 minutes with the 38 TRI, five minutes with the 38 STAR and five minutes with the 40 TRI.
Working with a timer also helps ensure that your stars turn out looking similar.
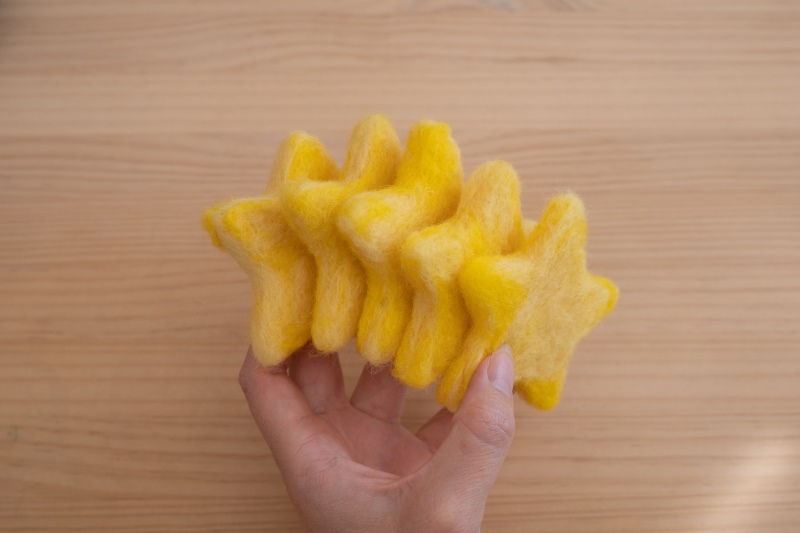
Cut a length of Pearl Cotton Thread however long you want your garland to be. String your stars onto the thread with a large eyed sewing needle.
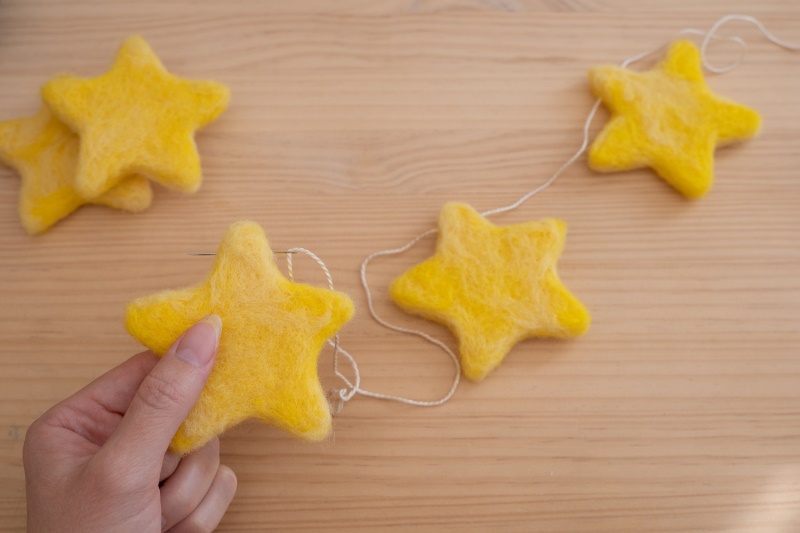
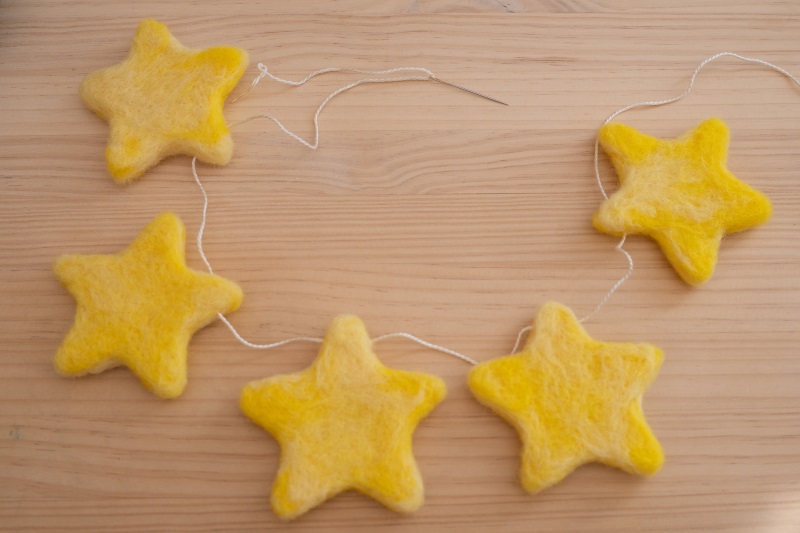
Once you have strung them all together, you can space them evenly apart and hang your newly finished garland in a sweet spot of your home!
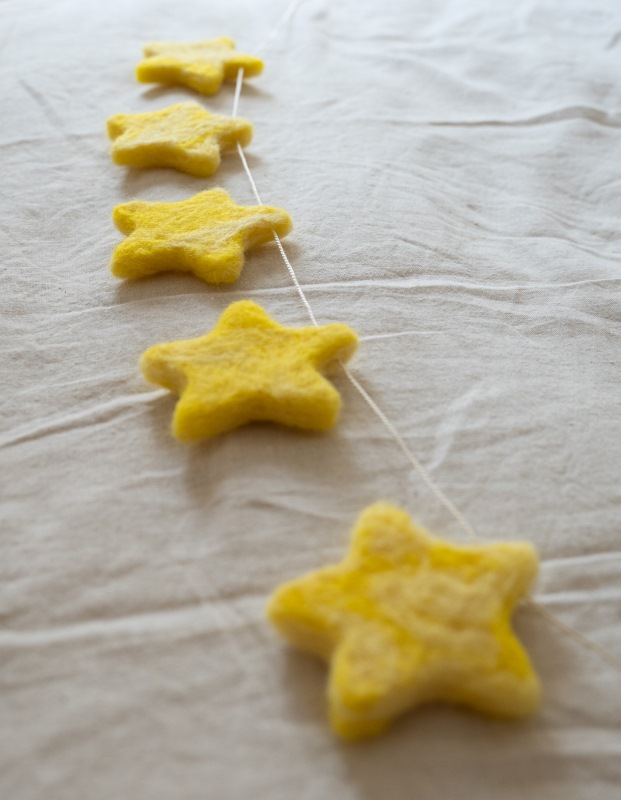
We hope you enjoyed this tutorial. If you make a star garland, we would love to see!
Be sure to tag us on Instagram!
@achildsdreamcrafts @toymakingmagic
and use #achildsdreamcrafts
Happy Felting!
