
Wool Roving Angel Fairy
Posted by Debbie S. on 2nd Dec 2022
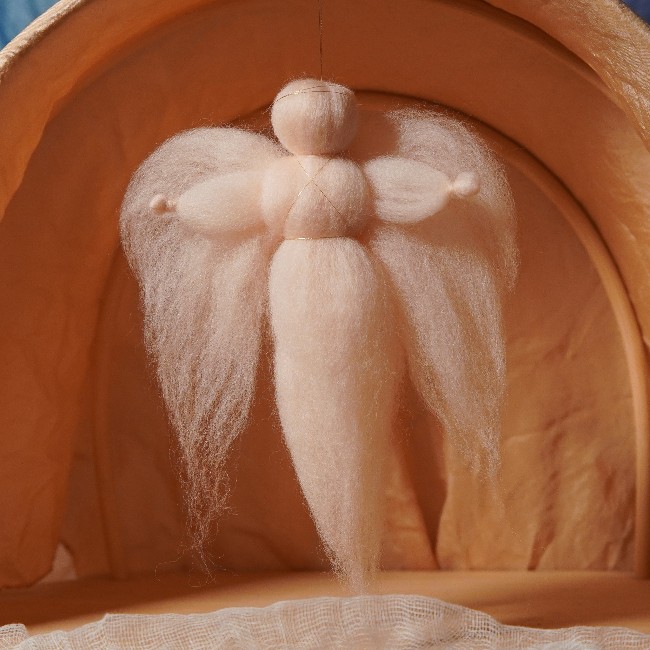
Making a figure from wool roving couldn't be simpler when it's just a matter of wrapping wool and tying knots. Easy for a child to do and quick for an adult. Knowing how, you can make soft angels for your holiday tree, seasonal table, or add one to a gift wrapped present. You can use white for a snow fairy and try different colors for rainbow and flower fairies. Suspend one from a stick and you have a puppet for your storytelling.
Here is Guest Blogger Jessica from Toymaking Magic to show us how in this tutorial made just for A Child's Dream.
Thank you so much Jessica!
You can make angels in any colors you like! The soft pink color I am using is Ashford's Corriedale Wool in Cherub.
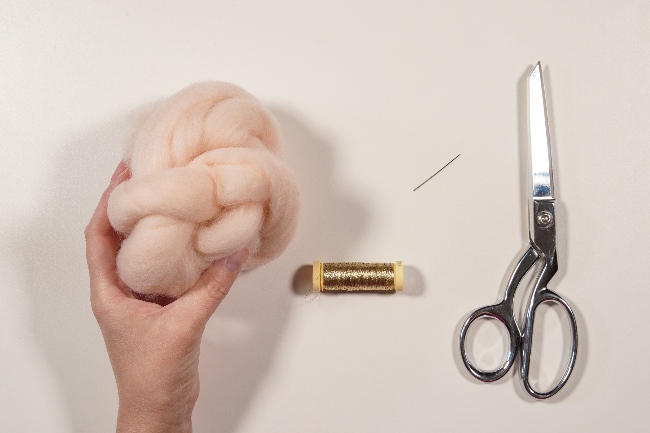
MATERIALS
For this project you will need:
-- A 14-16 inch length of wool roving (about 1/4 ounce): Corriedale or Merino
-- Metallic Embroidery Thread in gold or silver
-- Needle
-- Scissors
Let's get started!
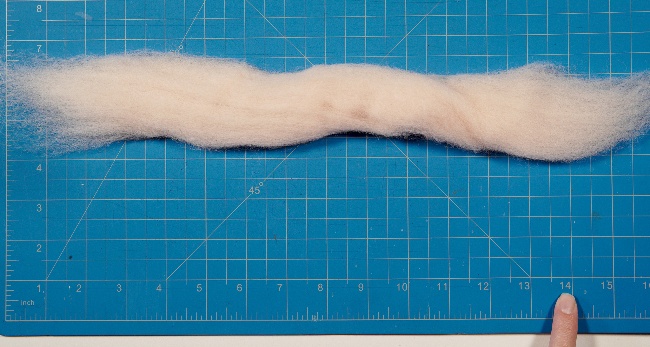
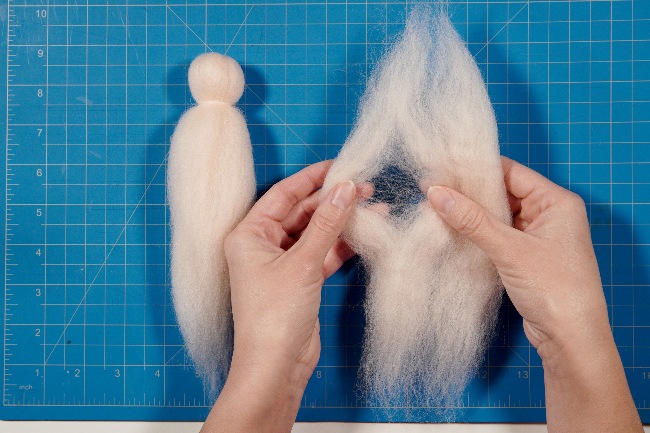
Begin by pulling off a piece of roving that is around 14-16 inches long.
Tie a firm knot in the middle.
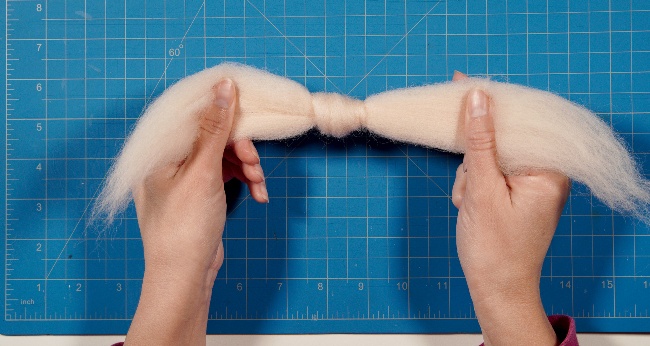
Fold the roving as pictured below.
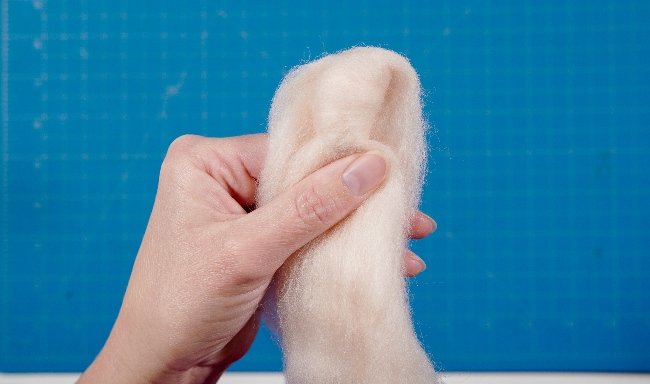
Depending upon how your knot turned out, the knot can resemble a head and the folded back roving can resemble hair. This can become the front side of your angel.
However, sometimes your knot just won't look very good, and in this case the knot can become the back side of your angel.
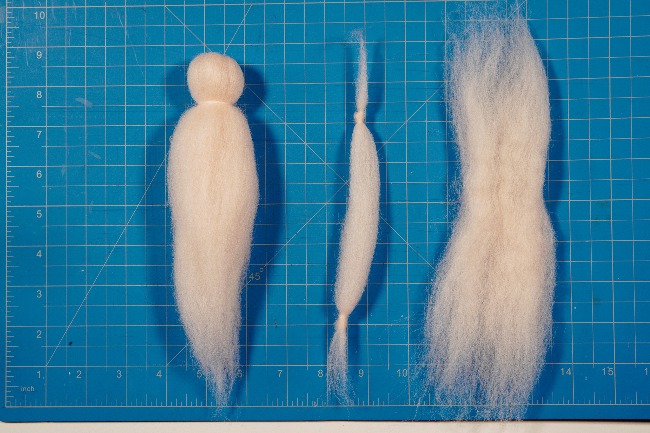
The next step is to pull out a few fibers from the bottom...
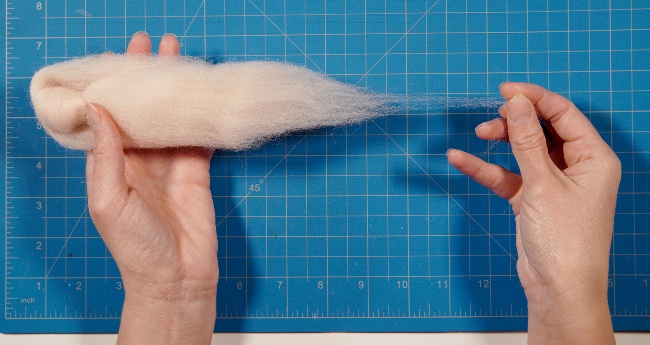
...which you will use to tie off the head.
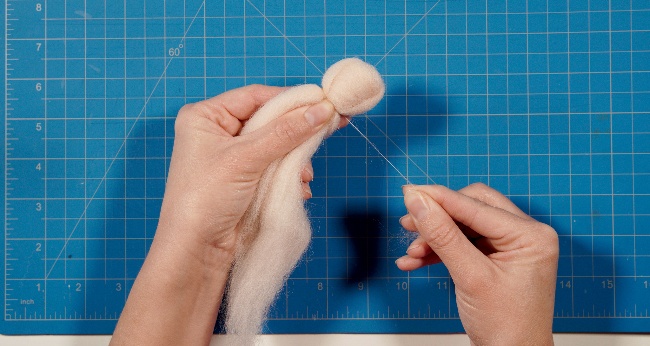
Simple start to wrap it around the neck tightly and it will stay in place.

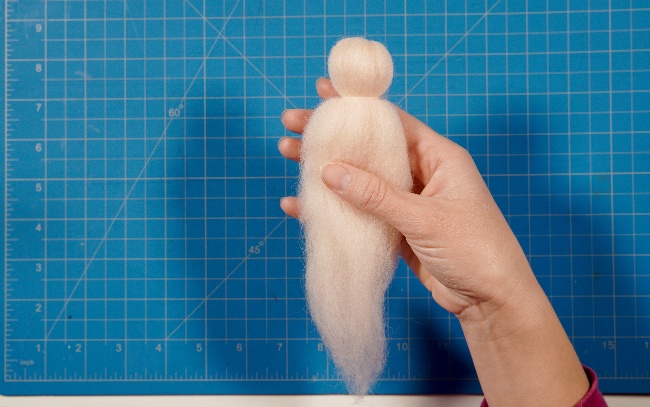
For this angel I have chosen to make the smooth side be the front.
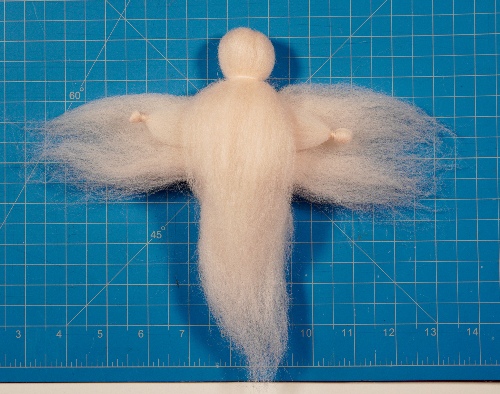
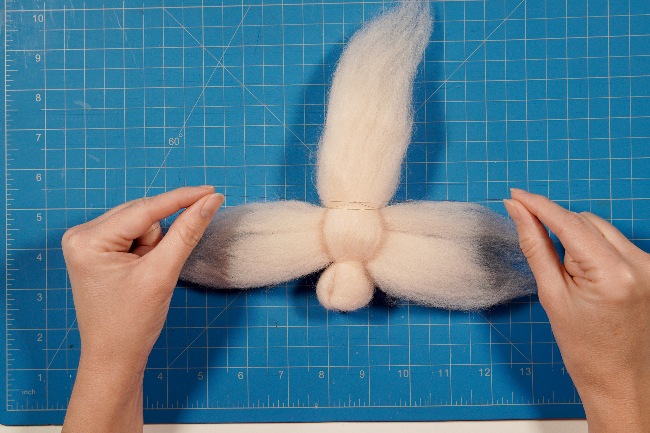
Next, pull off a piece of roving that is around 8 inches long. This be used for the arms and wings.
Separate out a third of that piece.
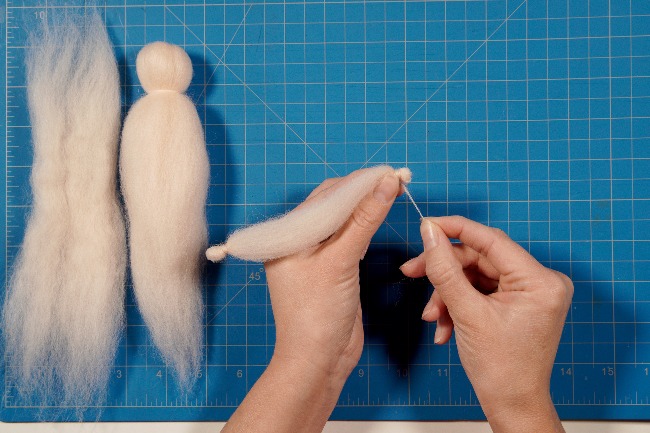
Tie knots at both ends.
Wrap the wispy fibers that extend beyond the knots around the wrists.
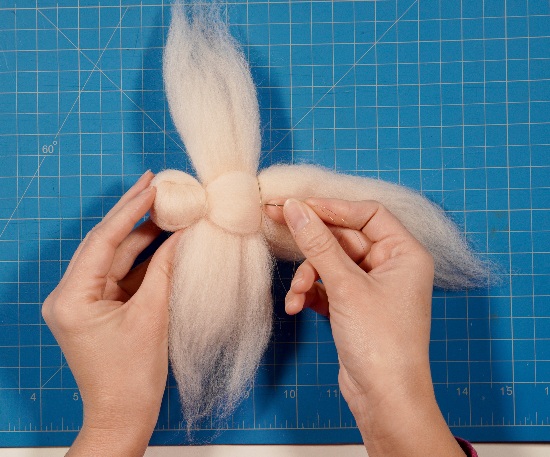
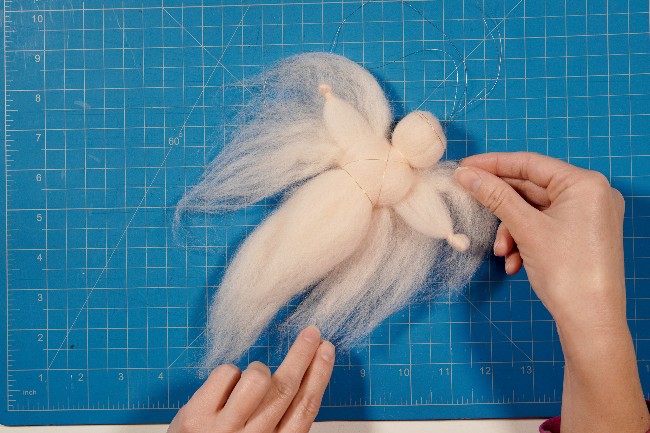
Place the wings and arms in between the two layers of the angel's body.
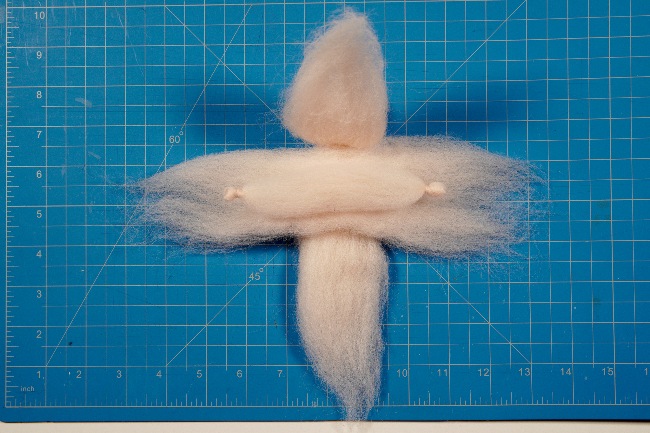
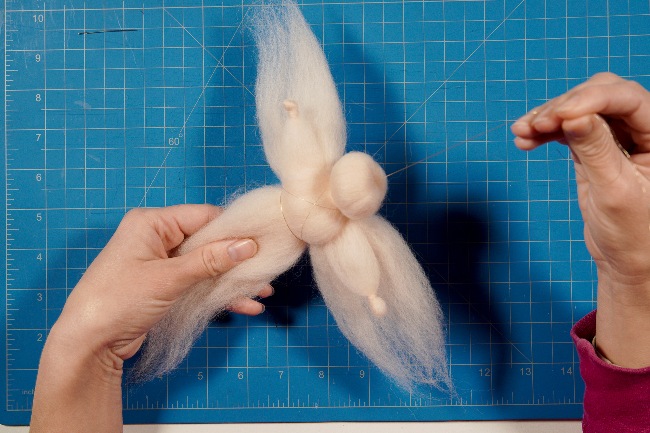
Now your angel should look like this.
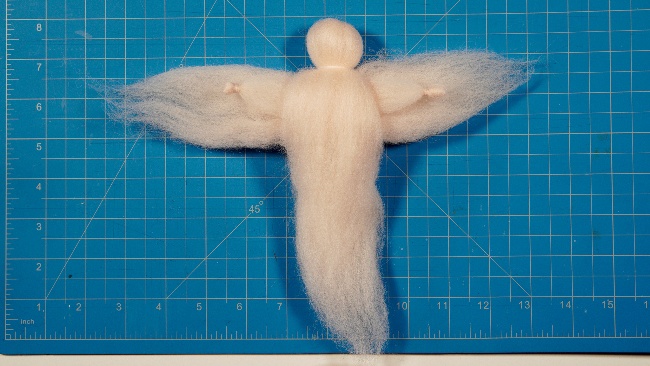
To make the wings and arms sit a bit higher, I like to pull them up like this:

That's better!
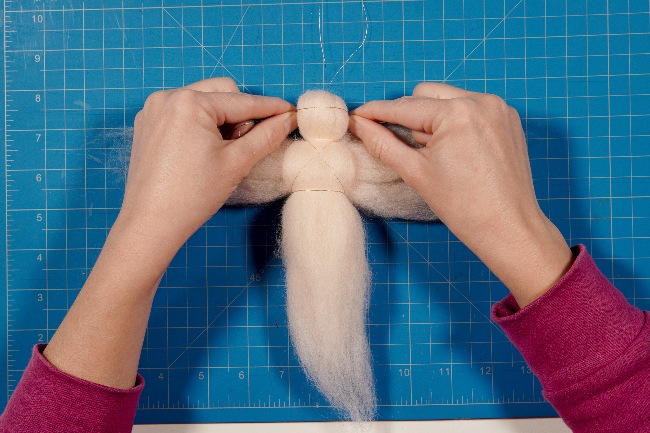
Cut a 3-foot length of metallic thread and wrap it around the back of the neck and across the chest.
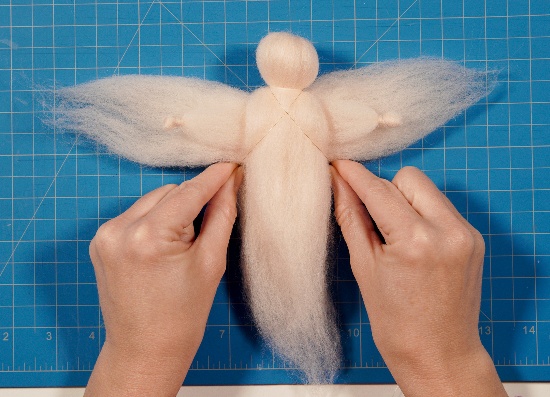
Wrap around the back of the waist and then back around the front of the waist.
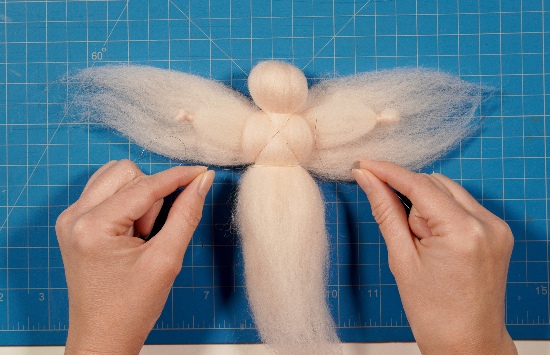
And around to the back again. Tie a double knot.
Thread your needle with the thread tails and bring the needle up through the waist and the top of the head.
You can tie a knot to use it as an ornament or wait to tie it directly onto something once it is complete. It can be suspended to decorate a seasonal table or window.
Tie some thread around the head for a halo.
And lastly, gently tease the wool into more shapely angel wings.
Now it's ready to use!

We hope you enjoyed this tutorial. If you make an angel, we would love to see!