
Autumn Window Star
Posted by Debbie S. on 20th Oct 2021
Create some autumn cheer for your windows this season! Jessica, from Toymaking Magic is here to share with us how to make a giant window star using our Window Stars Kite Paper.
To make this window star you’ll need:
Window Stars Kite Paper (choose your style) and a glue stic, both found in our Paper Crafts Section.
OR craft glue and a small paintbrush
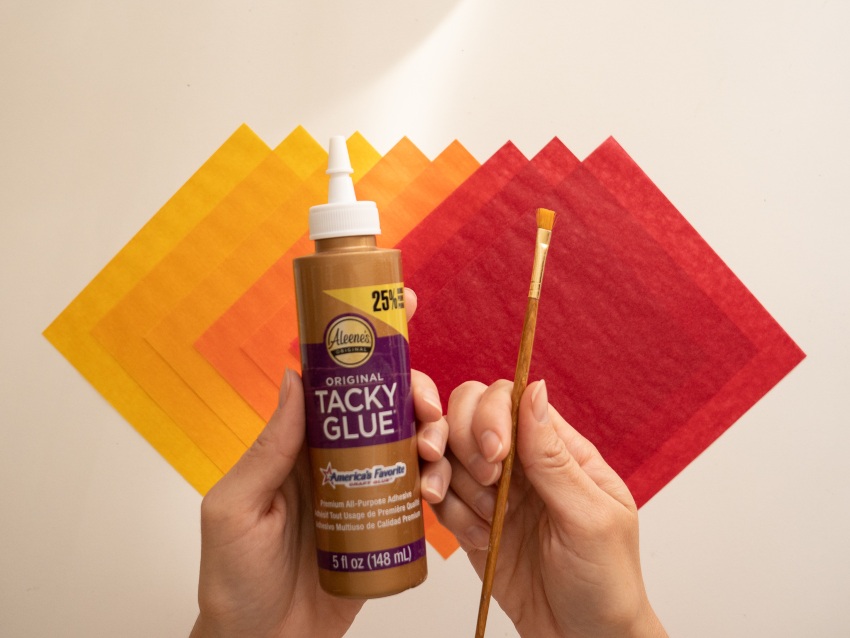
And craft glue OR tape for hanging the star.
Let’s Get Started!
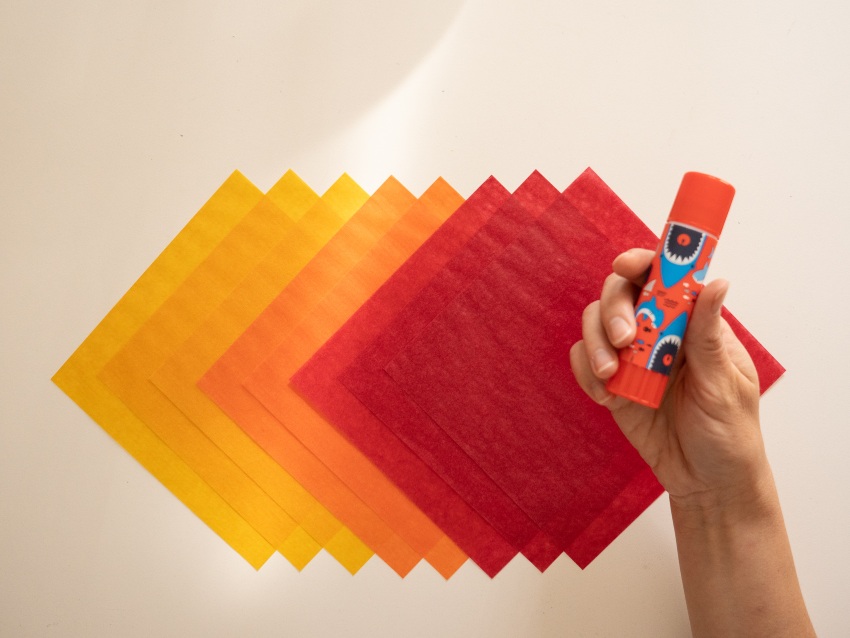
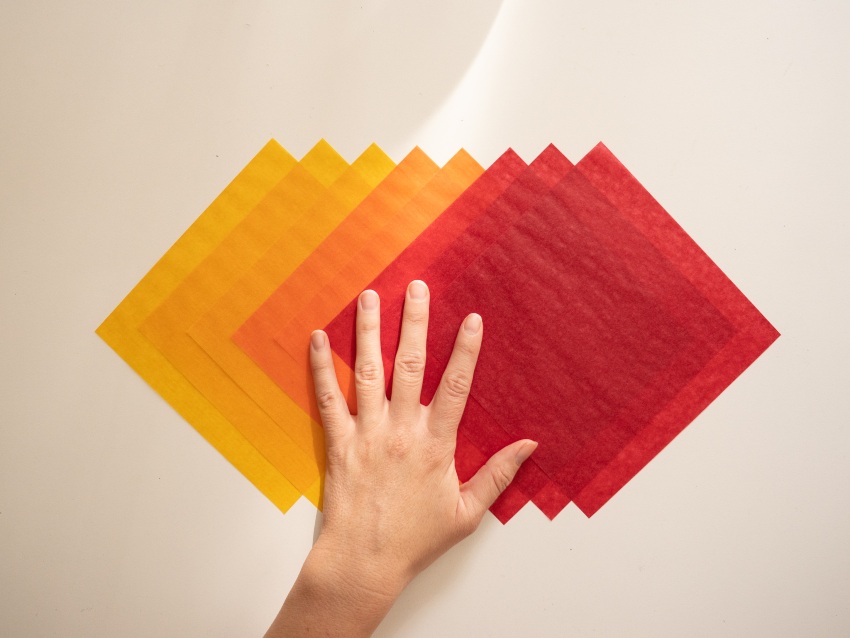
Select 8 sheets of kite paper. I chose 3 golden, 2 orange and 3 red.
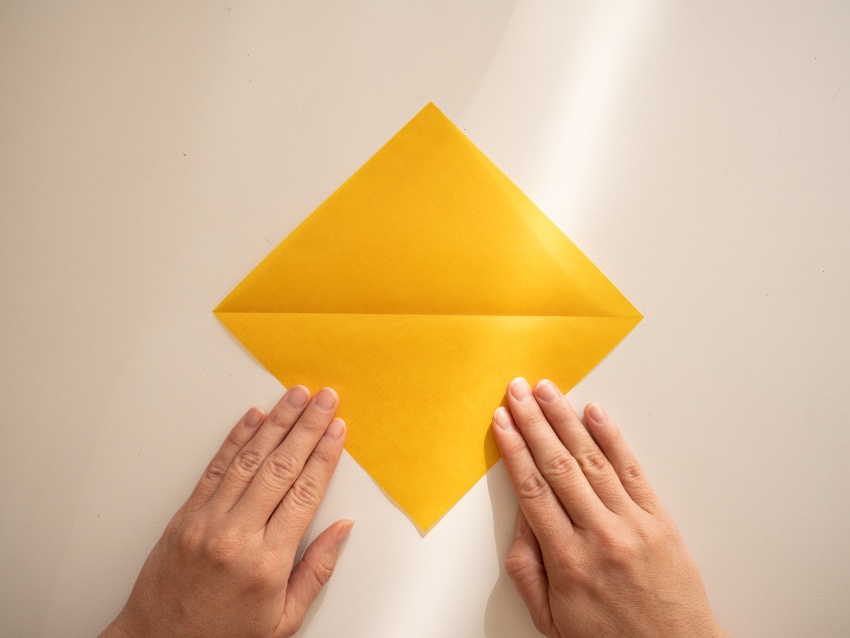
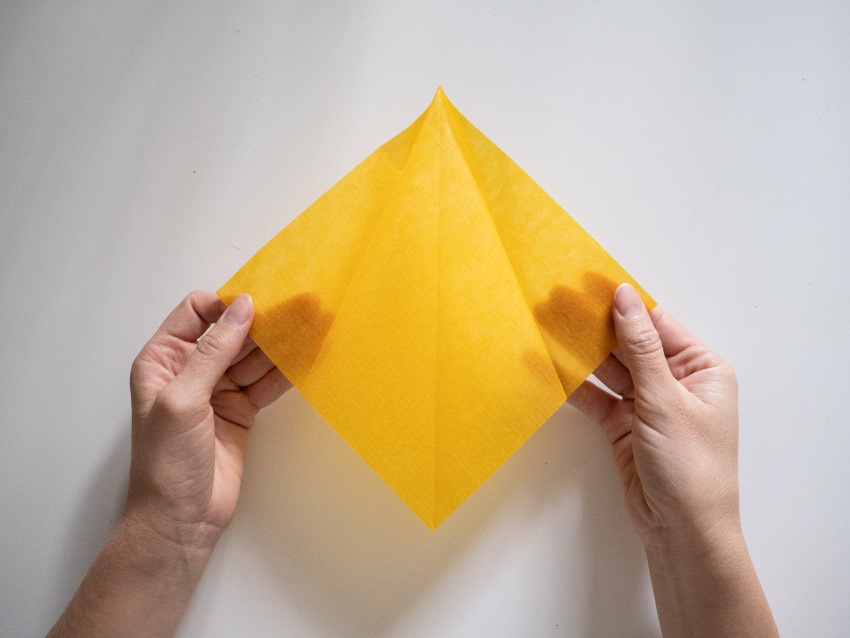
Lay a sheet of kite paper down like a diamond.

Fold #1: Fold it in half
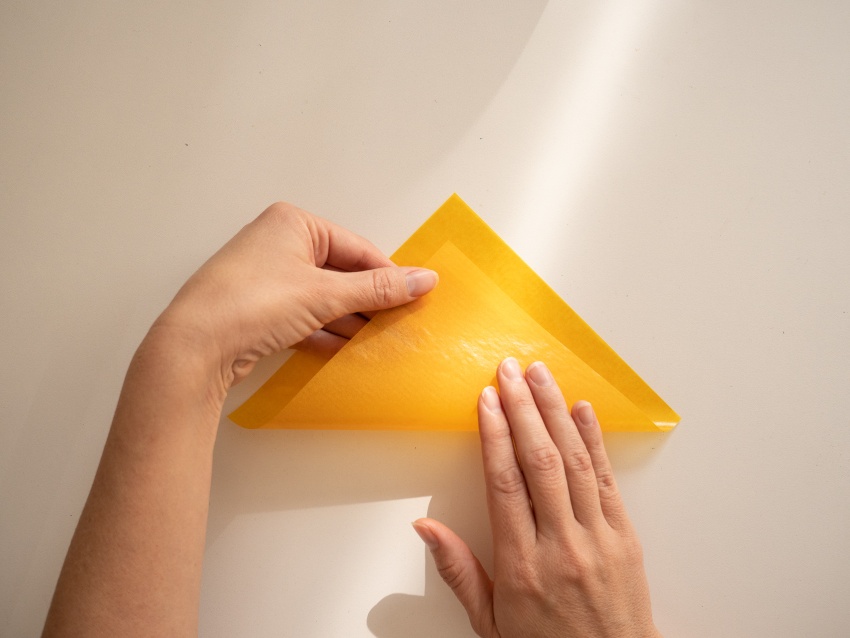
Unfold it. If your fold doesn’t look perfect, you can try again with the same sheet. No need to start over with a new sheet.
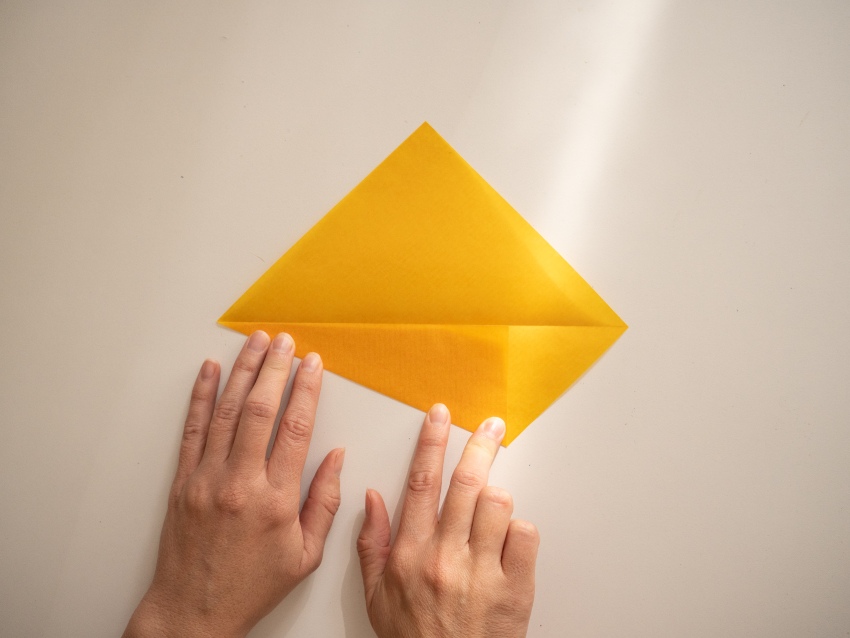
Fold #2: Line up the lower left side of your diamond with the center crease. Make a nice crisp fold and a nice sharp point.
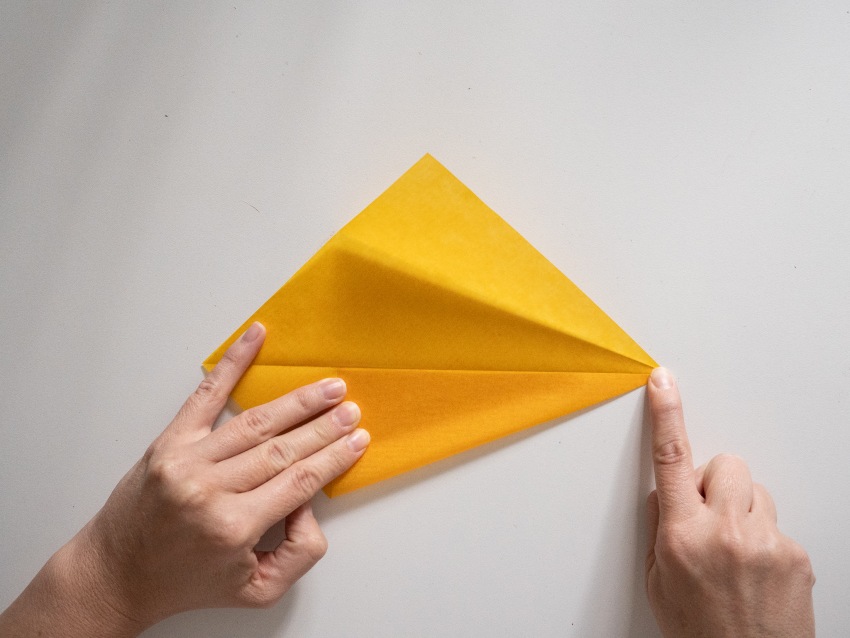
Fold #3: Repeat with the other side. I like to unfold the previous fold so that I can easily see the center crease.
If you unfold your paper this is how it should look.
This is how it should look folded. This is the backside.
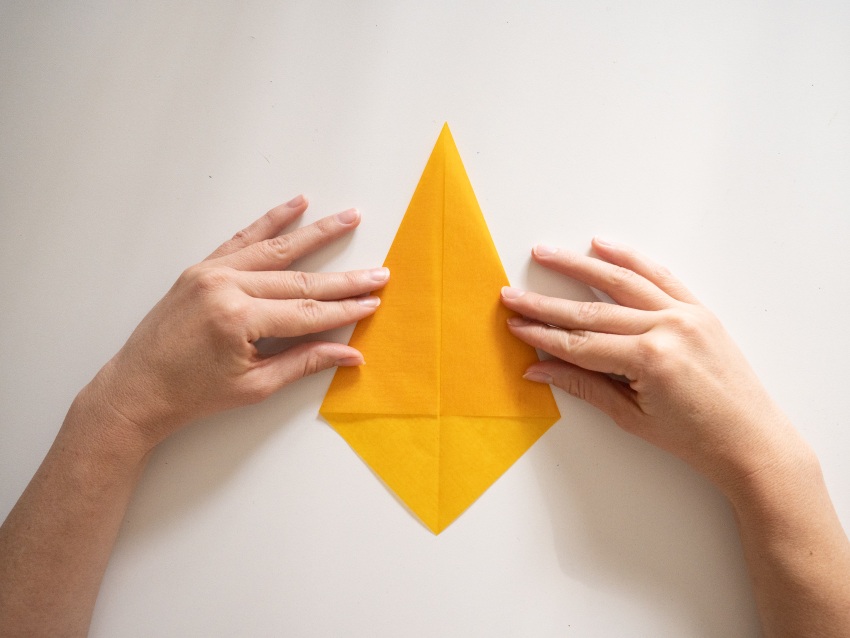
Only 3 folds! Super simple, right?
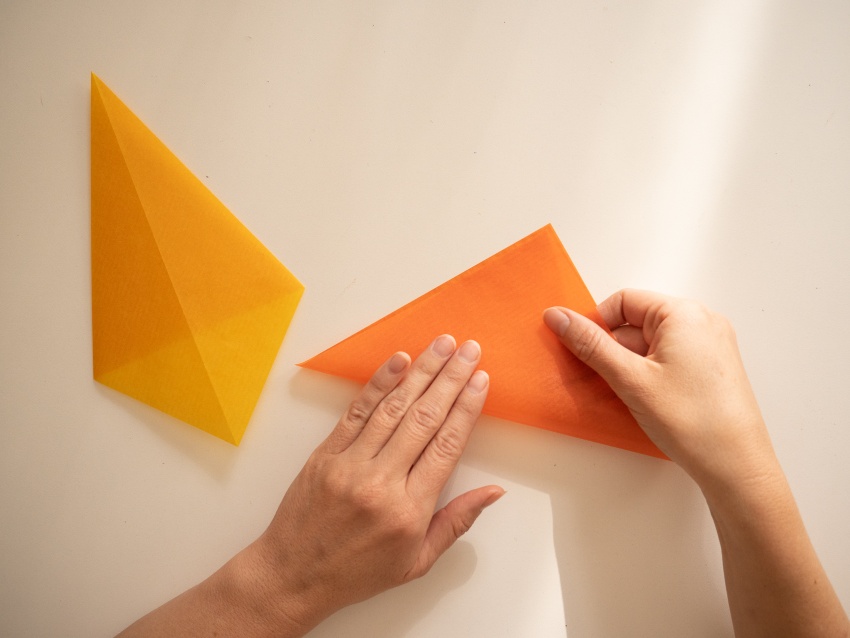
Now repeat with the rest of your sheets of kite paper.
Once you have folded them all, it's time to assemble.
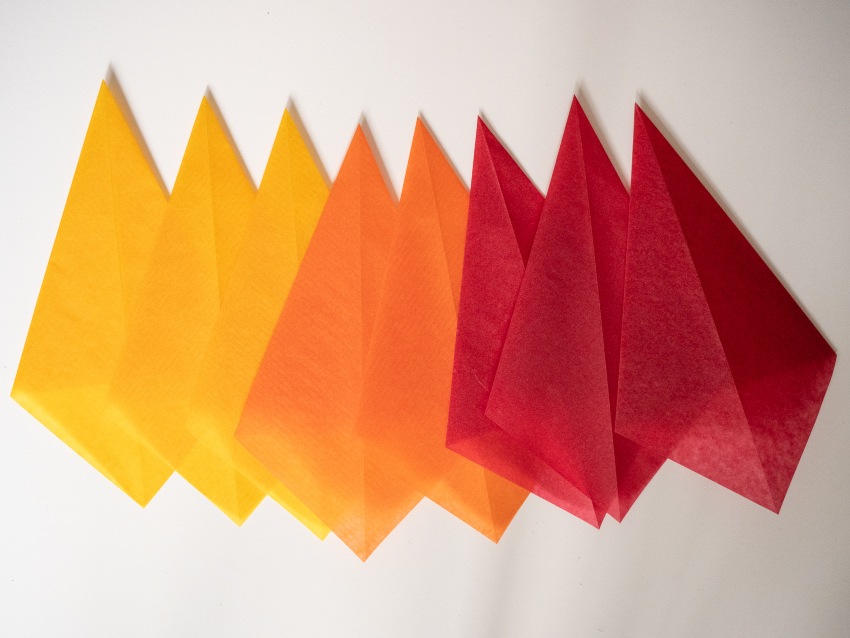
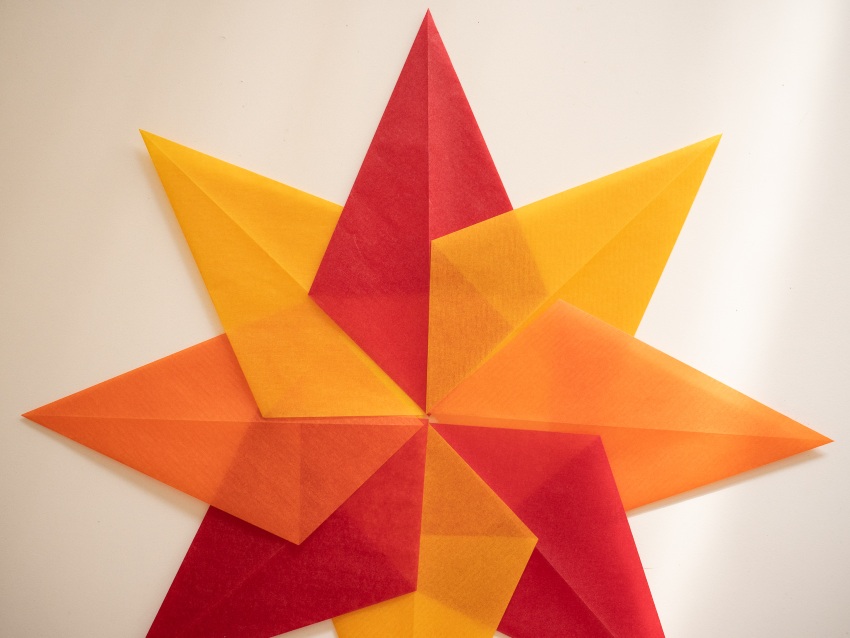
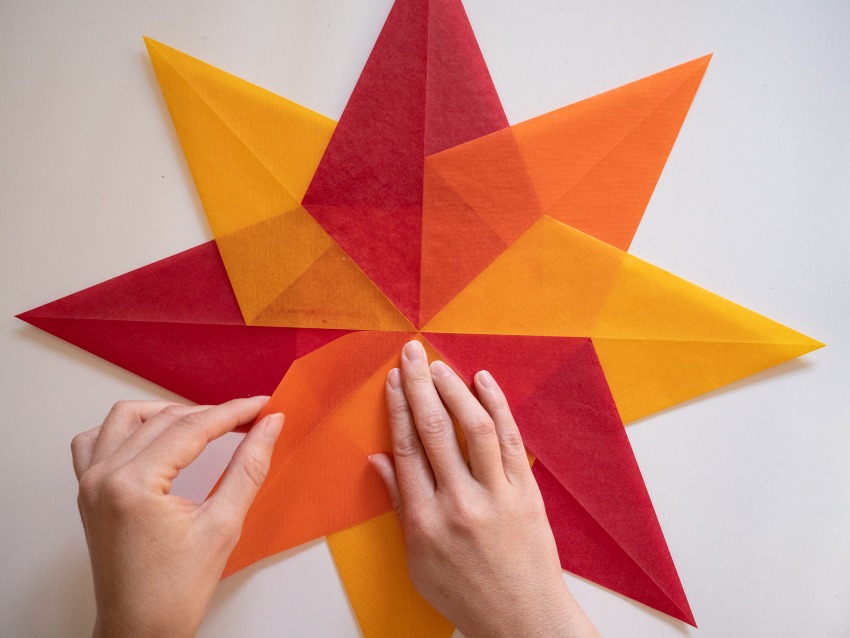
Start by arranging your papers into the star design, playing around with color placement. Notice how it looks a bit like a pinwheel.
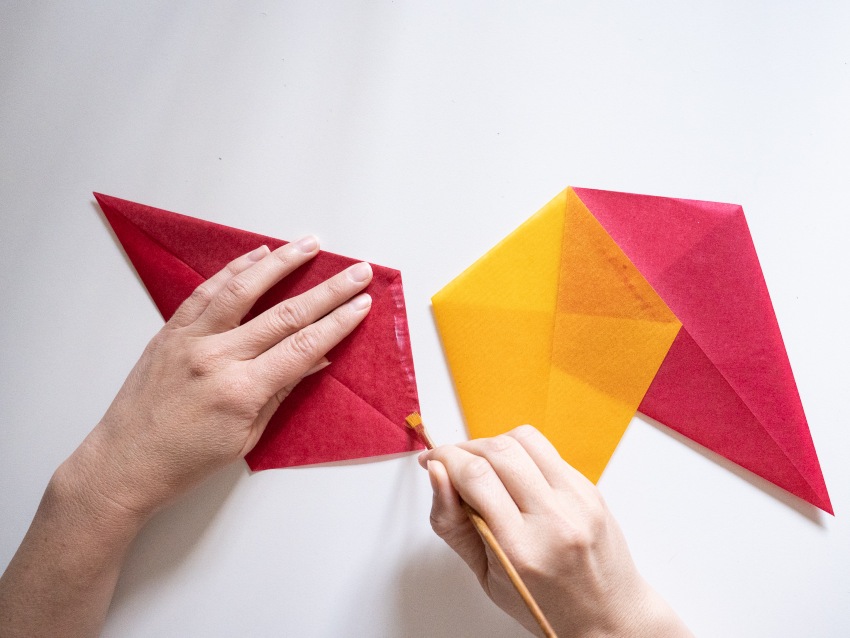
Pull two of the papers to start with.
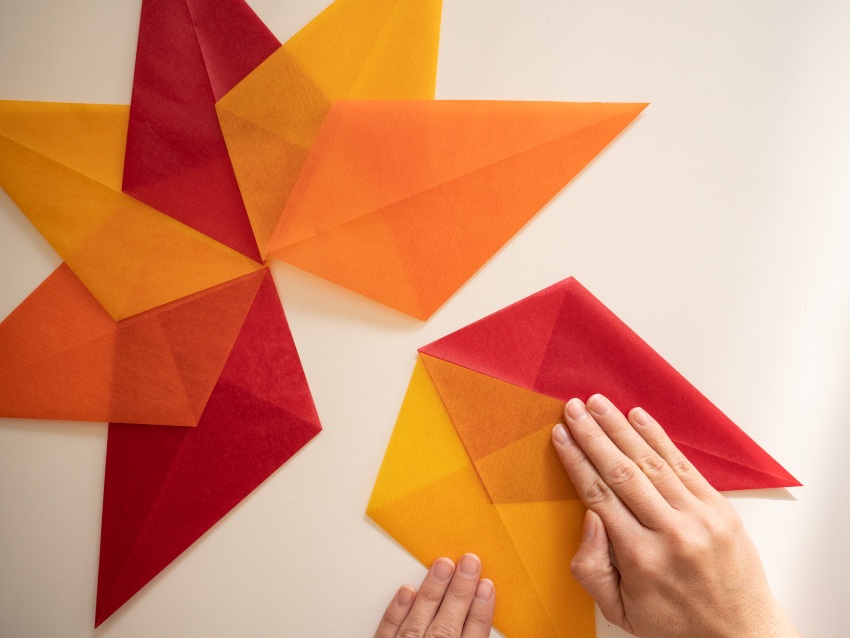
Flip the first paper over to the backside and apply glue along the bottom right edge.
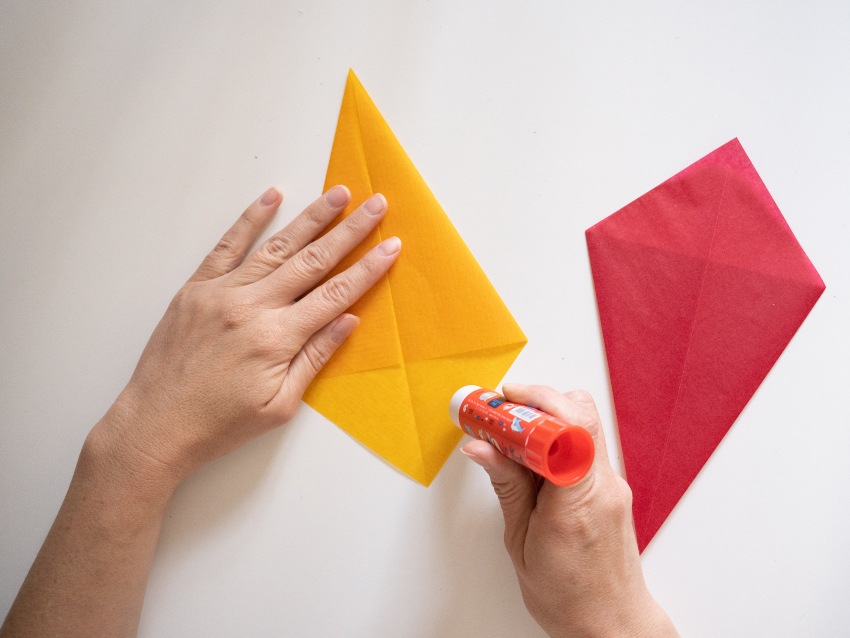
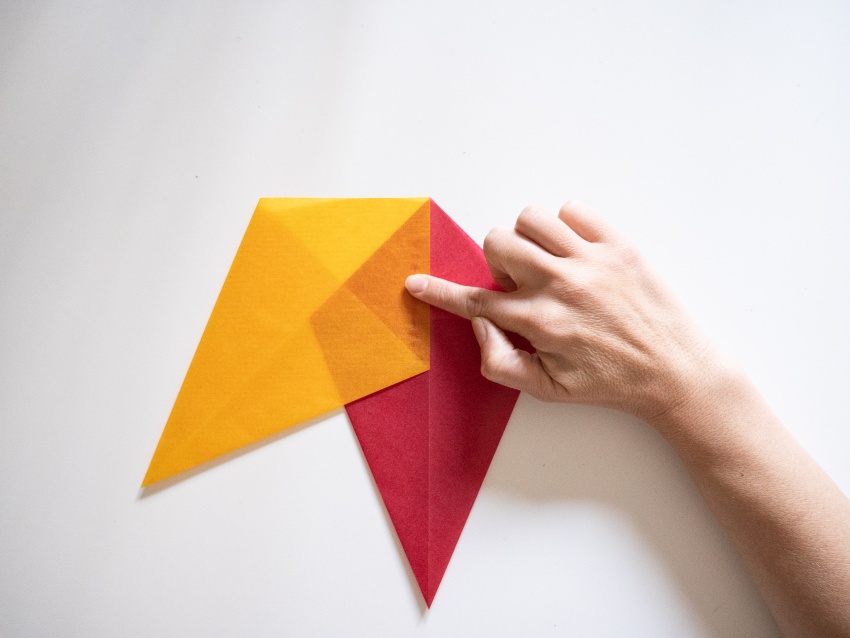
Then flip it back over to the front side. Line it up with the center crease on the front side of the other paper and glue it on.
If you are using craft glue you need very, very, very little. I suggest squeezing a bit of glue onto a piece of paper, and dipping your brush into the glue. Brush off some of the excess glue onto the paper before applying it to the delicate kite paper.
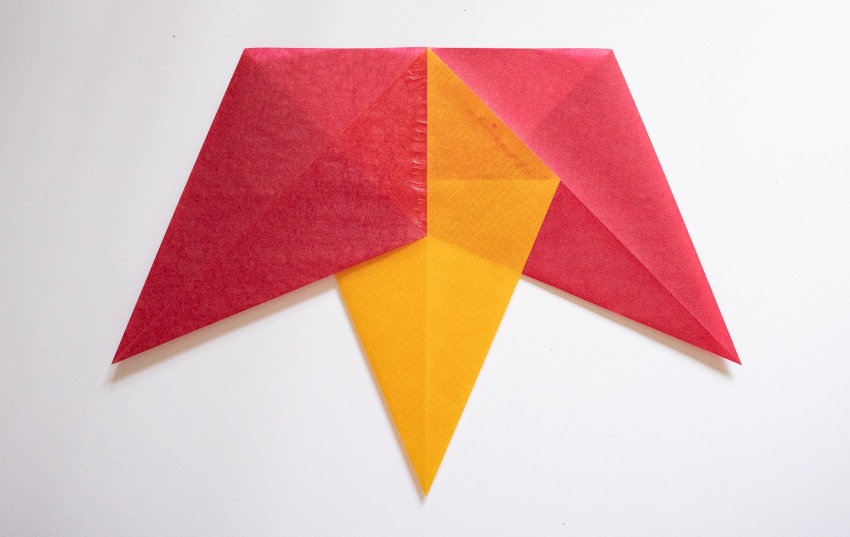
You can see how the paper wrinkles up a bit with the craft glue.
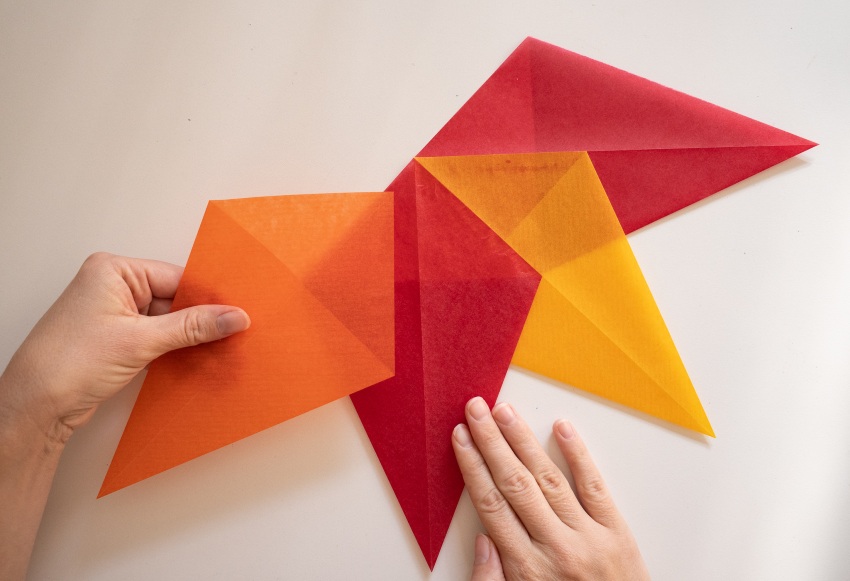
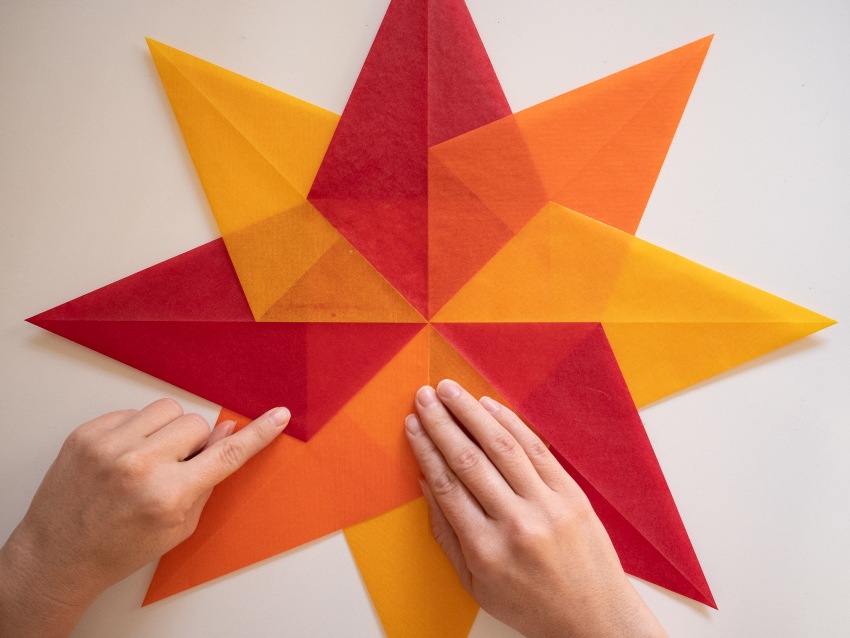
Repeat with the rest of your star points.
Once you glued on the last star point, you have one more step to do.
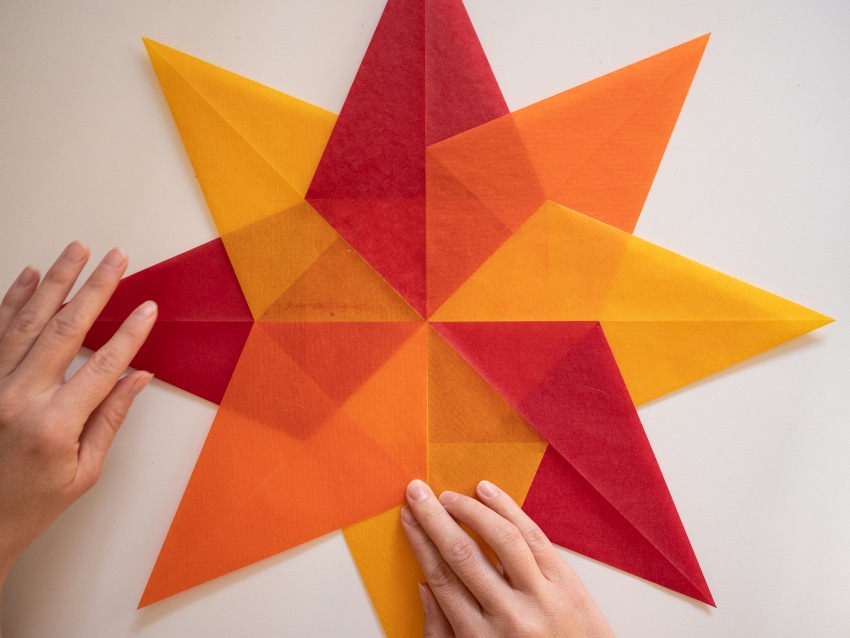
In this case, lift the orange star point a bit so that you can pull the red star point up and over to overlap the orange star point.
Now it looks like a pinwheel again.
Apply glue to the backside of the red paper or to the front side of the orange paper, whichever seems easier to you.
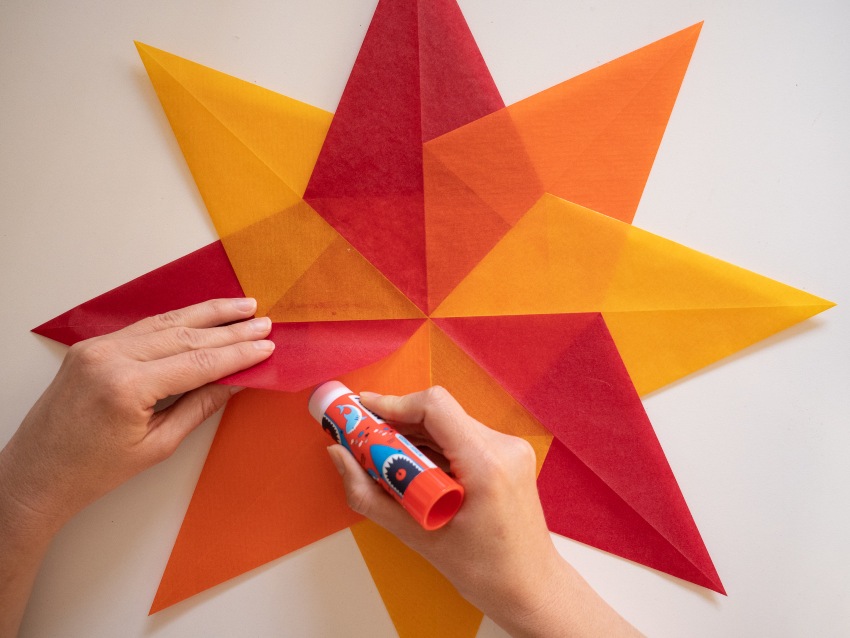
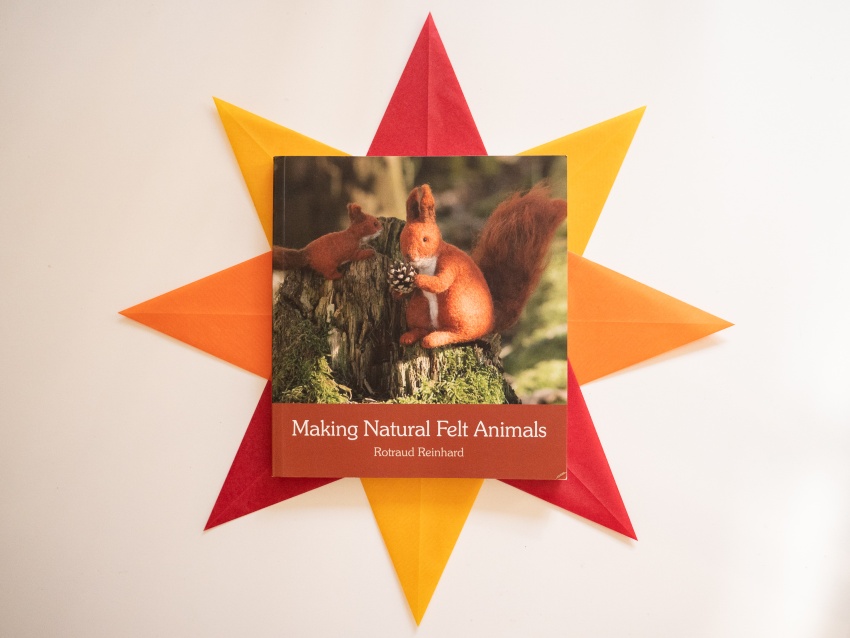
If you’re not in a hurry to hang your star, it’s nice to press it with a heavy book overnight. If you have a large flat object that covers the whole star, that would be even better.
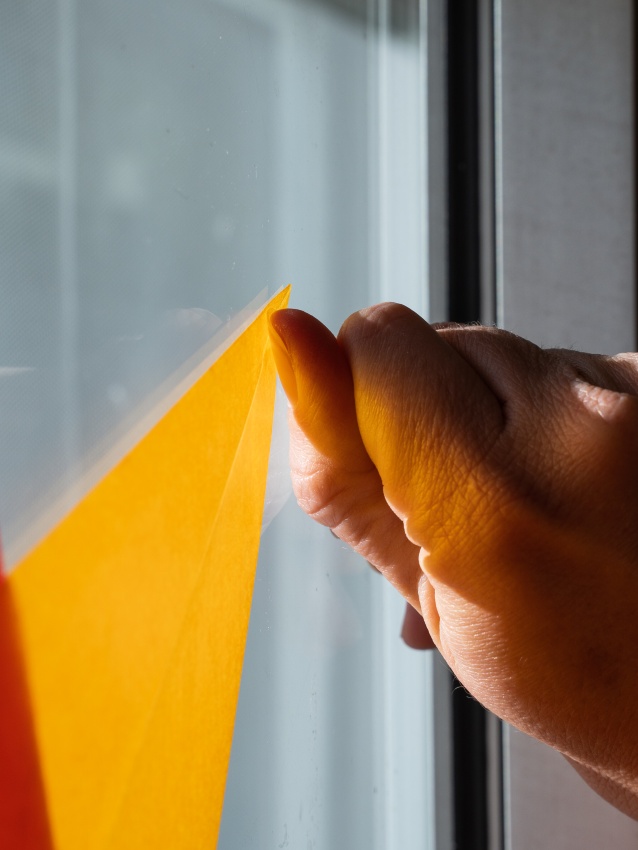
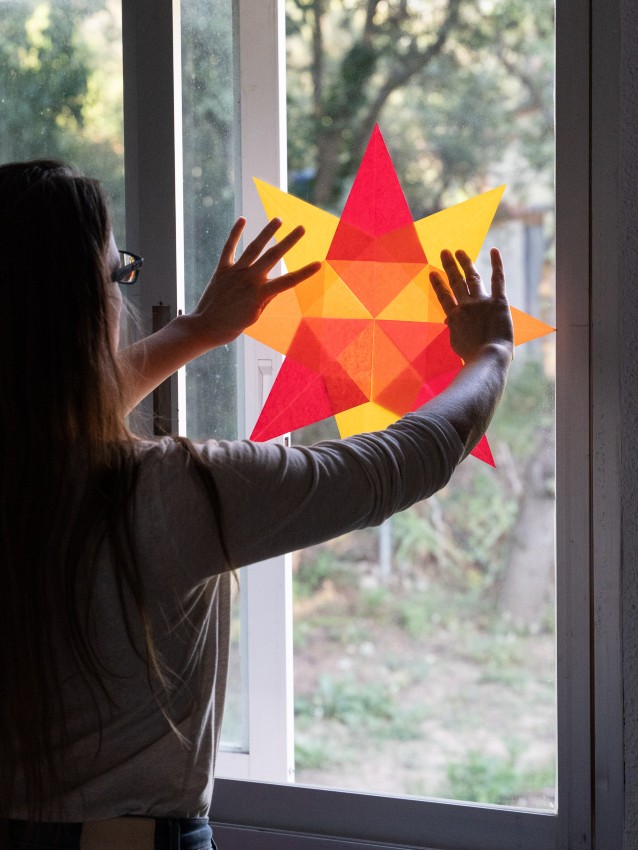
Time to hang the window star!
You can use tiny rolls of tape or glue. My personal preference is glue even though it’s very not fun to clean glue off the window. However, I think it’s worth it because it sticks better than tape.
Be sure to use a water-based craft glue!!
Apply a tiny dot of glue on each point and some tiny dots of glue in the center

Hold the star in place on the window as you use your fingers to press on the glued areas.

I like to use the back of my fingernail because it spreads the glue dot into a thin layer.
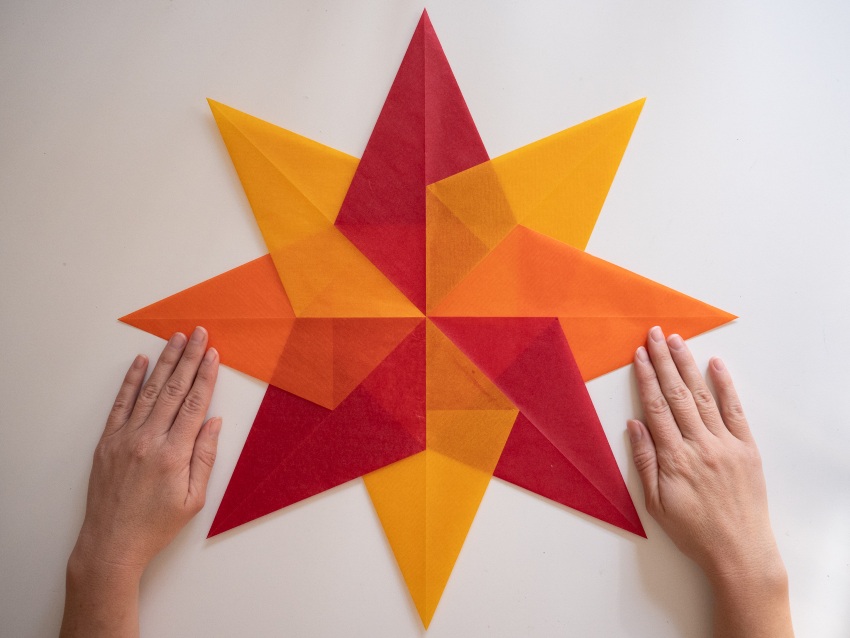
Enjoy your window star!
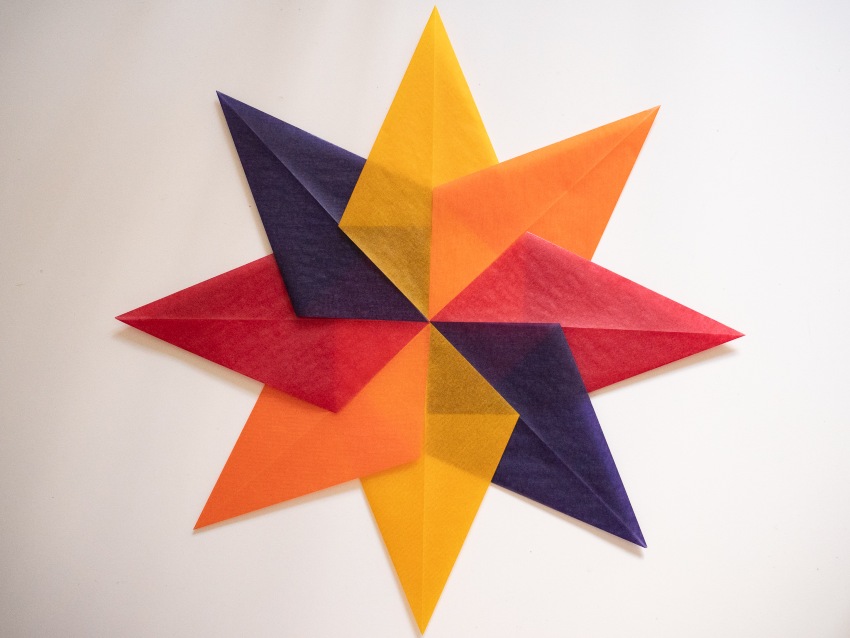
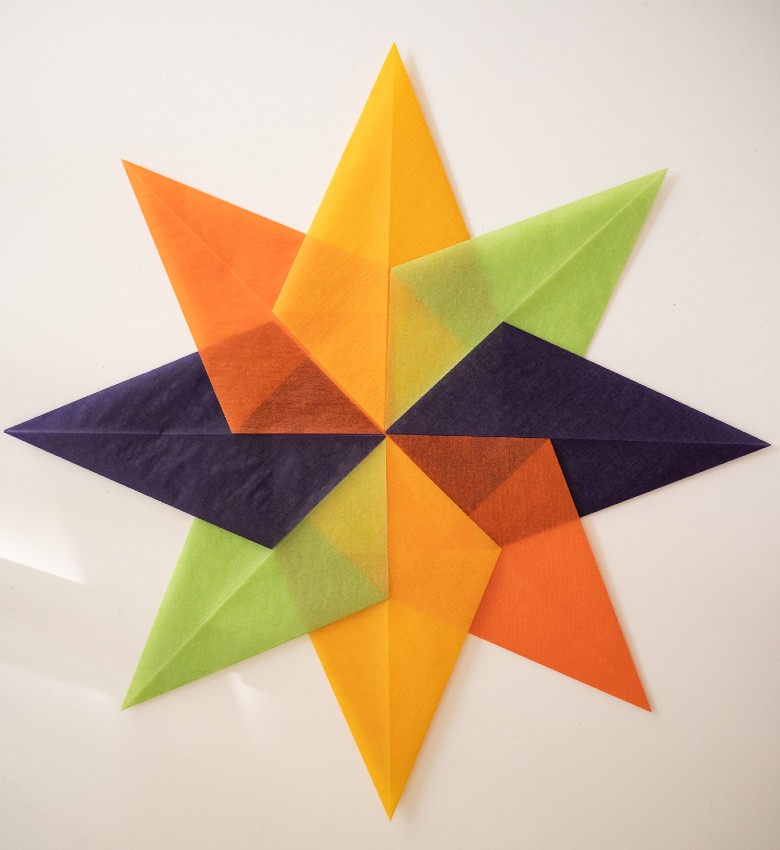
Here are some other fun color combinations inspired by autumn and Halloween.

We hope you enjoyed this tutorial. If you make a window star, we would love to see!
Be sure to tag us on Instagram!
and use #achildsdreamcrafts
Happy Autumn!
.............