
Felt Birthday Banner
Posted by Debbie S. on 1st Jun 2023

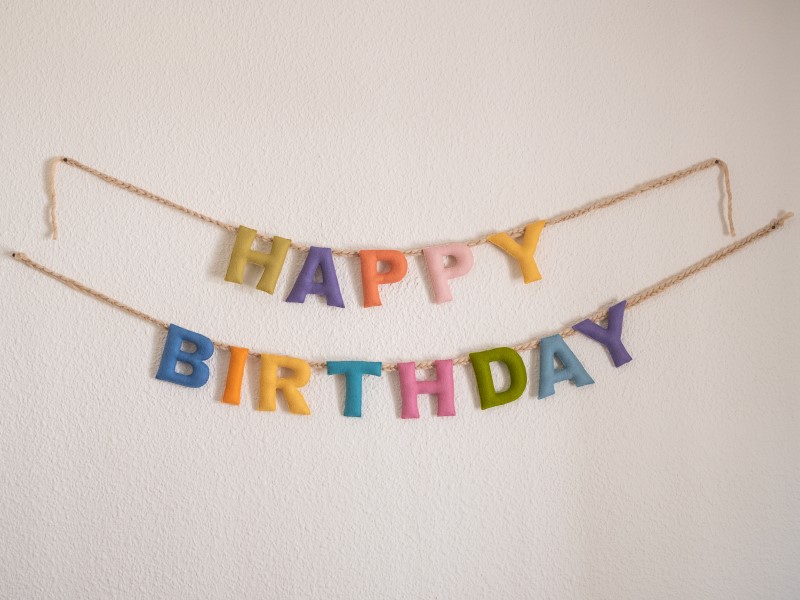
Create an heirloom Happy Birthday banner for your family! Jessica, from Toymaking Magic is here to share with us how to make a stuffed felt birthday banner!
To make this Happy Birthday banner you’ll need:
PATTERN
Click here to download!
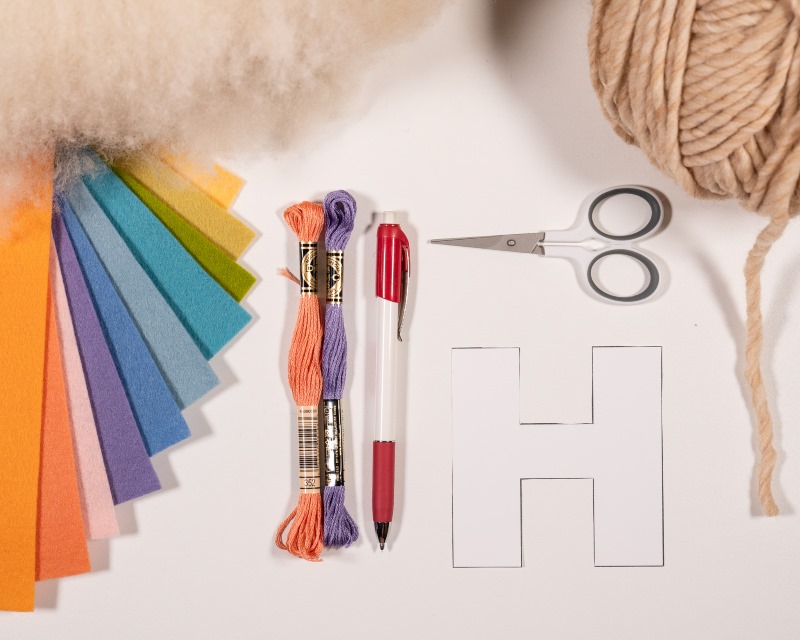
MATERIALS
Felt*
*I used all but three of the colors from the Spring Blossom collection. You’ll have lots of felt left over for future projects!
Or if you’d like to select your own colors, keep in mind that you can get 2 or 3 letters out of each sheet of felt, depending on the letter. Five or six sheets of felt should suffice.
**options: choose thread to match each different color of felt or choose a neutral such as a light gray to use for sewing all of the letters.
TOOLS
Marking tool (pen, pencil, chalk pencil)
Detail cutting scissors
A tool to aid with stuffing such as a chopstick or a pair of tweezers or small scissors.
CHOOSE COLOR PLACEMENT
Cut out little squares of your felt to play around with color placement. Think about which colors you want to use more than one time.

I’m using (in order):
Celery, Lilac, Tea Rose, Blush, Buttercream
Sky, Apricot, Buttercream, Aquamarine, Rose, Willow, Cool Blue, Lilac
TRACE AND CUT
Print the PDF pattern and cut out the letters.
Trace the letter onto the felt. Flip the pattern piece over and trace again.
I like to mark the wrong sides of the felt with an “X”.
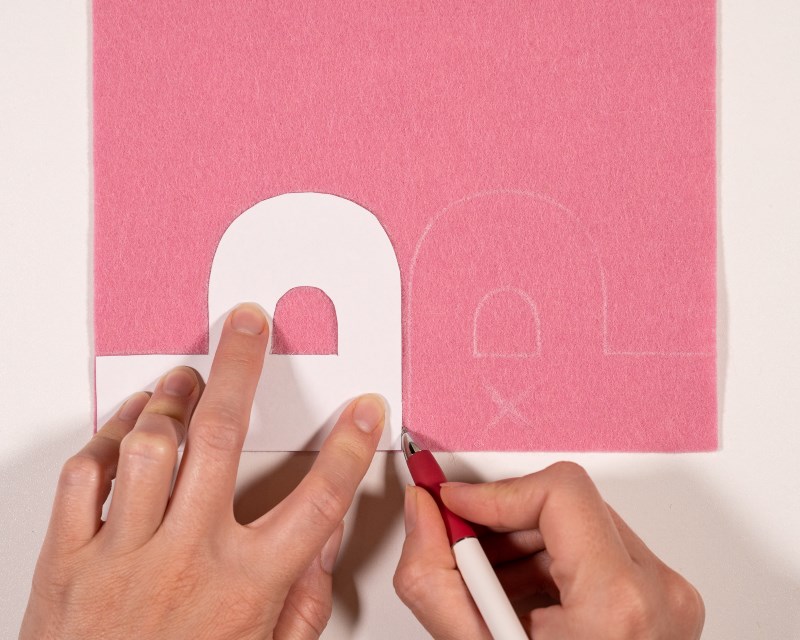
Cut your letter out carefully so that your trace marks don’t show.
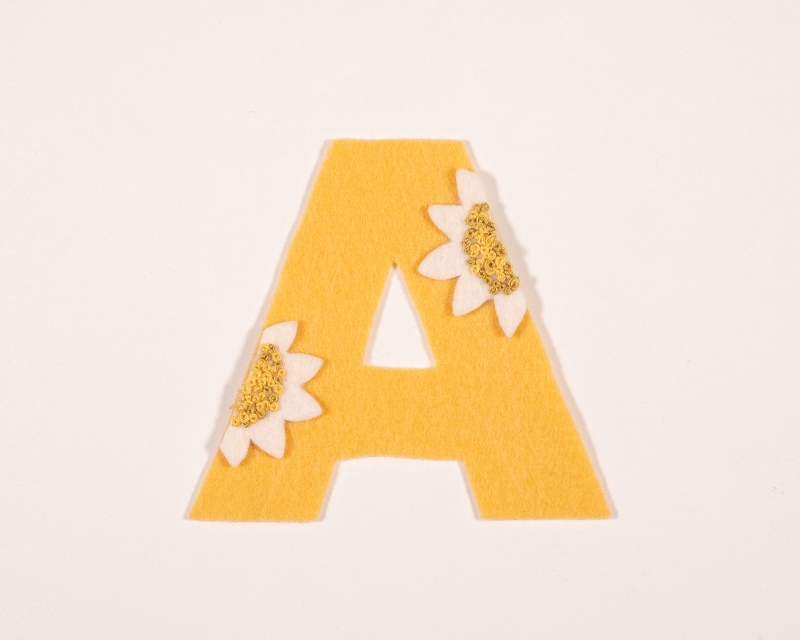
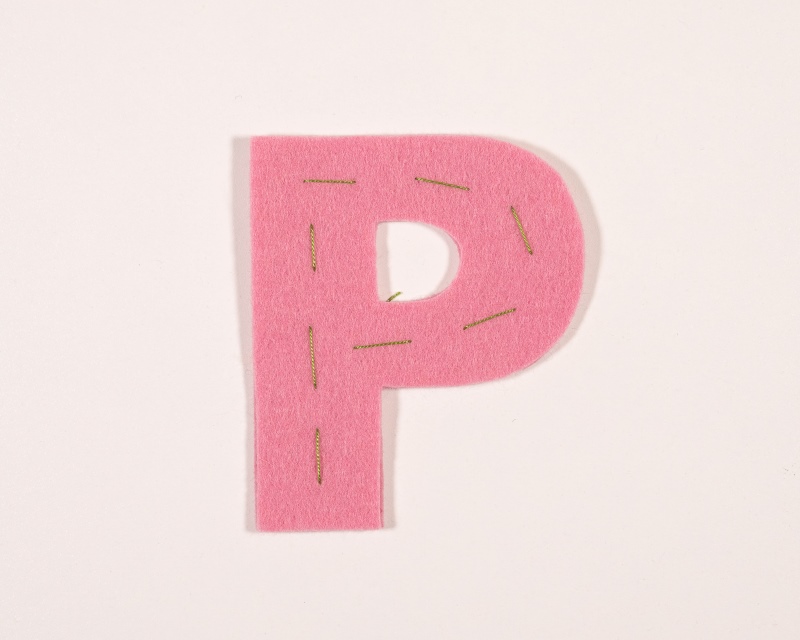
EMBELLISH
If you would like to add embroidery or applique you can embellish the letters before you proceed to sew the two sides together.
SEW
You can choose to sew your letters with either a whip stitch or a blanket stitch. I chose to do a whip stitch because I find it to be a bit quicker and we have a lot of letters to sew! Check out my video tutorials for the blanket stitch and the whip stitch if you need it!
![]()
Pin your letter pieces wrong sides together or do large basting stitches (my preference).
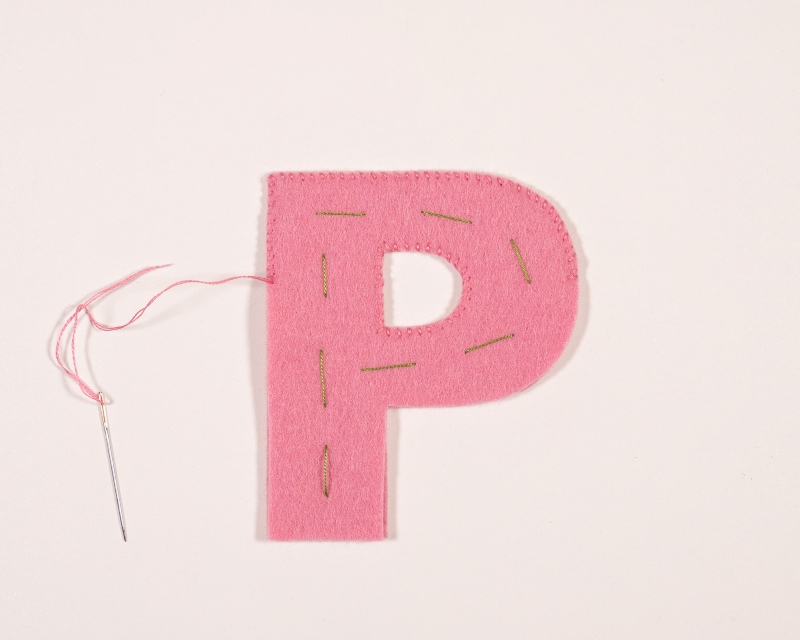
Cut a length of embroidery floss about 18 inches long (45cm).
Thread your needle with two strands of floss. Knot the end.
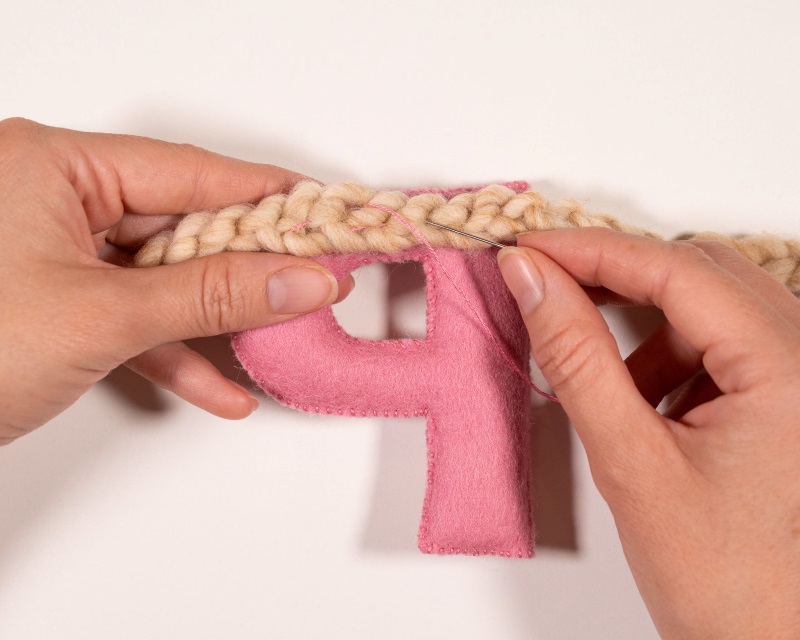
Think about a sewing strategy for the particular letter you are working on to decide where to begin sewing. I like to start with the center of the letter and then sew about a third of the letter closed.
Begin sewing through the back layer so that your knot stays hidden on the inside.
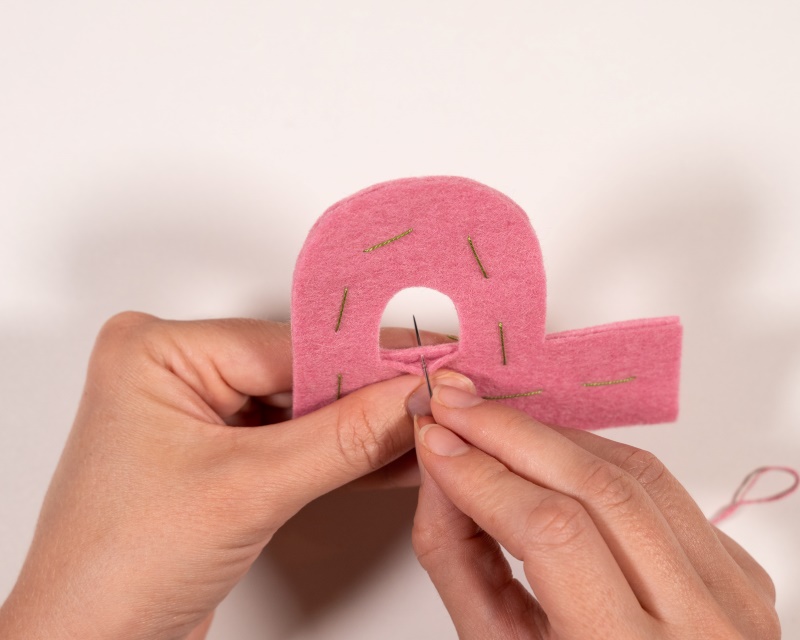
For best results, keep your stitches tiny and closely spaced together. Corners are weak spots, so make your stitches extra-close together on the corners.
STUFF
Remove basting stitches (or pins).
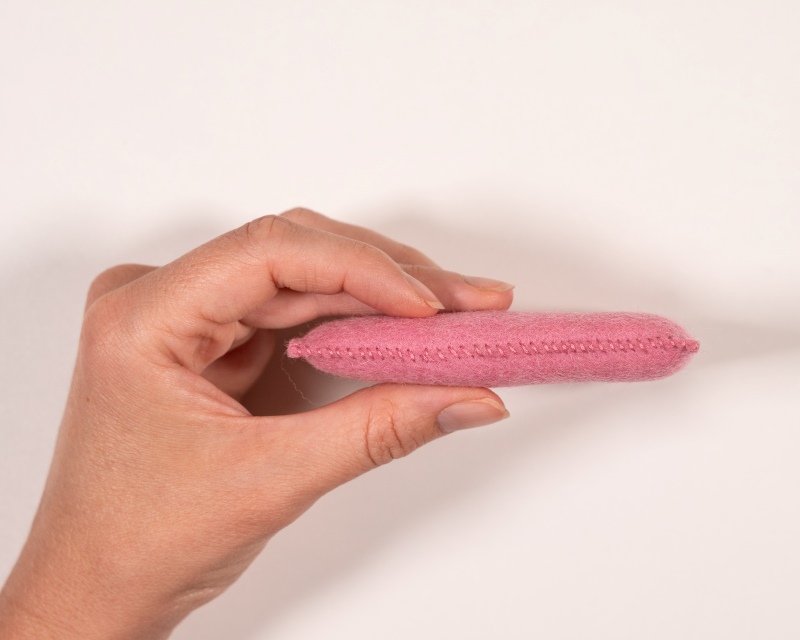
Stuff with wool, a little bit at a time.
Use your stuffing tool of choice to help push the wool into each section evenly.
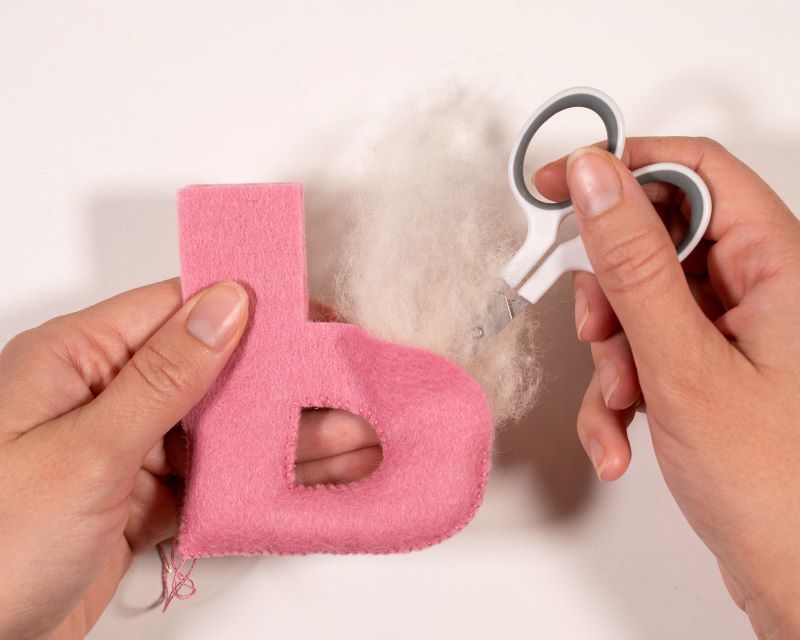
It takes a bit of practice and trial and error to stuff evenly.
If you notice your seam pulling apart in any areas, that means you have overstuffed it. If it is in a difficult spot for you to pull the wool out with your fingers, use tweezers instead.
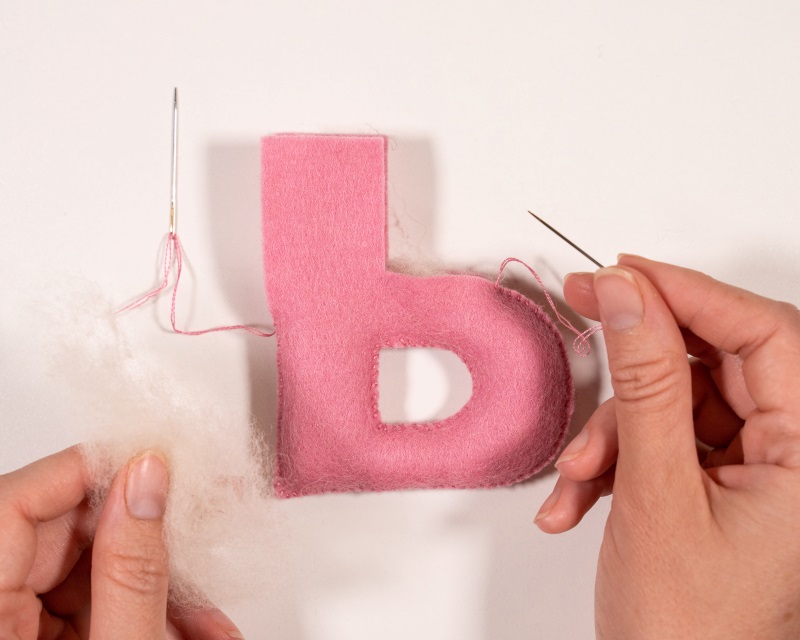
Sew a bit, stuff a bit, sew a bit, stuff a bit…I find it helpful to have two working needles going so I can sew up both sides simultaneously.
Once you have sewed all the way around, tie off and bury your thread tails, trimming close to the felt.
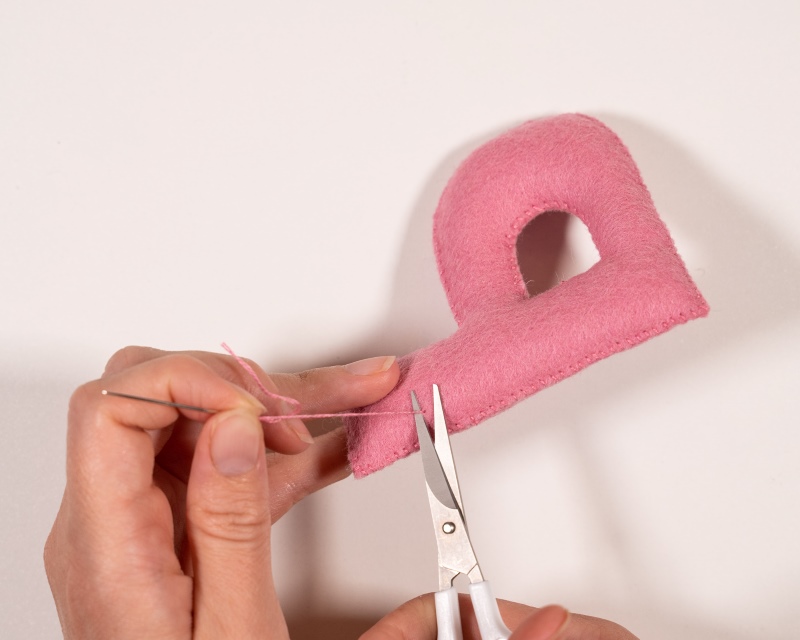
Continue on to sew the rest of the letters.
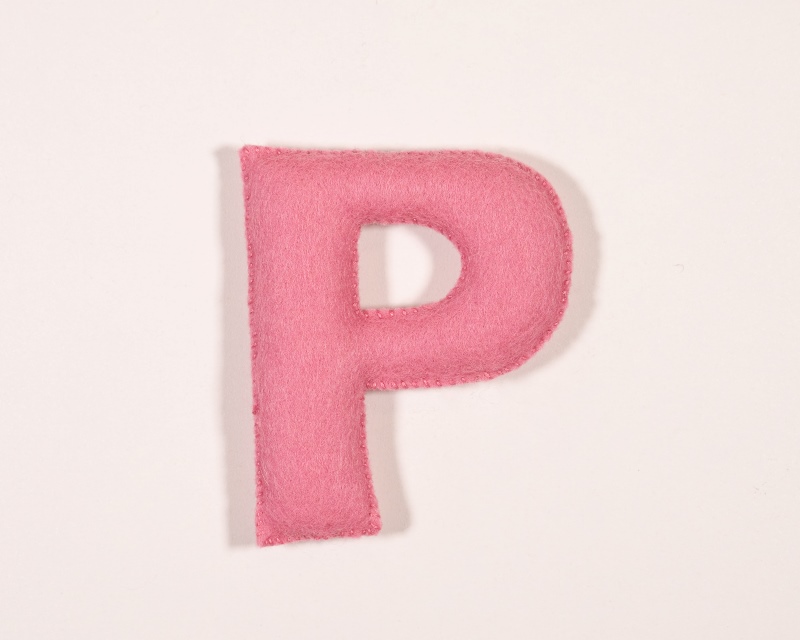
Your letters should be just over half an inch thick once stuffed.
FINGER KNIT CORD
Once you have sewn all of your letters, it’s time to make a finger knitted cord. You can either make one for “HAPPY” and one for “BIRTHDAY” or one long one for both words.
Check out my finger knitting tutorial if you need it.
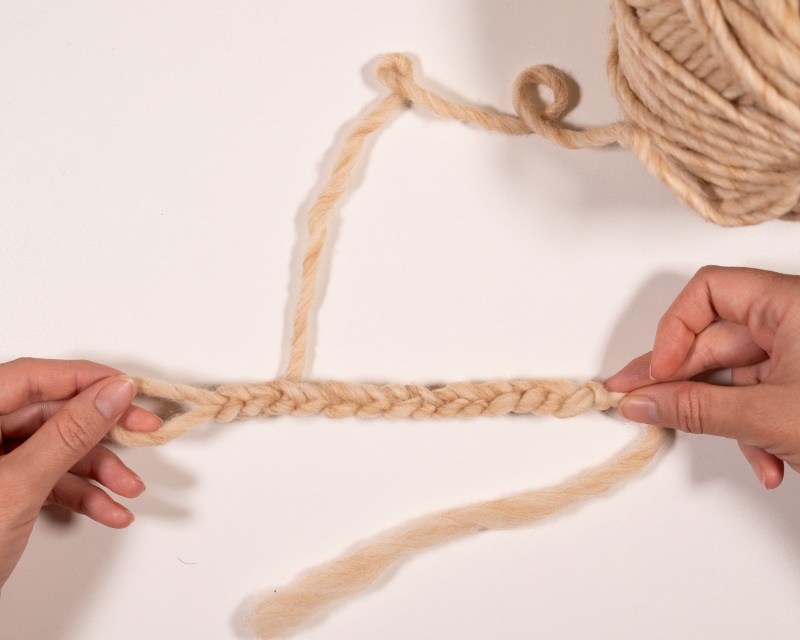
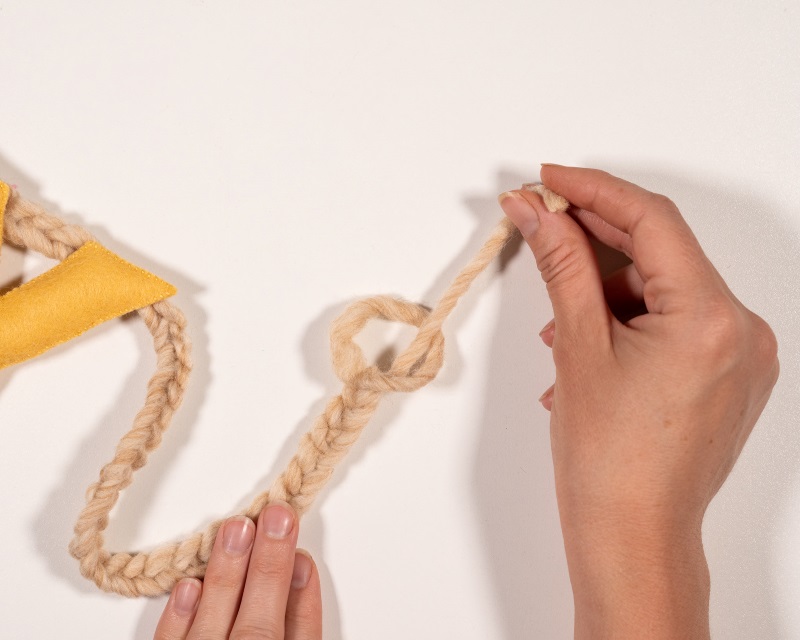
Start by finger knitting a cord that is about 2 feet long. (The cord is unfinished and still connected to the ball of yarn at this point)
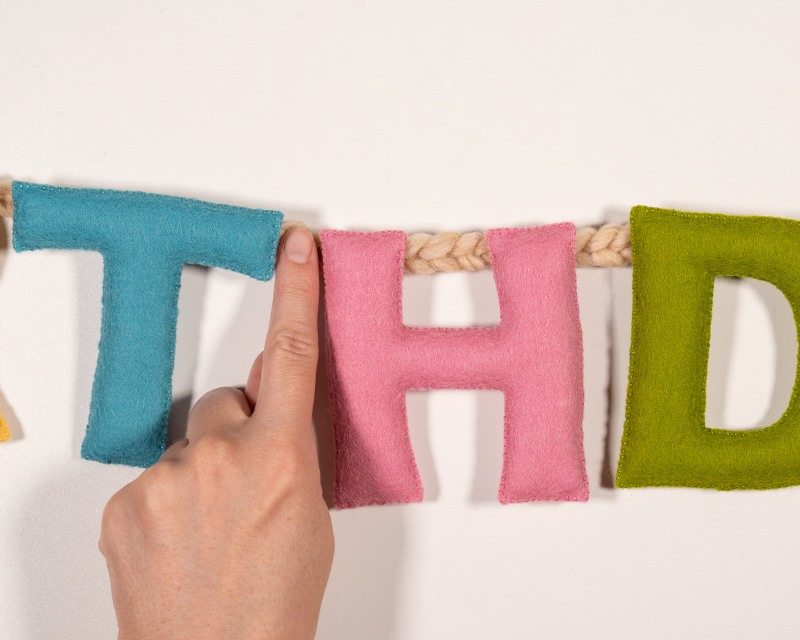
Leave about 12 inches of cord and then start stitching on the first letter.
Stitch the letter down with a bunch of random stitches until it feels secure.
Continue to finger knit your cord longer and longer, stitching down each letter as you go.
The finger knit cord is stretchy so you’ll discover that the spacing between the letters grows when it’s hanging.
I recommend leaving one finger-width spacing between each letter.
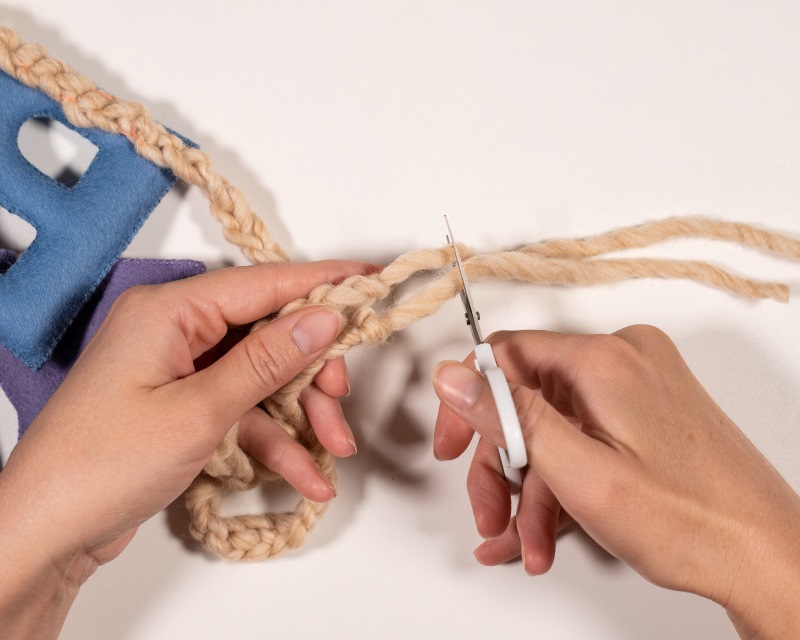
Once you have finished sewing all of the letters, make sure you have 12 inches of cord extending on the end, and then snip your yarn and pull it through the last loop.
You can choose to snip off the extra yarn tails or leave them if you plan to tie the banner onto something vs nail it to the wall.
After all your hard work you’ll want to take good care of the banner! Find a small box that you can dedicate to storing the banner all by itself so that it fits inside comfortably without getting squished.
Take it out to hang for every birthday year after year!
We hope you enjoyed this tutorial. If you make a banner, we'd love to see!