Felt Summer Bunting Garland
Posted by Debbie S. on 9th Jul 2021
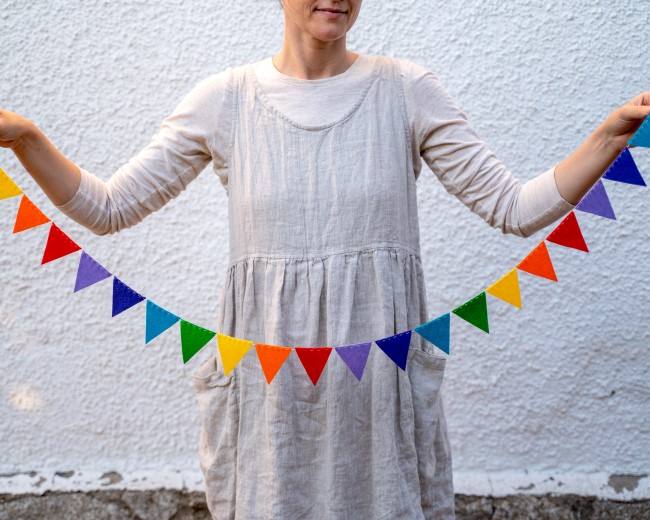
Felt buntings are a beautiful, simple way to dress up a space for celebrating! Whether it be for a birthday party or holiday! Jessica, from Toymaking Magic is here to share with us how to whip up a bunting using our Holland Wool Felt.
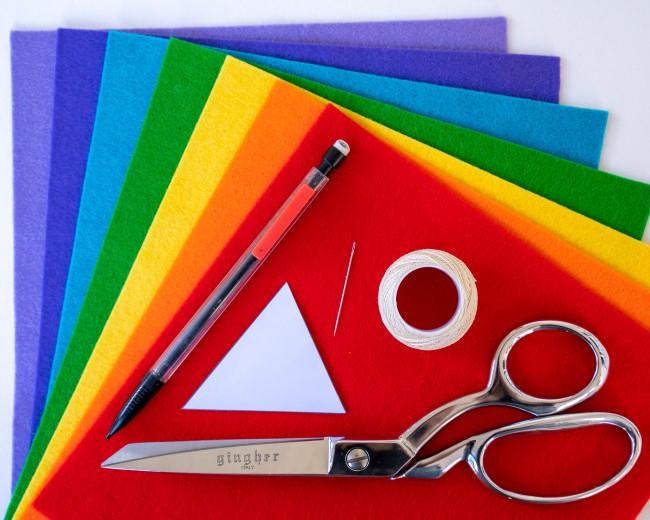
First, gather materials:
●Wool felt sheets in however many colors you like*
●Pearl cotton or embroidery floss
●Pencil
●Paper triangle pattern piece
*I used sunset, tangerine, yellow, emerald, turquoise, plum, lilac
Using your pearl cotton or floss, measure how long you want the bunting to be and add several feet extra to account for drape and hanging purposes. Cut thread to length.
Either make yourself a triangle pattern piece (sturdy cardstock or watercolor paper works nicely) or print one out from this PDF.
Trace and cut out all the triangles you need.
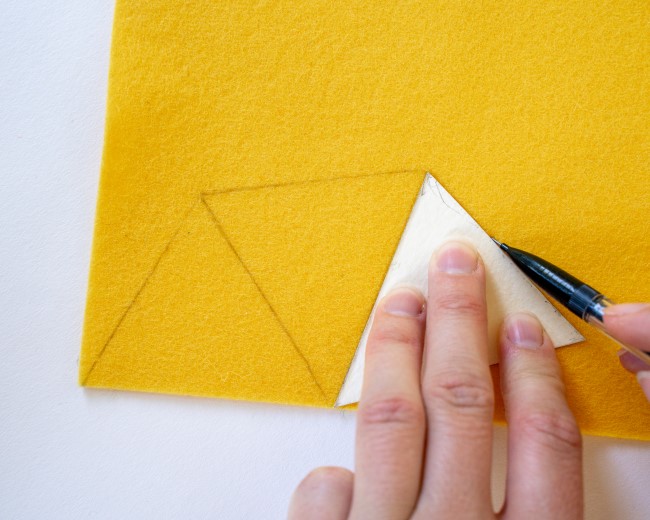
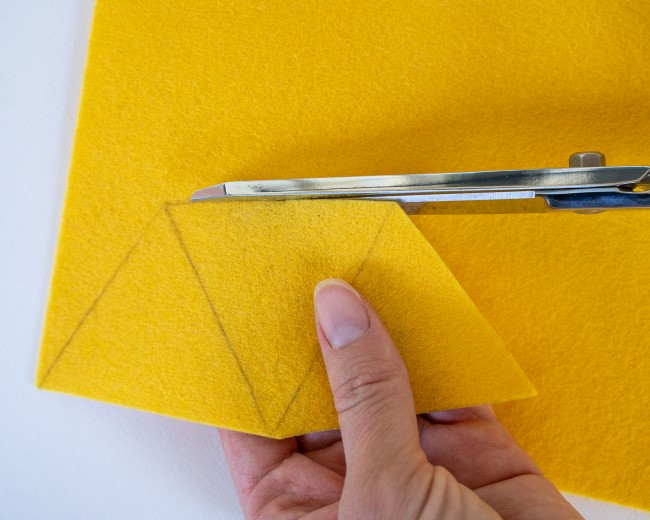
Be sure to cut on the inside of the pencil marks so that they don’t appear on the edges of the felt triangles.
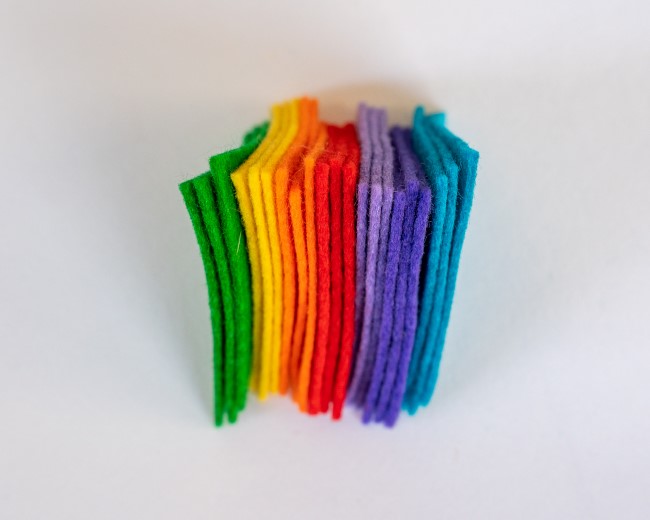
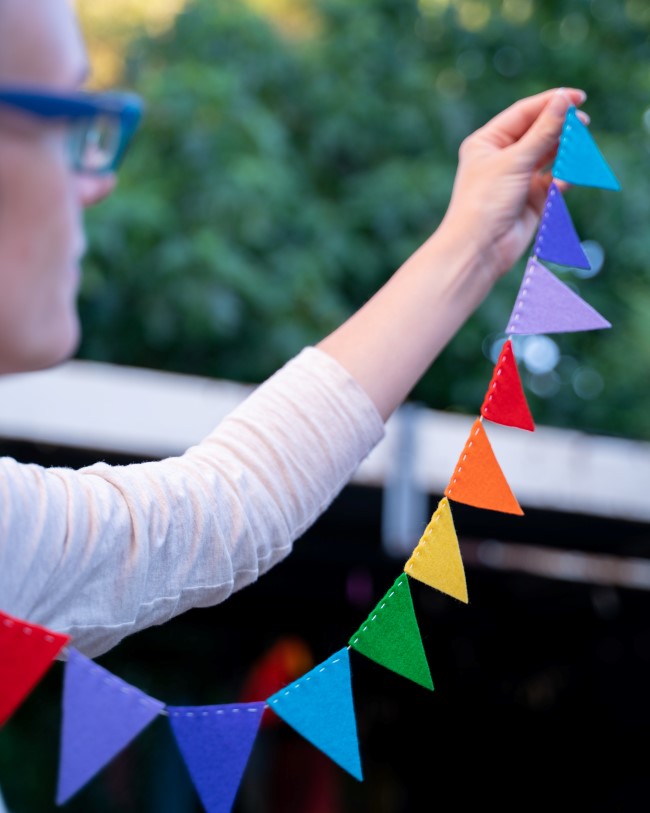
Arrange them in the order you want. I chose rainbow order.
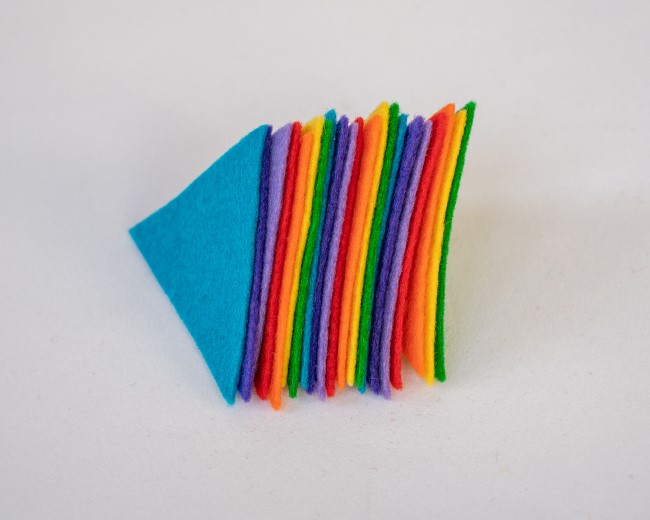
Divide into two stacks.
Fold your length of thread in half to find the center. Mark the center point by leaving the thread folded (or however you want to mark it.) Grab the triangle from the top of the first stack. (This should be the color that you want to be in the center of the bunting.)
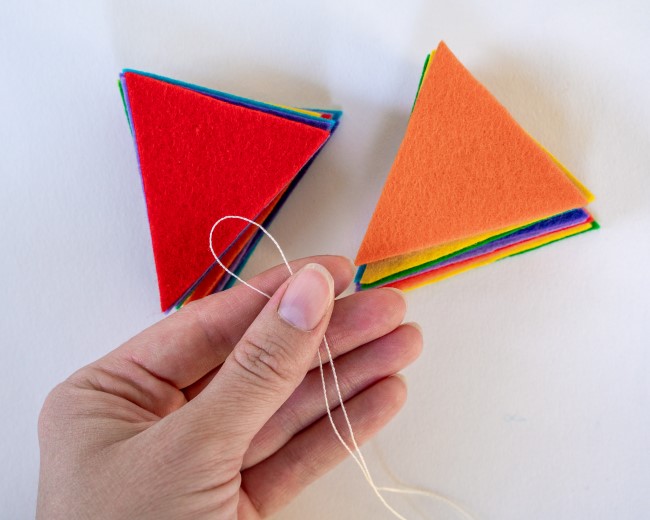
String it onto your thread using a simple running stitch.
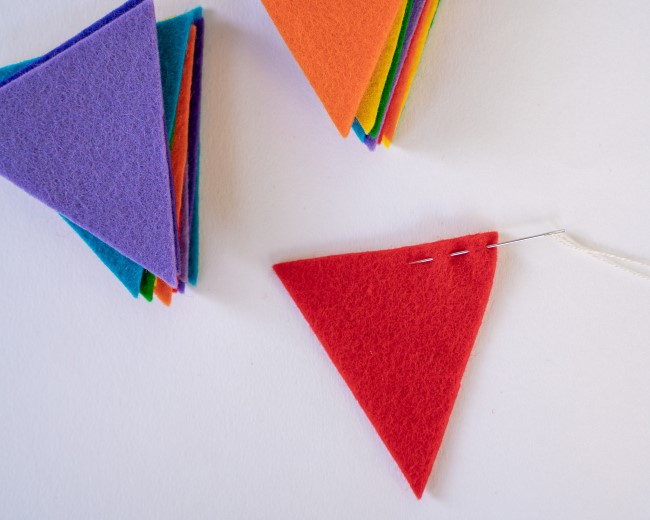
Slide the triangle down the thread until it reaches the center point.
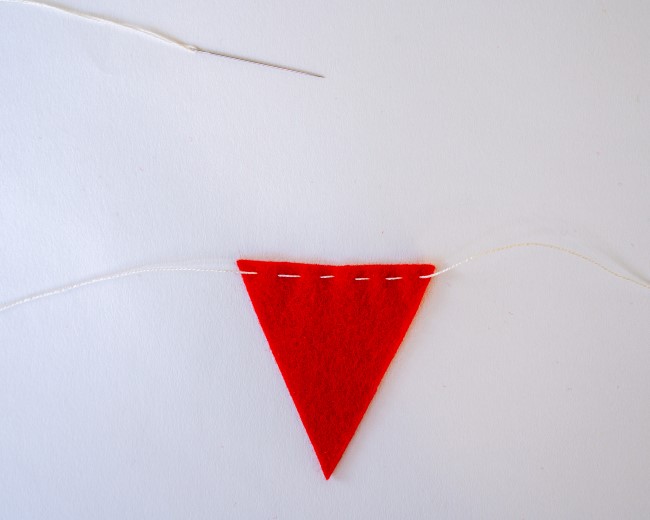
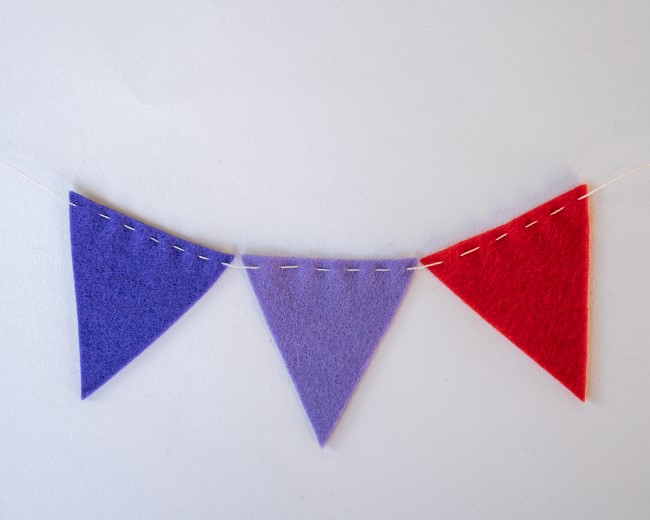
Continue using a running stitch to sew on all of the triangles in the first pile and sliding them into place. It’s important to note that when the bunting is hanging and draping, the top triangle points are closer together than when the thread is taut. When you are stringing the triangles on, leave a teeny tiny bit of space in between them so that when the bunting is hanging, the triangle points touch perfectly.
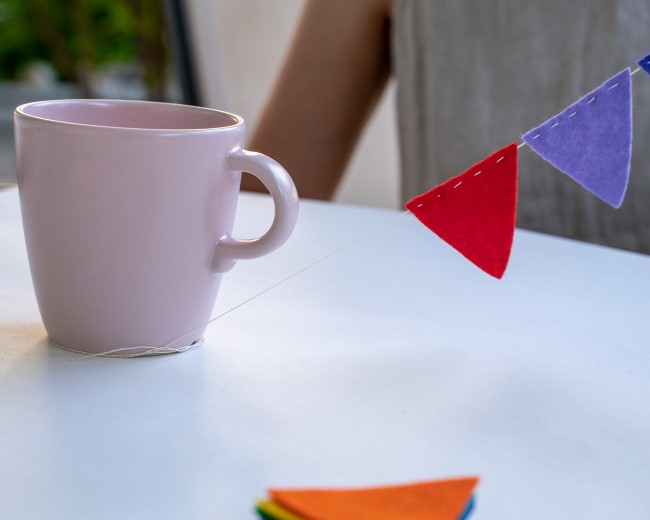
If you are making a very long bunting, you might find it helpful to wrap the other end of your thread around a mug or other heavy object to keep it taut and out of the way.
Once you have finished sewing the first stack, thread your needle with the other end and sew on the second stack of triangles (double check your order to make sure you are grabbing from the correct end of the stack!)
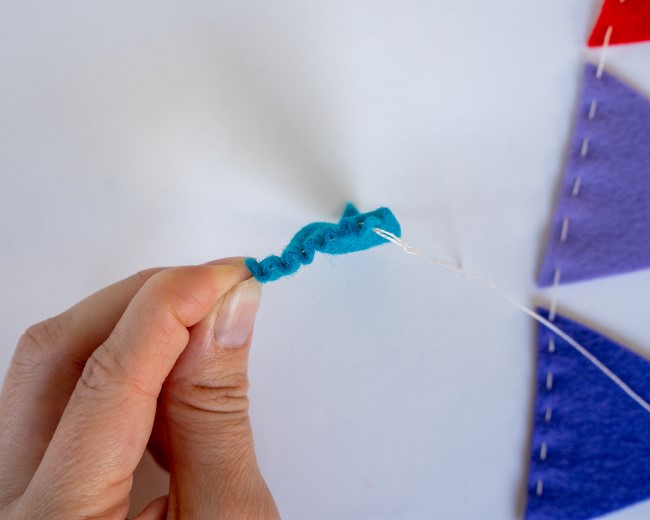
When doing the running stitch, I like to load up my needle all the way across before pulling through.
Once you have finished sewing the second stack, it’s ready to hang!

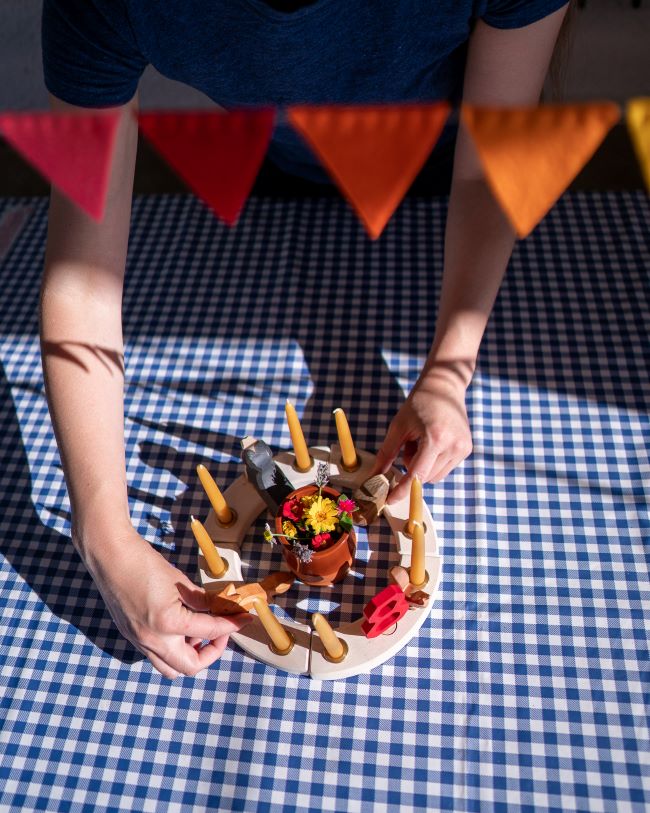
We made a bunting for our summer party (we throw a little party to celebrate the start of each season) and my son’s birthday fell just a few days after so we left it up for his party! We love it so much we are contemplating whether to leave it hanging there all summer or move it into the boys’ bedroom as a permanent decoration!
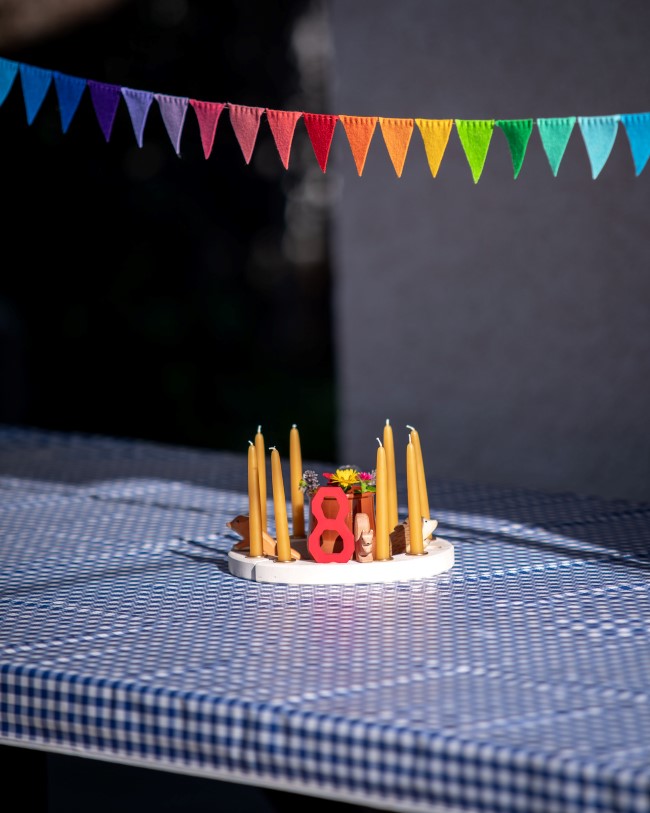
Children can easily participate! My 7 year old cut out all of the triangles and chose what order to put the colors in. He wasn’t interested in doing any of the sewing but I feel certain that many children would enjoy helping with that step as well.
We hope you enjoyed this tutorial. If you make a felt summer bunting, we would love to see!

