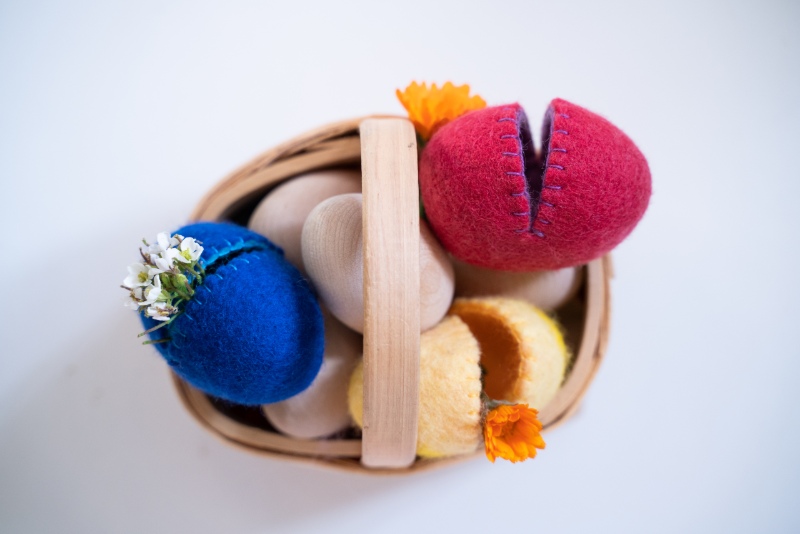
Felted Hollow Easter Eggs
Posted by Debbie S. on 2nd Mar 2022
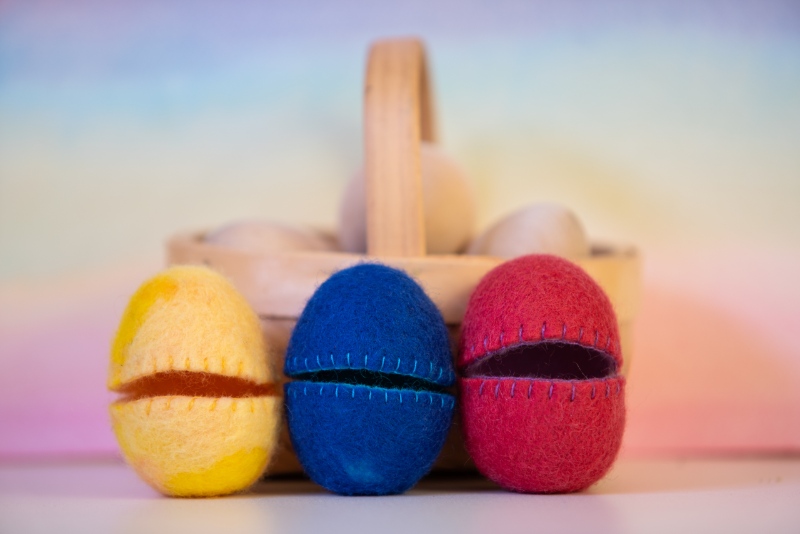 Learn how to wet felt while making a fun keepsake to fill and tuck into a spring basket. Jessica Bentson of Toymaking Magic is our Guest Blogger today, sharing another fantastic tutorial she created exclusively
for A Child’s Dream. Be sure to check out her monthly plans for Waldorf-inspired toymaking tutorials and follow along on her Instagram
account where she loves to share about all things handmade and homeschooling!
On to you now, Jessica!
Felted Easter eggs are a delightful spring craft to make. I love that these eggs can be used year after year to hold a tiny gift in your child’s Easter basket or to fill with chocolates and treasures for an Easter egg hunt. (Or a Spring Party egg hunt, as I do with my kids.)
Felting around the wooden eggs creates a flat base which allows them to sit nicely on their own and makes for lovely spring decor. (To make at any time in spring! Not just Easter!) AND your kids can play with the wooden eggs all year! No craft waste!
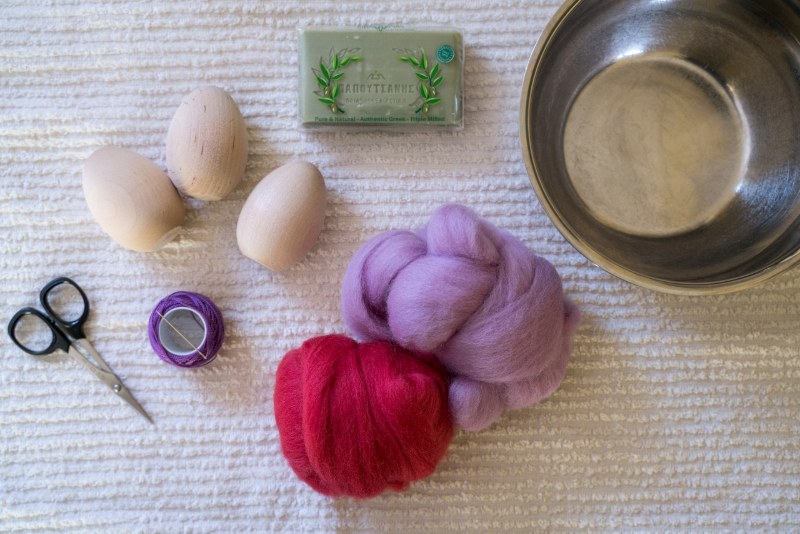
SUPPLIES
Project set of basic supplies available here >
OR individually
Corriedale Wool Roving in Felting Packs (1 pack is plenty) or Single Colors by the ounce (An ounce is enough)
Wood eggs, ours are flat bottomed and just what you need!
Ball Brause Water Sprinkler (optional)
Towel
Bowl
GETTING STARTED
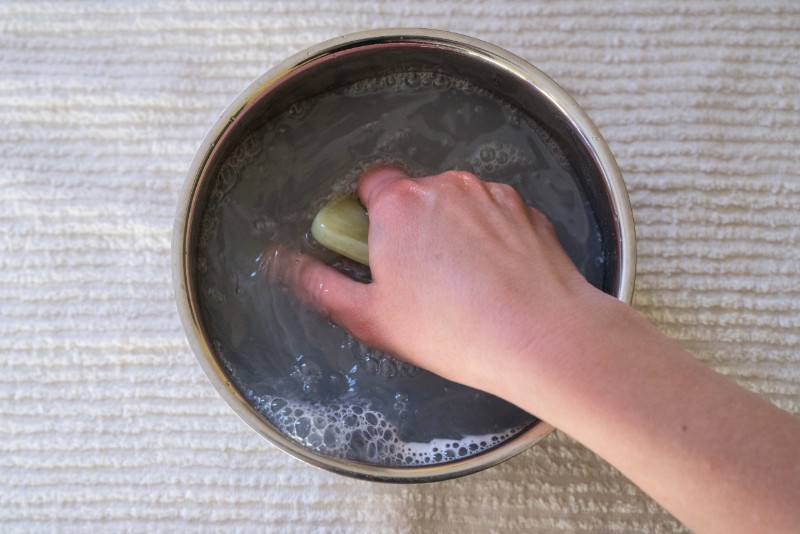
Gather your materials. Lay out a towel on your table. Start by filling a bowl with water as warm as you can stand it. Submerge your olive oil soap into the water, and rub it to release the soap and dissolve it into the water. Do this until the water looks murky and bubbly.
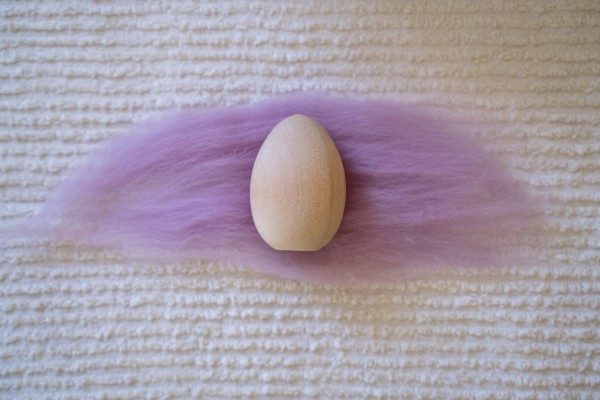
Then take your wooden egg and separate a piece of the wool roving. Smooth it out to create even density throughout and then wrap it around the egg crosswise.
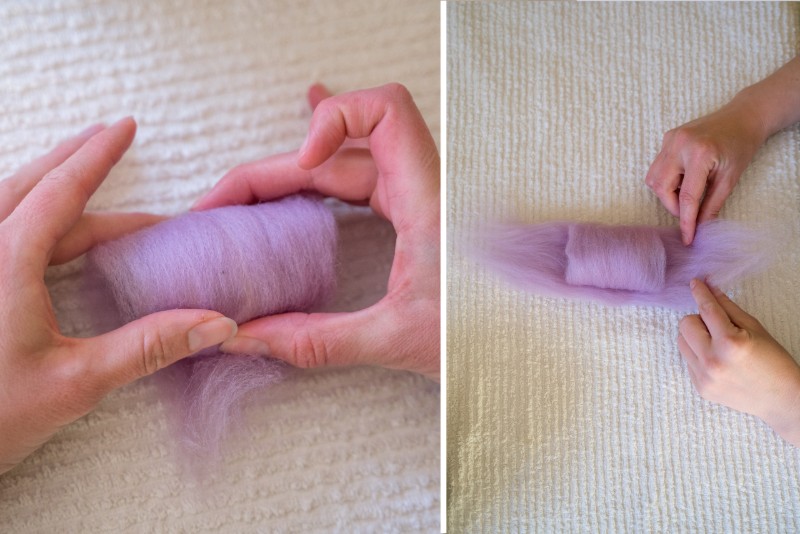
Then grab another longer piece and wrap it around the egg lengthwise.
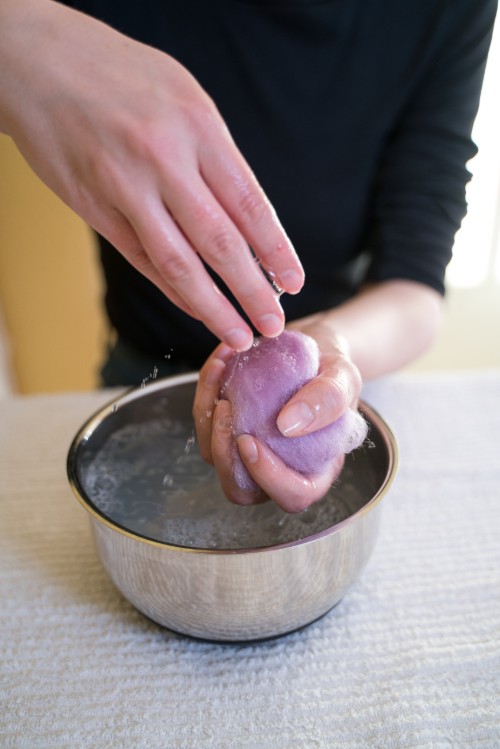
Hold your egg over the bowl of soapy water and sprinkle it generously with water. Flip the egg over and sprinkle water on the other side and all over until the wool is completely wet.
LIGHT FELTING
Gently pat it all over, cupping it in your hands. Imagine you are making a snowball, how you gently pack the snow to create a smooth surface.
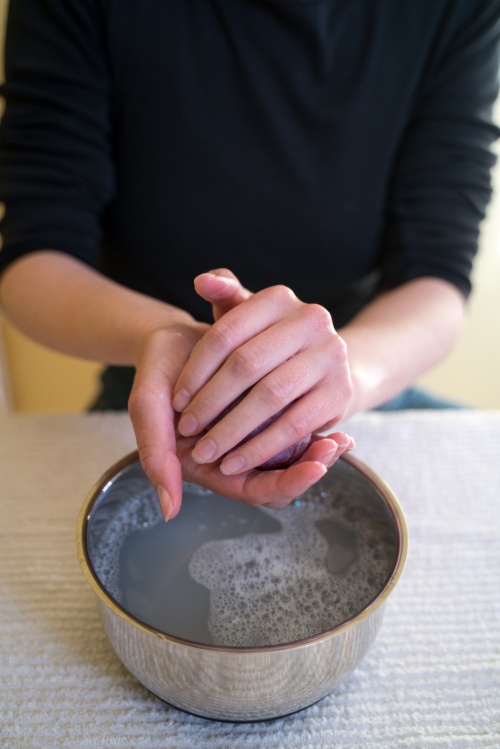
Depending on how soapy your water is, you might benefit from rubbing your hand on your bar of soap before you begin to pat and rub the egg.
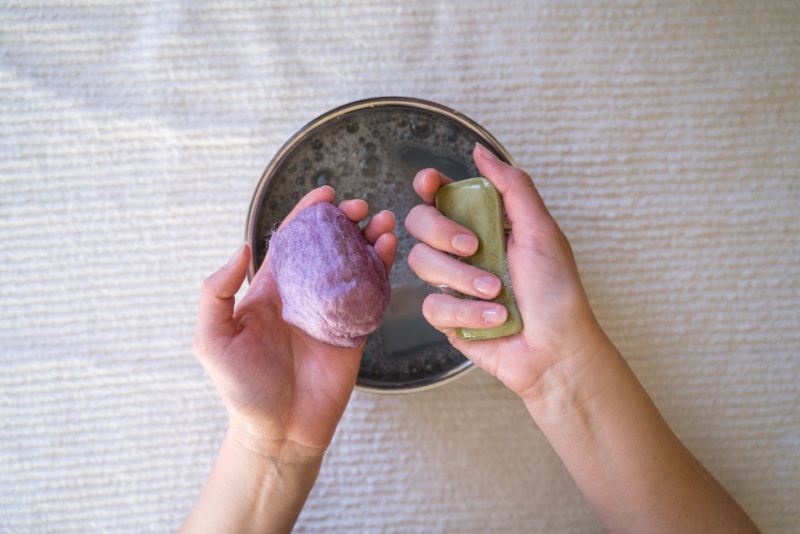
Rub with a light hand, focus on keeping the surface all smooth.
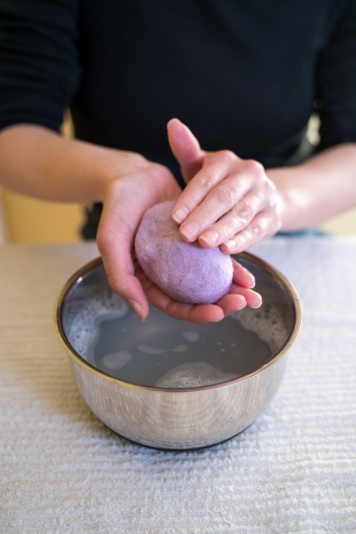
Once your egg is starting to look lightly felted you can either add another layer of the same color, or my favorite is to add another color! Wrap the wool crosswise and lengthwise as before.
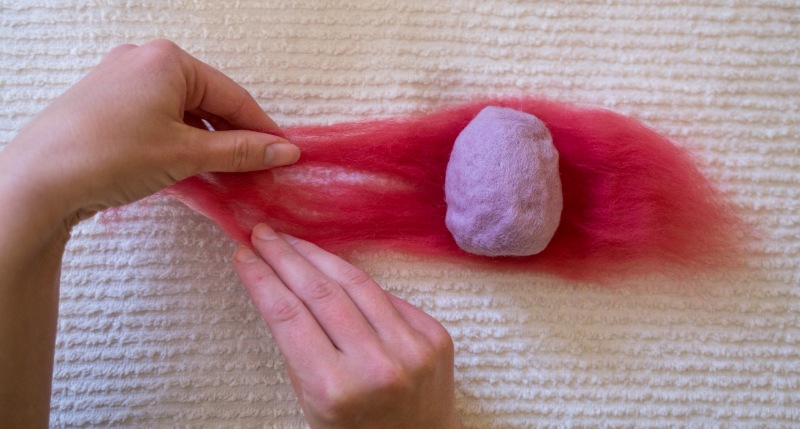
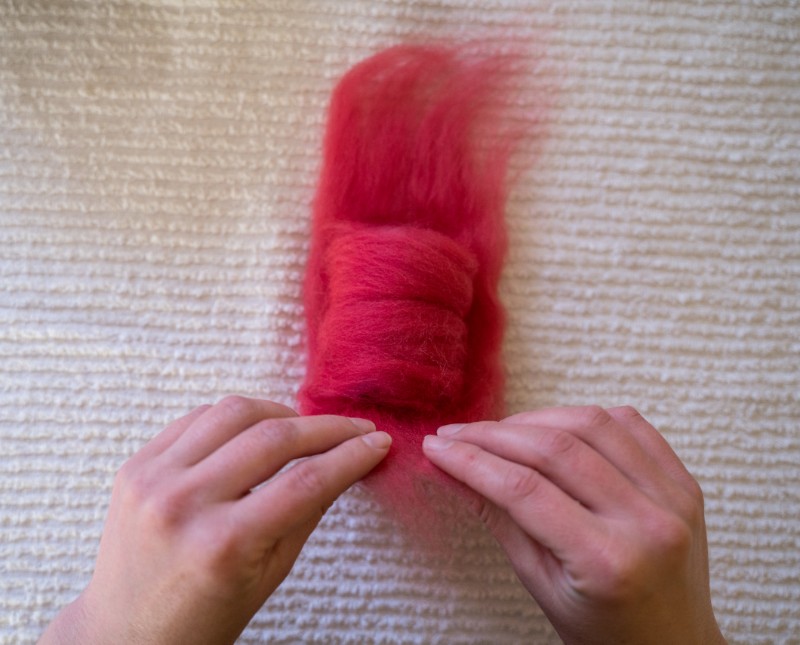
Repeat the previous steps of wetting, patting, and lightly felting. (Applying the wool in two layers helps the innermost wool to felt well)
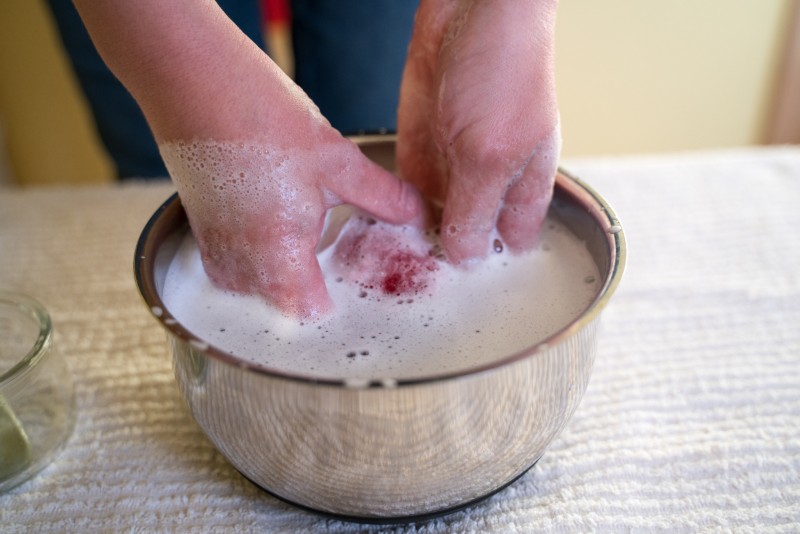
Once you notice that some felting is going on, that your wool has smoothly formed around the egg, it’s safe to dunk your egg into the water. You want to keep the wool wet and sudsy at all times.
VIGOROUS FELTING
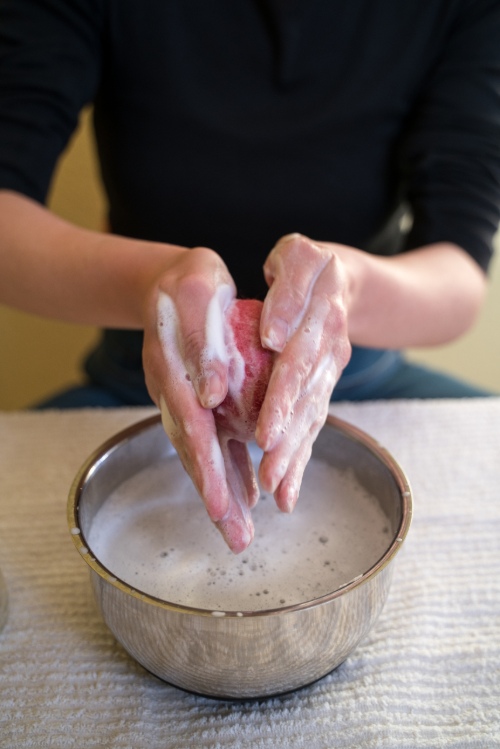
Once you notice that the second layer of wool is felting well, then you can start to rub it with your hands a little bit more vigorously. If you rub too hard too soon, it can create ridges or folds. The focus is always on keeping the surface smooth and felting evenly all over.
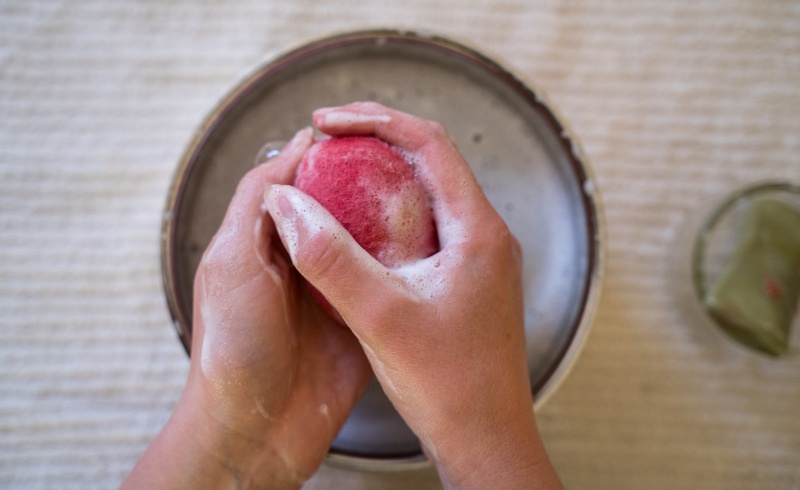
To felt the top and bottom well, rub them in a circular motion in your curved palm.
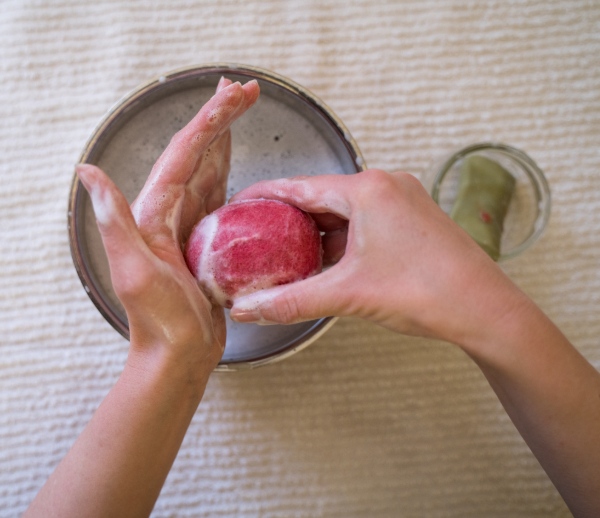
You can roll it in your hands like a ball.
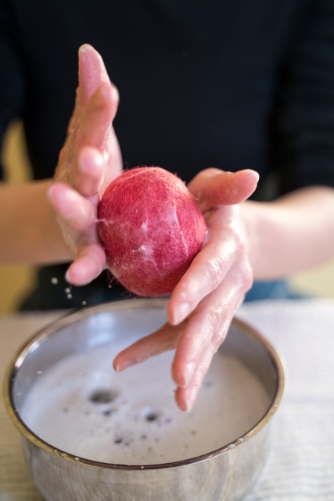
At some point you’ll notice that you can feel less space between the wool and the wood as the wool shrinks tighter and tighter around the wooden egg.
Gradually get more and more vigorous with your felting
One way to help the felting along if you’d like to try it, is to run the egg under very cold water (or dip it into a bowl of cold water) and then run it under a hot faucet (or dip in a bowl). These drastic temperature changes will shock the fibers and felt them nicely.
You can do that 2 or 3 times back and forth, hot to cold and then dip the egg back into your soapy water and continue felting with your hands. Add more soap to your hands if necessary.
When you feel like maybe you’re almost done, then you can get really rough and you can squeeze it all over in an even manner.
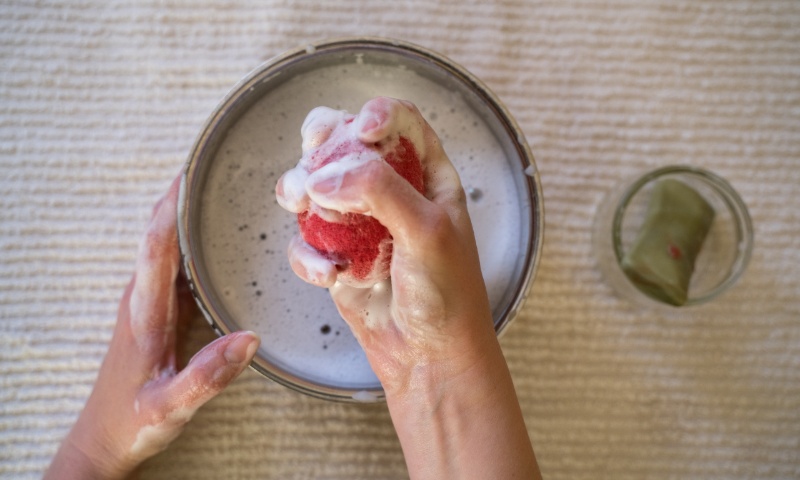
You’ll know you’re done when you get the feeling that your wool cannot shrink any further and it feels like it is tightly hugging the wood.
Once you are satisfied with how it has felted, rinse it under cold water (or even shock it under hot water one last time).
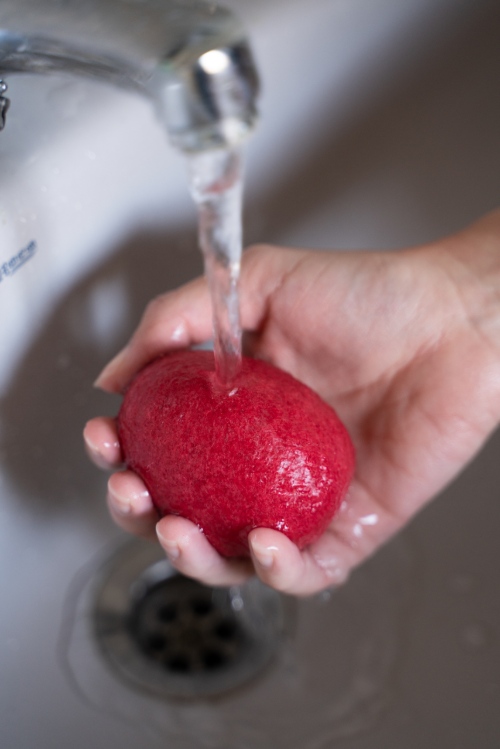
Squeeze out the excess water with a towel and set it somewhere to dry overnight.
CUTTING AND SEWING
Once your egg has dried, take some sharp pointed scissors and insert them into the felt and cut around the circumference of the egg, leaving about two inches uncut. If you cut it too much then it won’t hold its shape as well. Remove egg.
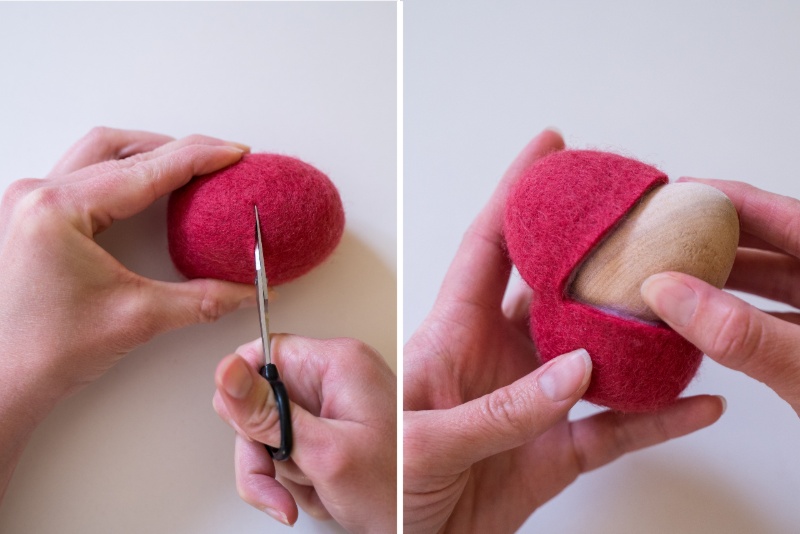
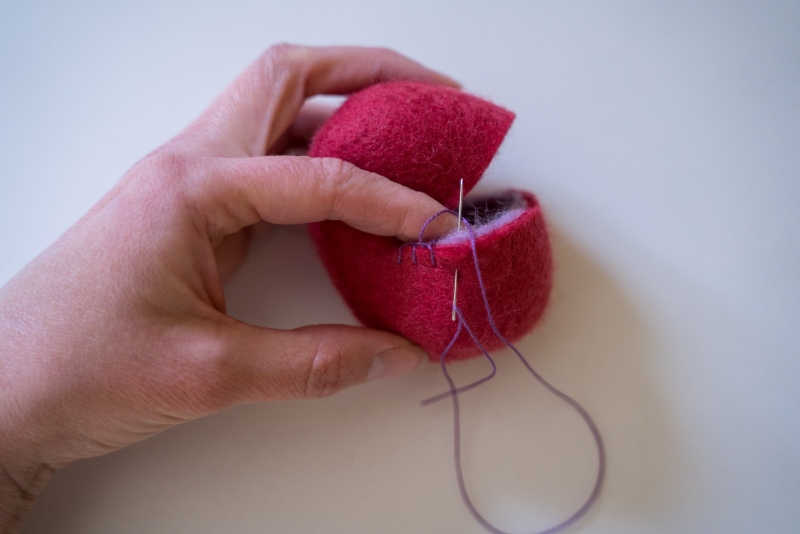
Now you’re ready to do a blanket stitch. You’ll notice the edges where you have cut are fluffy and a blanket stitch makes it look nice and tidy-looking as well as helps the egg hold it’s shape.
Start with the bottom of the opening. Cut an 18” length of embroidery floss. Knot the end and sew your blanket stitch from left to right. If you’re not familiar with the blanket stitch you can check out my video tutorial HERE. Then sew the top of the opening.
FINISHING TOUCHES
Once I’ve sewn my blanket stitch across the top and the bottom, I like to take each tail of thread and connect it to the opposite side by going underneath the stitch above and then going back underneath the stitch below. This gives added strength to the opening so that if kids are playing roughly it won’t rip open further.
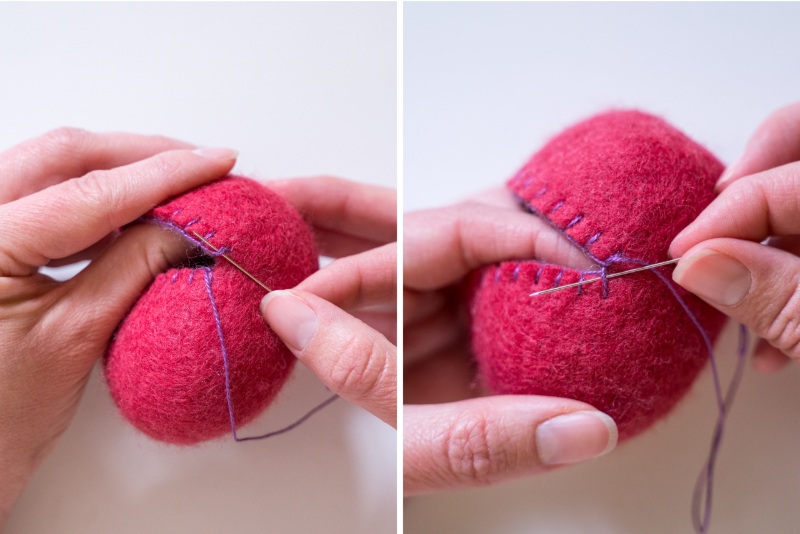
Then make a knot and pull tight.
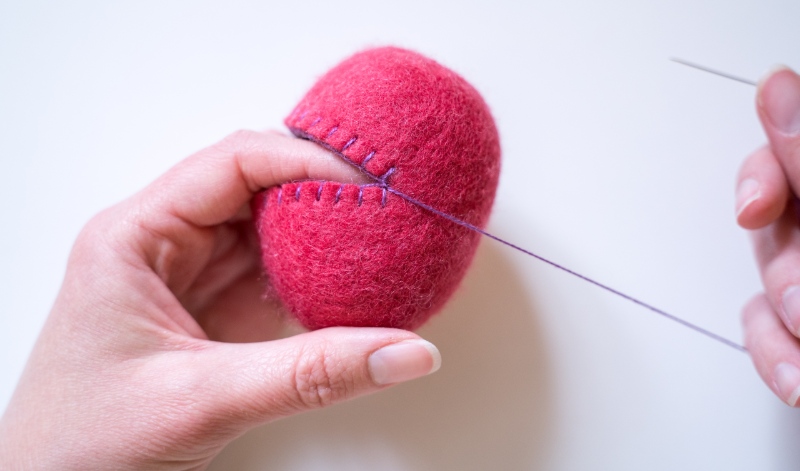
Finally to hide the tails, I poke my needle into the center of the layers of felt and come out an inch or so below.
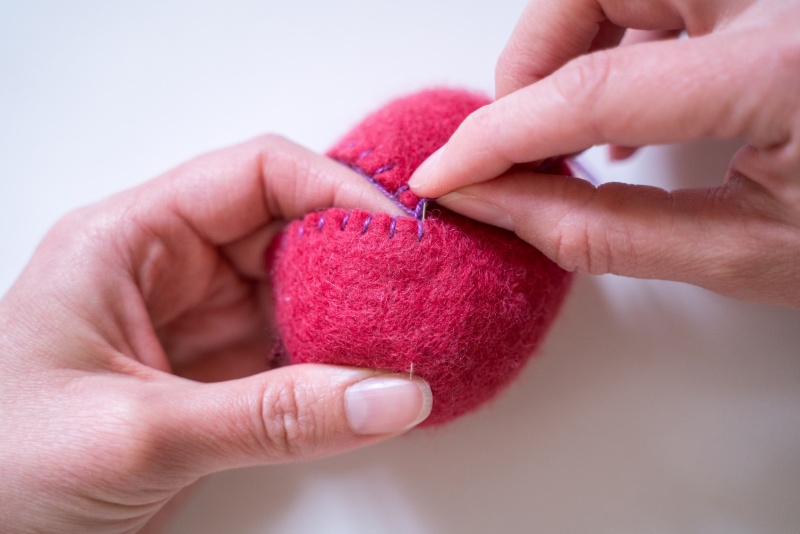
Pull the thread through and trim.
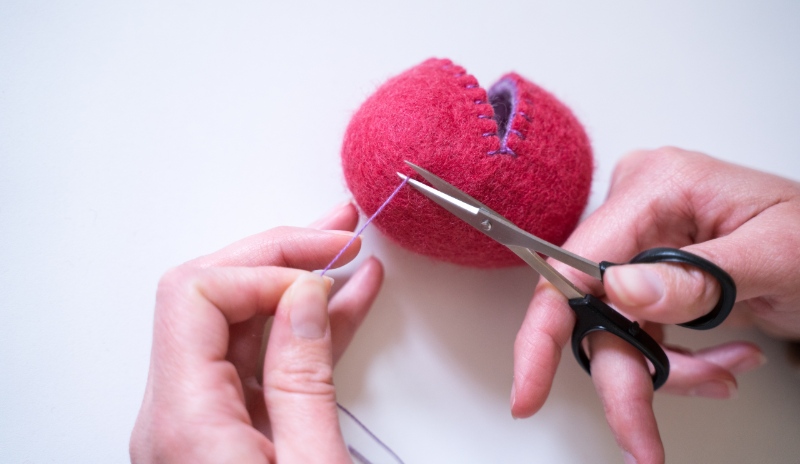
Rethread your needle with the other tail and repeat on the other side. Then you can trim the embroidery floss tails on the inside if they are too long. And you’re done!
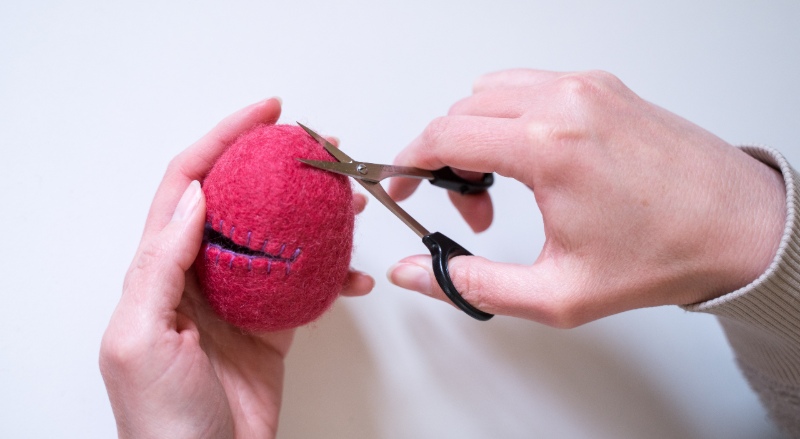
(An optional, satisfying final step is to give the egg a little haircut to trim any little fuzzies that didn’t get felted down. This can also be done to refresh them after they have been “well loved” and are looking a little worse for wear.)
Notes:
When I am felting eggs by myself, I actually prefer to do the whole process in the sink. Sometimes I don’t even fill a bowl with soapy water, I just use water from the faucet and keep my hands very soapy with my bar of soap. It creates less mess.
I like for my felted eggs to be a quarter inch thick but it’s hard to know if you have achieved that until you have cut it open. After making an egg or two, you’ll have a clearer idea of how much wool to wrap your egg in. The thicker the wool is, the more sturdy the egg shape will be. If it’s too thin, the egg will look a bit saggy and floppy.

We hope you enjoyed this fun spring felting tutorial! If you make these felted hollow eggs, we would love to see!
Be sure to tag us on Instagram!
@achildsdreamcrafts @toymakingmagic
Happy Spring!
