
Valentine Peg Doll Pillow
Posted by Debbie S. on 5th Jan 2022
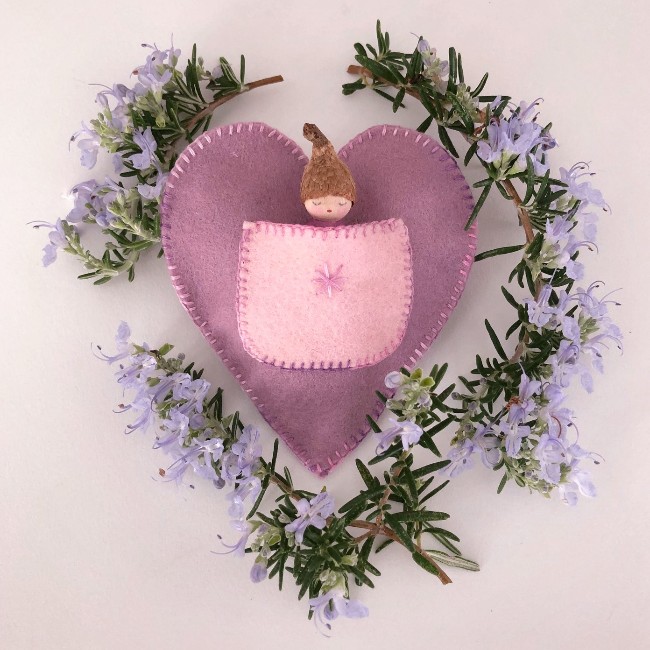
We were thrilled when Margaret Bloom, author of the books Making Peg Dolls and Making Peg Dolls & More (Hawthorn Press UK) reached out to us recently with an idea for a Valentine tutorial created just for A Child's Dream. Of course, we agreed! And so, today, our Guest Blogger is Margaret @webloomhere and she is here to show us how to create a Valentine Peg Doll Pillow. This little doll, asleep on an herb-filled pillow, makes a sweet gift for Valentine’s Day (or any day). Ideas from commenters on our Facebook include a tooth fairy pillow and quiet time toy.
Thank you Margaret for sharing your talents and inspiration!
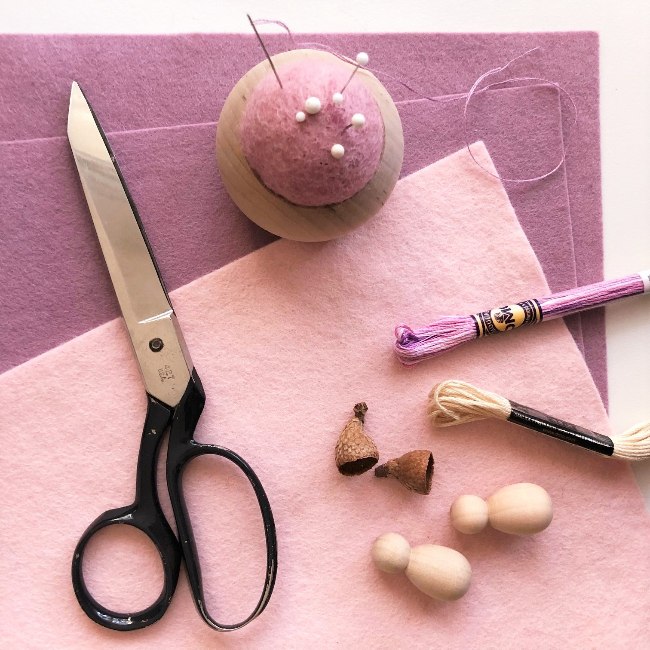
SUPPLIES
-- Project set of basic supplies available here >
OR individually
-- 1 sheet 100% Merino Wool felt – Wisteria
-- 1 sheet 100% Merino Wool felt -- Blush
-- 1 skein 6-strand embroidery floss (pale pink or pale lavender)
-- Small amounts of herbs & spices such as lavender, rose petals, chamomile, mint, & cloves
-- 1 peg doll -- bunting baby/bee shape
-- 1 acorn cap
-- White craft glue or Tacky Glue
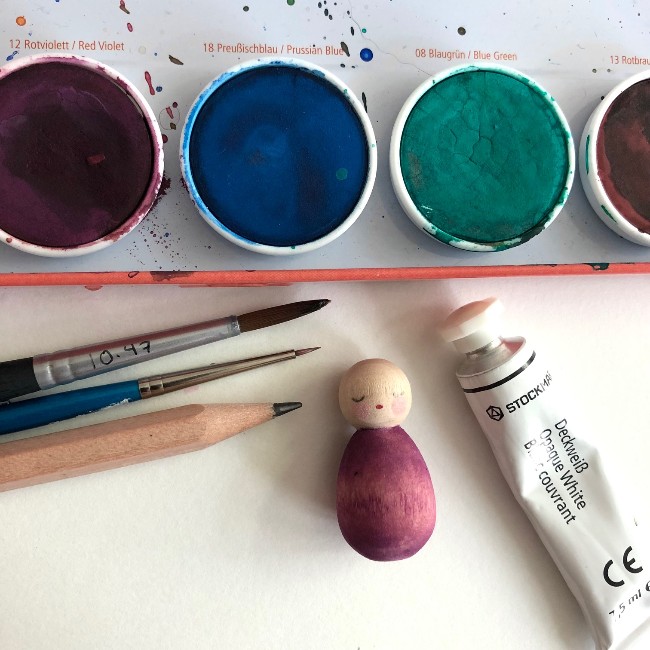
-- Watercolor pan paints & paint brush
-- A pencil, ruler, & a scrap of paper
-- Scissors, an embroidery needle, straight pins
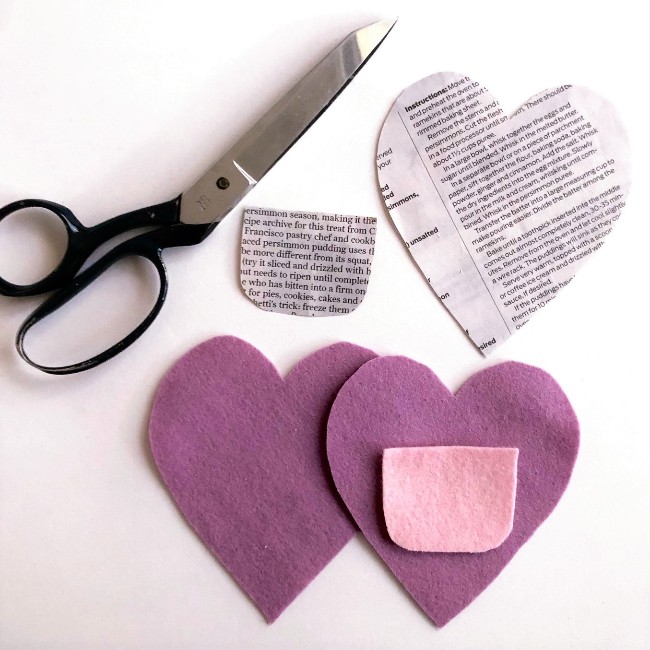
STEP 1: CREATING PATTERNS AND CUTTING FELT
Using scrap paper, create a pattern for the heart. My heart pattern is approximately 4 in (10 cm) tall, and 3.75 in (9 cm) at its widest point. The pattern for the pocket is 2 in (5 cm) wide and 1.5 in (4 cm) tall. After you have cut out the pattern for the pocket, trim the bottom corners so the edges are rounded. Also, please know that if you are not satisfied with proportions of the paper pattern for the heart, you can try cutting it out again.
Once you are pleased with the shapes of your patterns, pin the pocket pattern to your pink/blush felt and cut one pocket shape. Then use your heart pattern to cut two heart shapes from your wisteria colored felt.
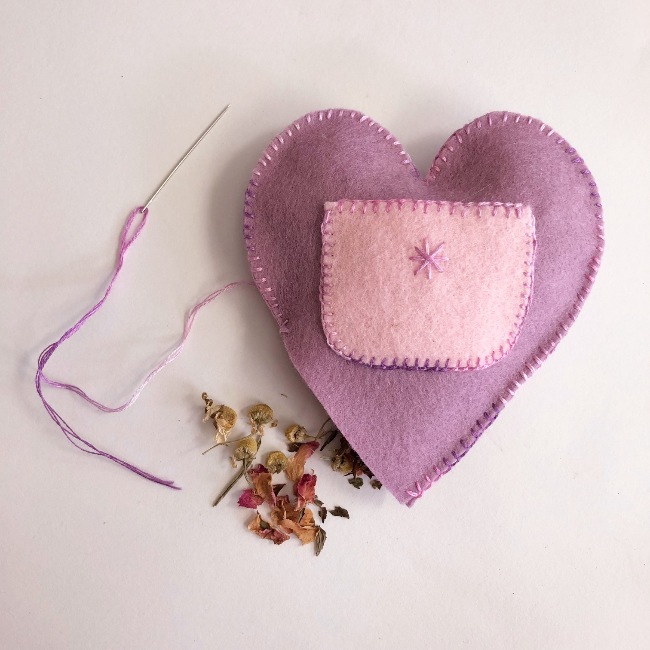
STEP 2: SEWING THE HEART
Before you thread your embroidery needle, separate 3 strands from a 2 ft (60 cm) length of the 6-strand embroidery floss. Thread the needle with 3 strands and set the other 3 strands aside until your needle requires rethreading.
If you would like to embroider a small design on the pocket, now is the time to do it! You can embroider any sort of design you wish, or leave it blank. After you are finished embroidering a design (or not), create a row of blanket stitch or whip stitch across the top of pocket, pin the pocket to the center of one of your felt hearts, and then use blanket stitch (or whip stitch) to sew the sides and bottom edges of the pocket to the heart. Note: if you are not comfortable with the blanket stitch or whip stitch, please feel free to use a running stitch or whichever stitch you are most comfortable with. If a young child is working on this project, running stitch is often the best place to start!
Once the pocket is sewn onto one of the hearts, pin the two felt hearts together. Then, starting at the bottom tip, begin sewing around edges. Continue sewing until there are 2 in (5 cm) remaining. Leave this portion open so you can stuff the heart!
STEP 3: STUFFING THE HEART
Make a mixture of whichever herbs you have on hand – you will only need 2 or 3 spoonfuls. I had some dried lavender flowers, rose petals, chamomile, mint, and cloves on hand, but any one or two of these herbs would make a nice filling. If you don’t have access to a shop where you can buy dried herbs, you can always empty out a few sachets of mint tea, chamomile tea, or you could buy a bottle of whole cloves at the grocery store.
As mentioned above, you only need 2 or 3 spoonfuls of herbs. After stuffing it, the pillow should be a bit flat -- if you overfill it, you will not be able to fit a peg doll into the pocket.
Once the pillow is stuffed (not too full), sew up the remaining 2 in (5 cm) portion and knot securely.
STEP 4: MAKING THE PEG DOLL
Paint the body of your peg doll whatever color you choose. Once the paint is dry, use a pencil to mark the eyes, and add a tiny bit of paint for the mouth and cheeks. Finally, dot some glue into the acorn cap and place it on the head of your doll.
Once the glue is dry, your peg doll is ready to be tucked into the pocket and given as sweet gift.
We hope you enjoyed this oh-so-sweet tutorial and if you make a Valentine Peg Doll Pillow we'd love to see it!