
Advent Spiral Mat Tutorial
Posted by Debbie S. on 12th Nov 2021
Depending on where you live, winter can be so cold and dreary...but making handmade seasonal decor helps bring joy and warmth into the home! Jessica, from Toymaking Magic is here to share with us how to make an advent spiral for your children to enjoy!
The spiral can mark your advent celebration or be used as a countdown to Christmas. (A wonderful mind-saver for parents of children who constantly ask, “How many more days until Christmas??”)
SUPPLIES
Project supply set complete with foam felting pad and needles, available here >
OR individually
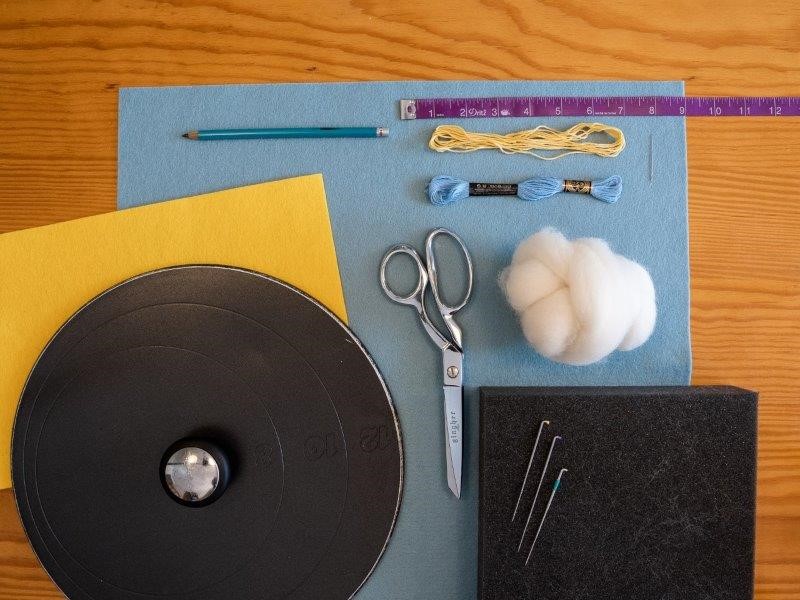
To make the spiral mat you will need:
100% Merino Wool Felt in Yellow, Size: 8x12”
Yellow and blue embroidery floss
Something round to trace
Measuring tape
Pencil
Corriedale Wool Roving - White (1oz is more than plenty)
Peg Doll Angel Materials
To make a peg doll angel you will need:
Stockmar Opaque Watercolor Paint Set
Tiny scrap of 100% Merino Wool Felt in Yellow
Medium scrap of 100% Merino Wool Felt in White
Yellow embroidery floss
Optional: Beeswax Polish
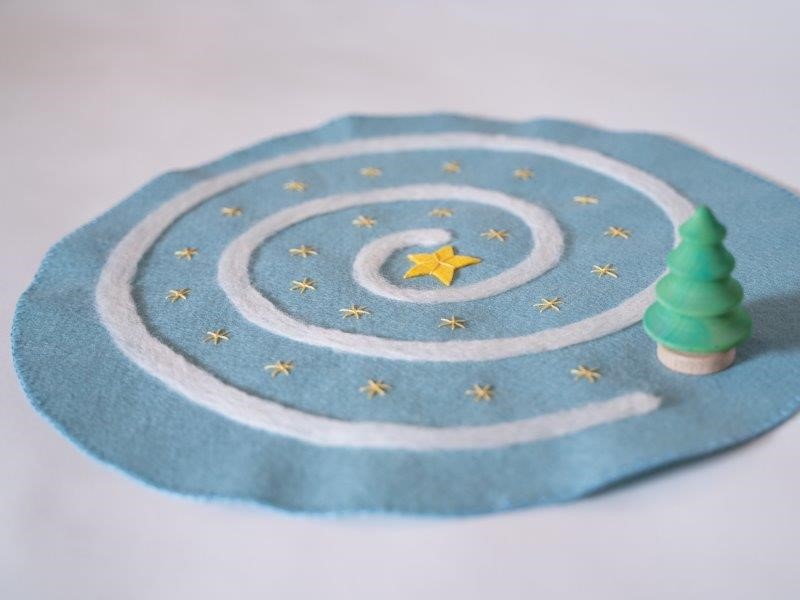
Or another cute idea is to simply paint a fir tree, in which you will need:
Stockmar Opaque Watercolor Paint Set
Optional: Beeswax Polish
Let's Get Started!
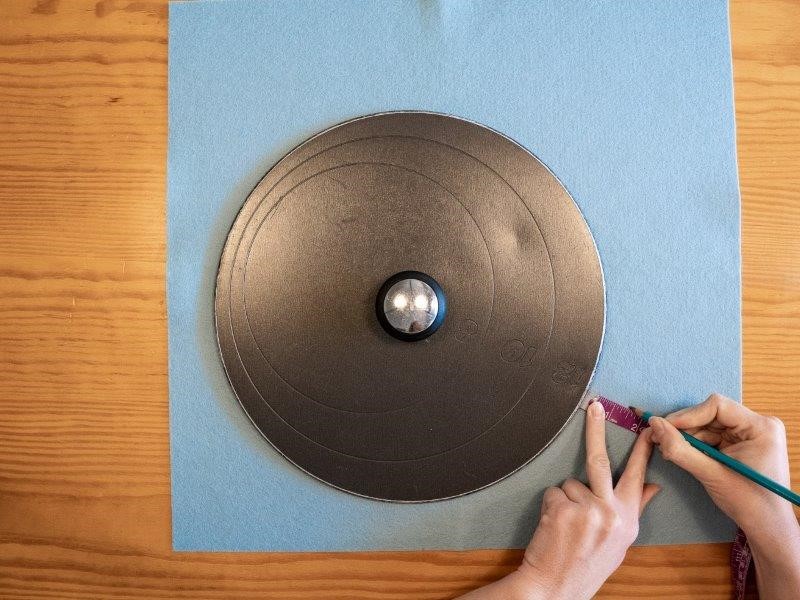
Trace lid...
If you have something round that is the perfect size, simply trace around it with a pencil. The biggest thing I had on hand was a 12” lid so I used measuring tape and marked little dots to add 1.5” all around. The closer you mark your dots, the more accurate your circle will turn out.
You can make your mat any size you like. Mine is 15” in diameter. Cut out your circle. If any pencil marks are visible, just flip your circle over and that can be the backside.
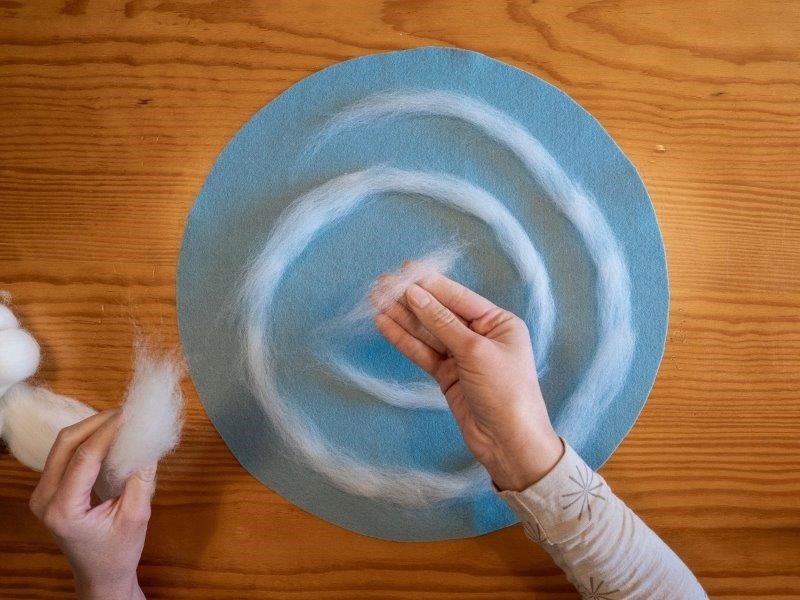
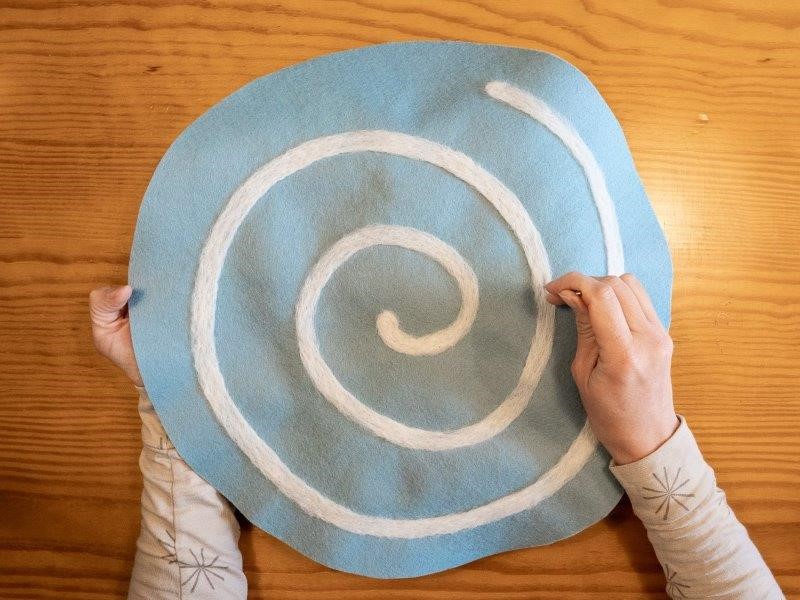
Lay down spiral...
Pull off thin pieces of wool roving and lay them down, overlapping by about one inch so that it appears to be a continuous spiral. You can always shift things around if you aren’t happy with how the spiral looks after your first try.
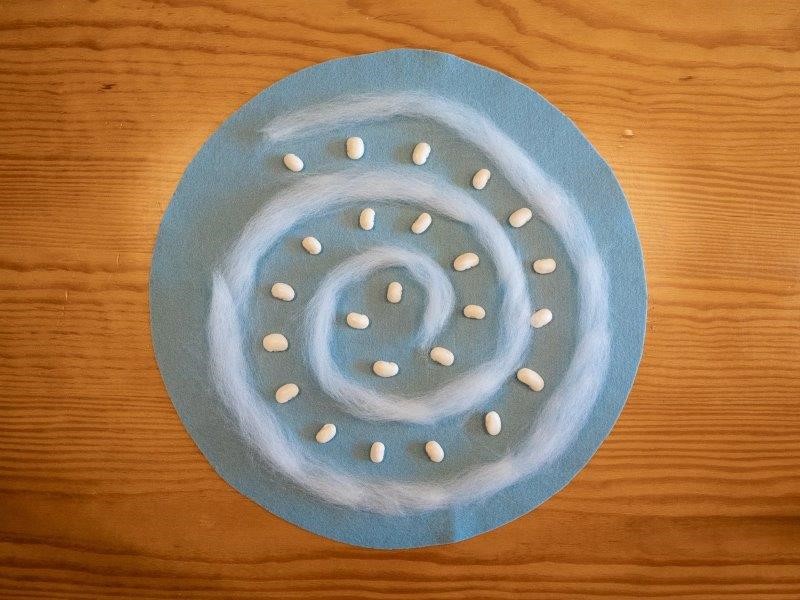
Lay down beans...
I find it helpful to lay down 24 beans to help me visualize how I want the spiral to look. Add thin pieces of wool to any spots that look a bit bare.
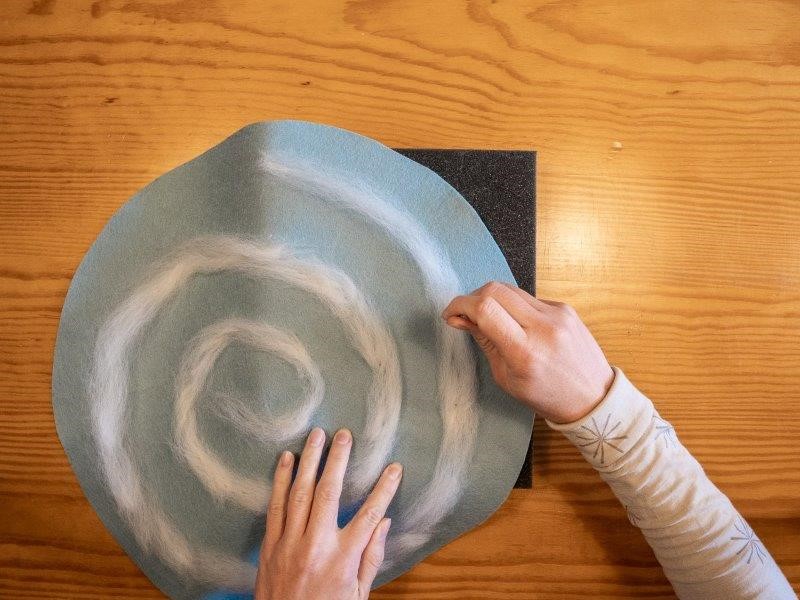
Tack wool into place...
Once you are happy with your spiral, carefully place the foam block underneath your work and begin to lightly tack the wool into place with a 36-gauge felting needle. You will need to shift your work around as you go of course, since the foam is smaller than your felt circle.
If this is your first time doing needle felting, here’s a few things to keep in mind: there is no need to stab deep into the foam. Just lightly stab deep enough to pass through your felt. Poke straight down to avoid breaking the needles. The first step is to secure the wool in place. We will progressively define the spiral shape.
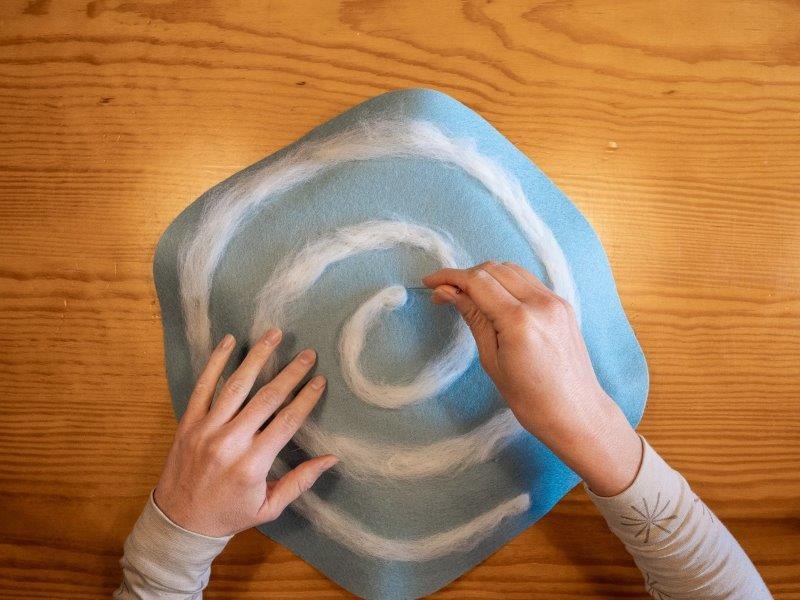
Start needle felting...
Once your wool is nicely tacked down into place, start felting with a 38-gauge star point needle. You can sweep along the edges of the spiral with the tip of your needle and tuck in loose fibers. Continue stabbing the wool and creating a more defined spiral with clean edges. Before, the wool roving was spread wide and fluffy. Now, work at making the spiral thinner and denser.

I spend the most time using the 38-gauge star point needle. Carefully work on shaping your spiral until it looks nice and solid. You will likely need to add small bits of wool roving here and there to spots that look bare.
Finishing touch...
Once your spiral looks nice and shapely, switch to a 40-gauge triangle point needle as a finishing touch. Your spiral is done when your roving looks completely felted without lots of stray away fibers. This step is less about shaping and more about tucking in all the little fibers tightly.
If your felt looks all wavy at this point, you can set your iron to the wool setting and iron out the waves. I recommend using a clean tea towel or some other cloth as a barrier between the felt and the iron.
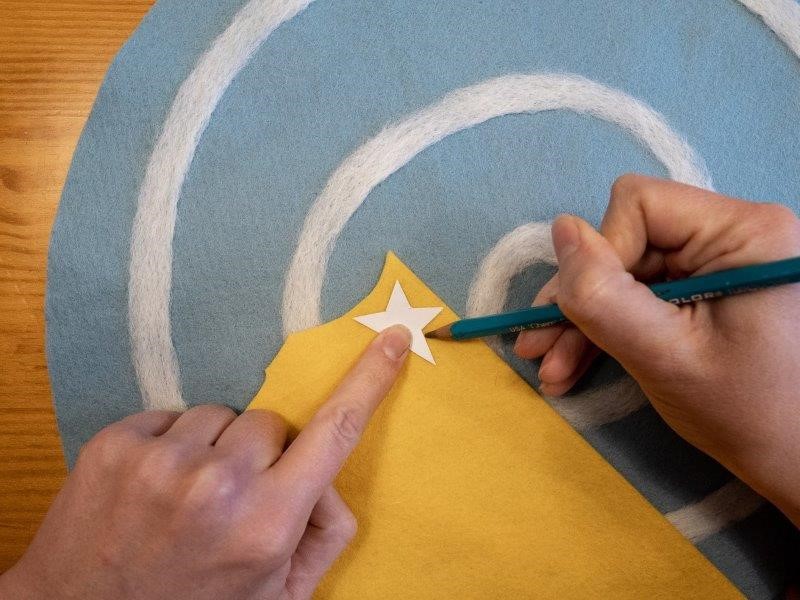
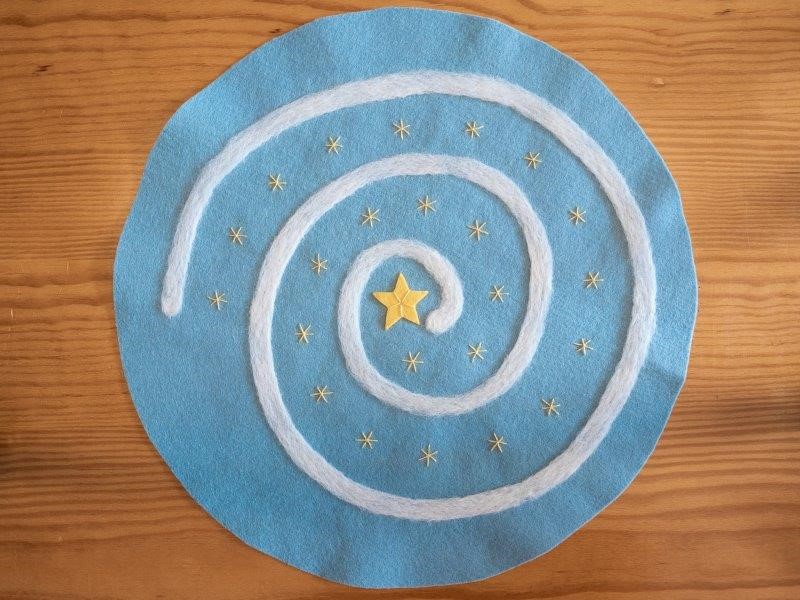
Adding the felt star...
Make yourself a little star paper pattern and trace it onto your yellow felt. Cut out the star.
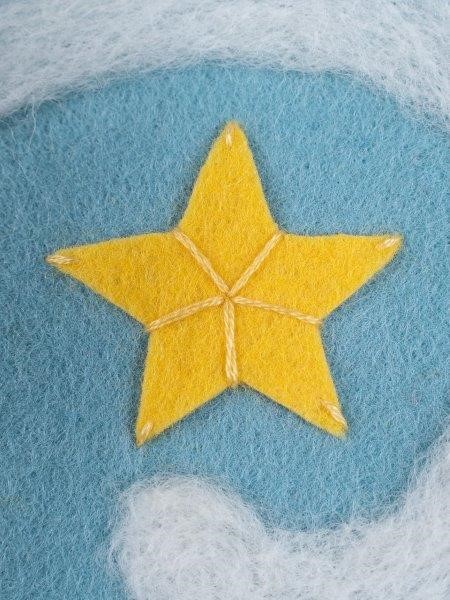
Thread your needle with 3 strands of embroidery floss and stitch down the center of the star and each point.
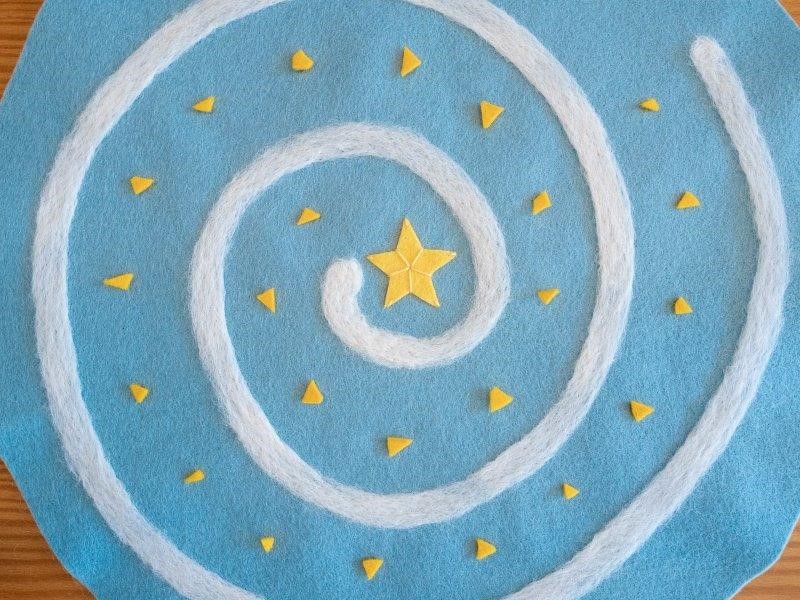
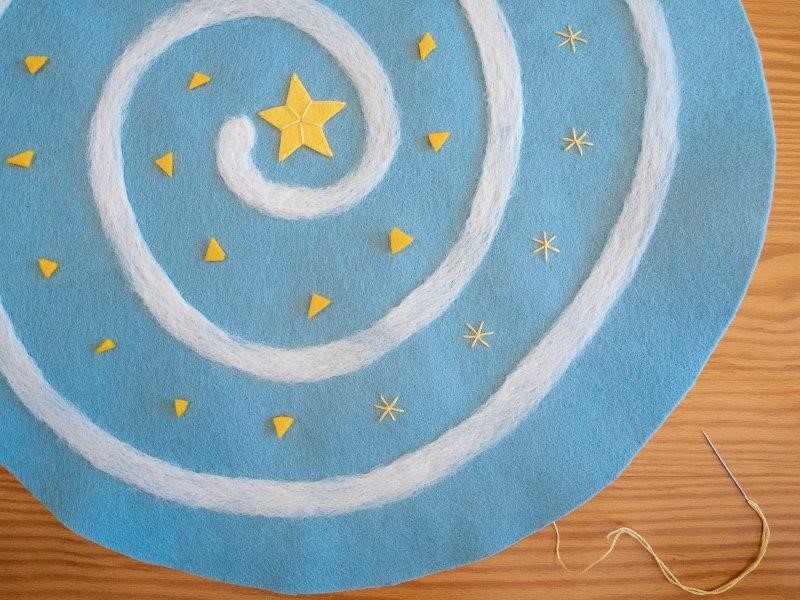
Cut up 23 tiny bits of felt and space them out evenly in the spiral. These will serve as a guide as you stitch your stars. If you are working at a table and are able to keep your work relatively flat, they will stay in place.
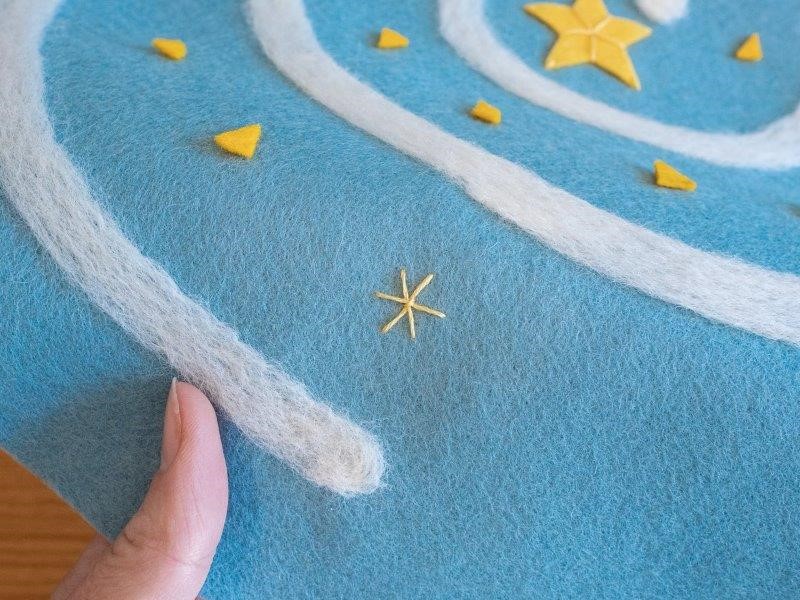
Embroider stars...
Using 3 strands of embroidery floss, stitch 3 intersecting lines. Then complete the star with one very tiny stitch in the center to hold the 3 lines down.
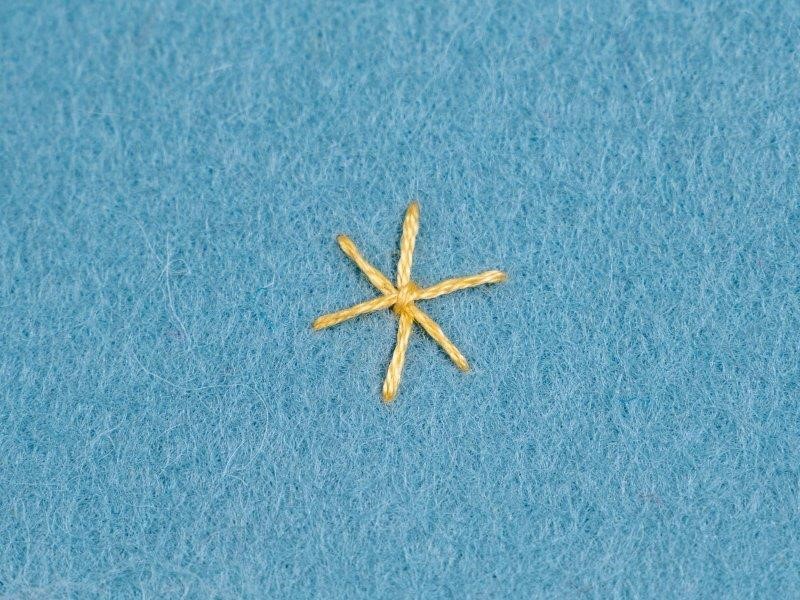
Continue to stitch the rest of the stars, taking care not to pull the thread too tightly in between stars.
Call it done once you have finished the stars, or add a decorative blanket stitch around the edge. (Check out my blanket stitch video tutorial if you need it.) I like to use two strands of embroidery floss for the blanket stitch.
It gives it a more finished look.
![]()
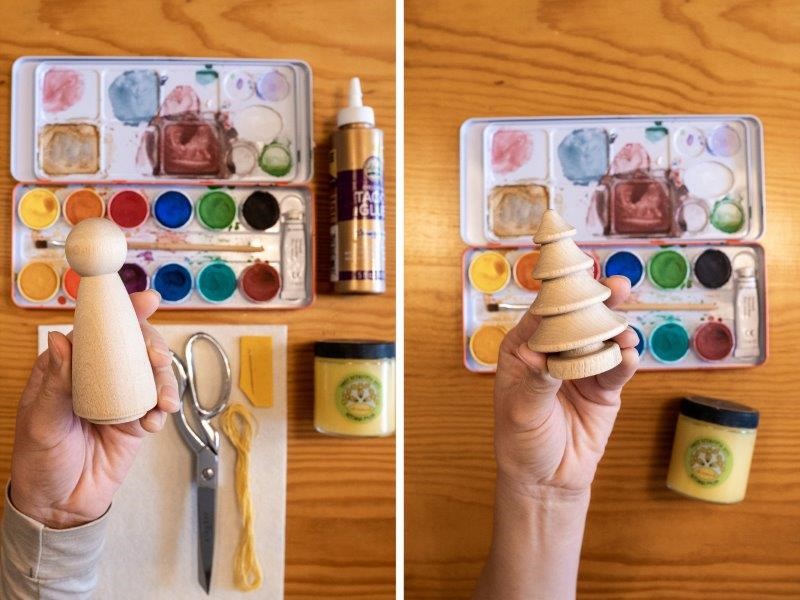
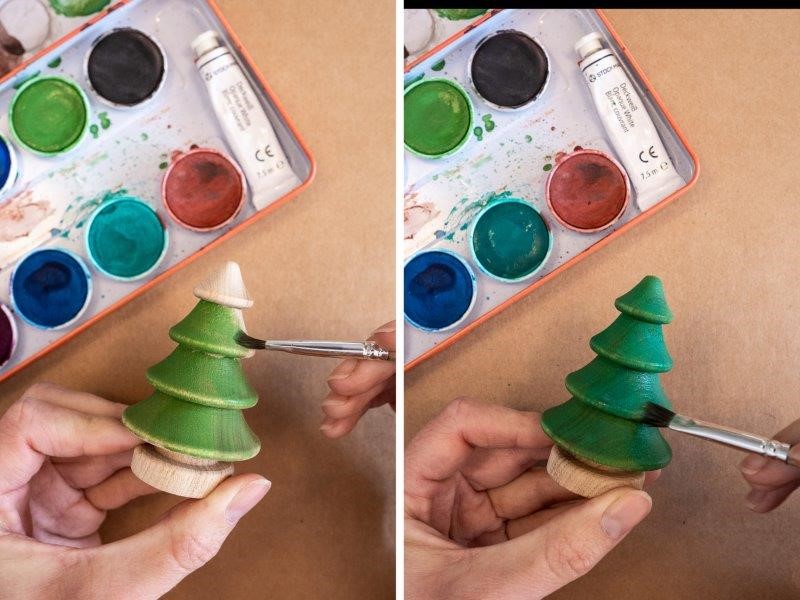
Now for some painting!
For the tree, I did one layer of sap green paint and one layer of blue green paint. I left the trunk unpainted.
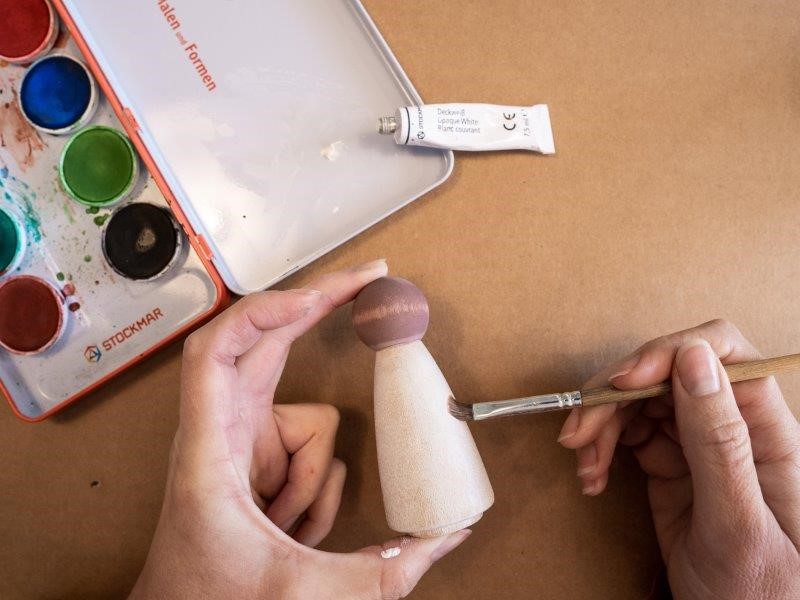
For the angel’s face, I blended rust and black with a touch of golden yellow. To avoid the wood grain being so visible, I mixed in some white which makes the coverage more opaque. Apply as many layers of paint as you find necessary. For the body, I painted 3 layers of white.
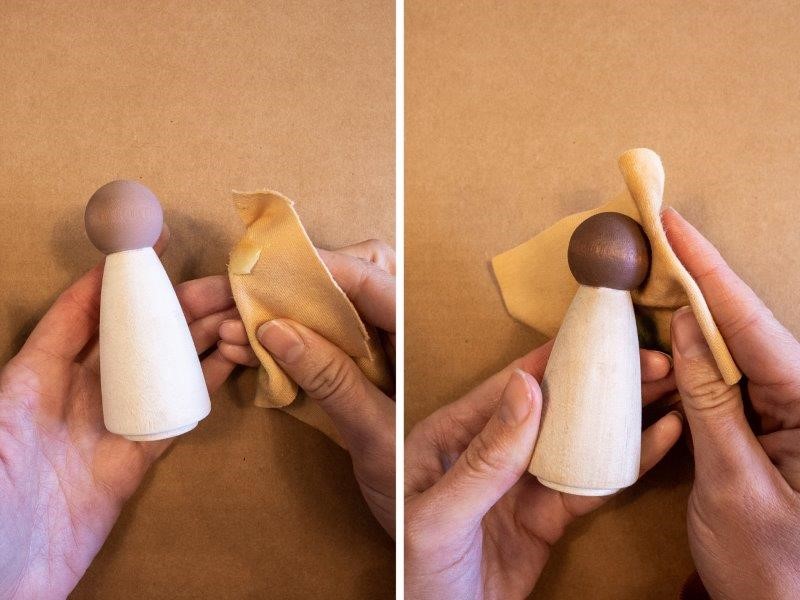
Once the paint is dry, an optional step is to apply beeswax to your wooden figure. I used a scrap of doll skin fabric to apply the polish.
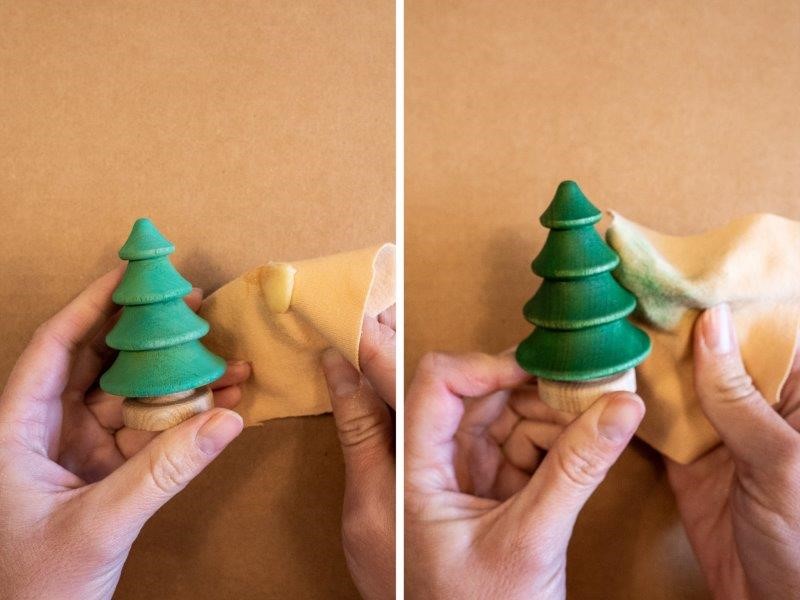
You will notice that your wooden peg tree/angel feels very rough and scratchy after painting it. Polishing will make it smooth again and will also darken the colors of the paint. If you choose to polish your angel, let it sit and absorb the beeswax for an hour before proceeding.
To make a little star halo, cut out an itty bitty star. It might take a few attempts to get it right. I find it helpful to start with a small circle.
Attach the star to a length of embroidery floss with one tiny stitch in the center.
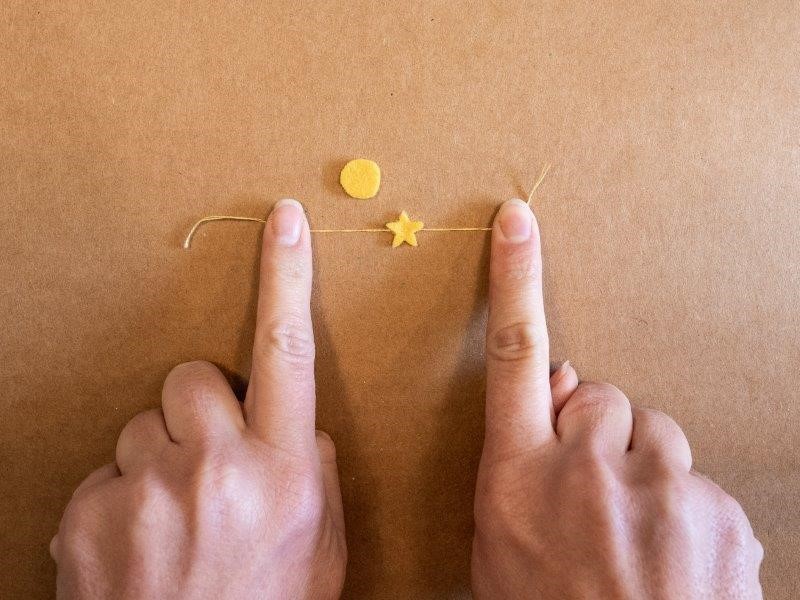
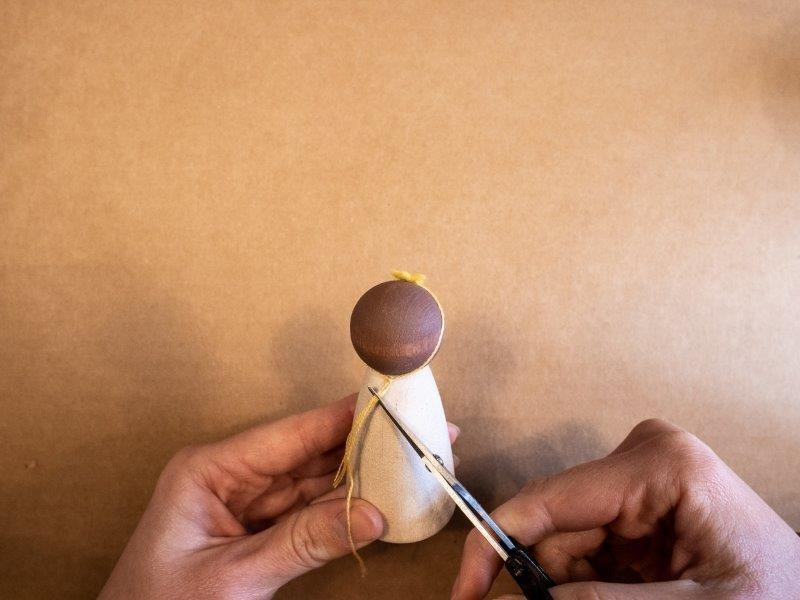
Tie onto the head and trim. (It’s a bit fiddly to do)
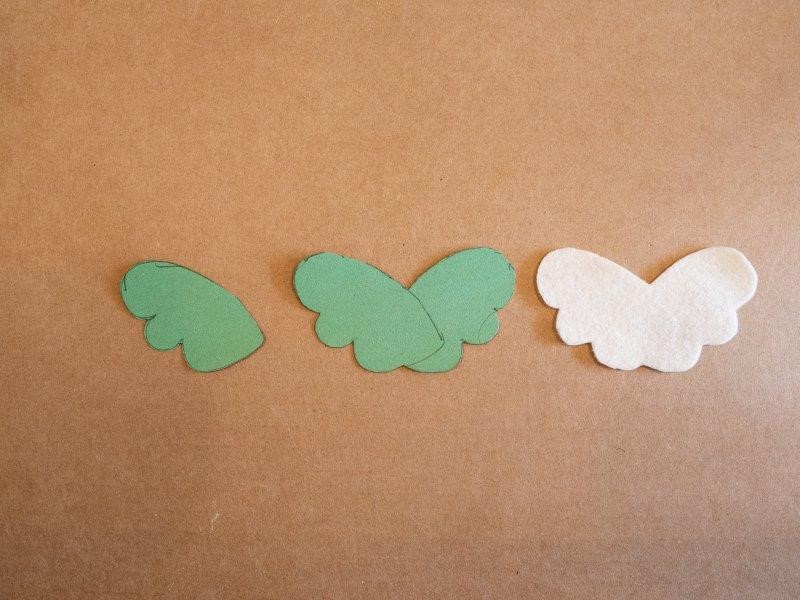
To make symmetrical wings, make yourself a paper pattern of one wing. Then trace it two times overlapping onto another piece of paper.
Use a pencil to trace your pattern onto your white felt. Carefully cut inside the pencil marks so they don’t show.
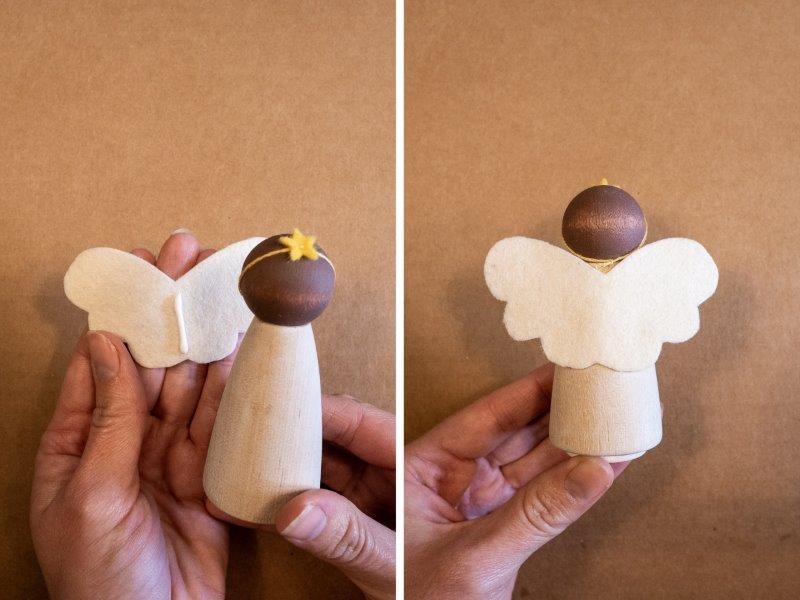
Glue on the wings with a line of glue down the center.
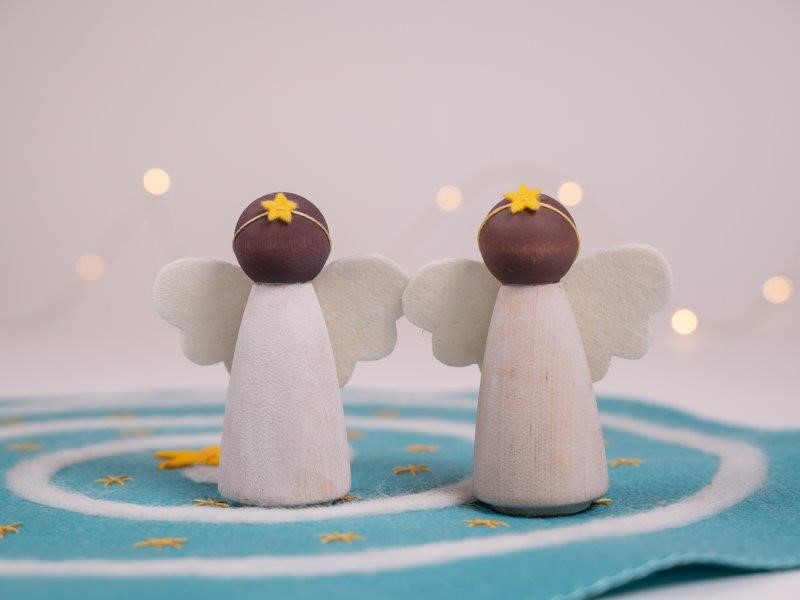
So you can see a comparison, the angel on the left is unpolished. They don’t look very different, but they feel different.
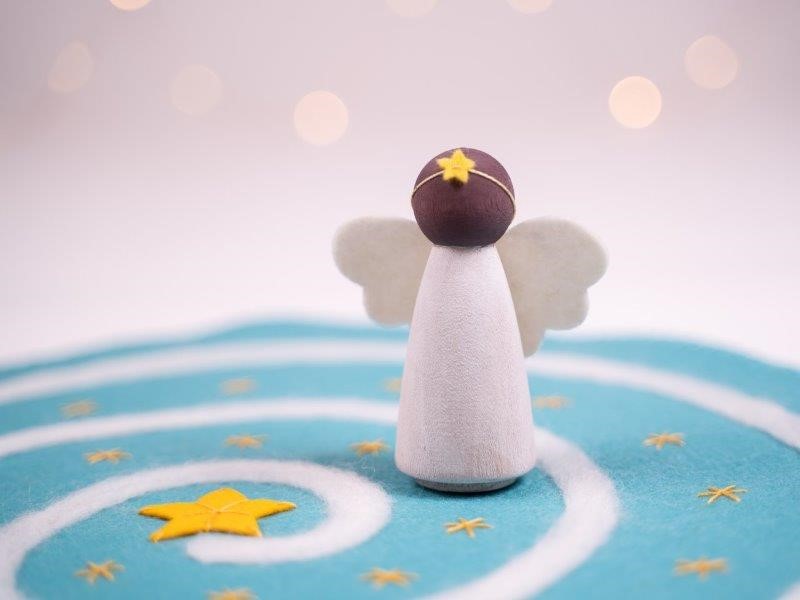
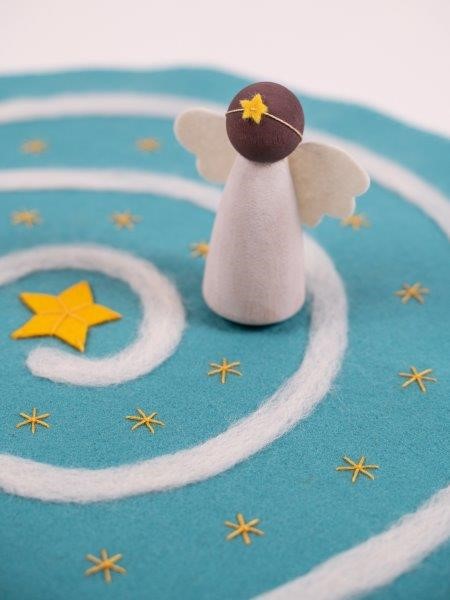
Time to set it up!
Find a special place in your home for your advent spiral and enjoy moving your figure closer to the center star each day!
We hope you enjoyed this tutorial. If you make an advent spiral, we would love to see!
Be sure to tag us on Instagram!
@achildsdreamcrafts
and use #achildsdreamcrafts